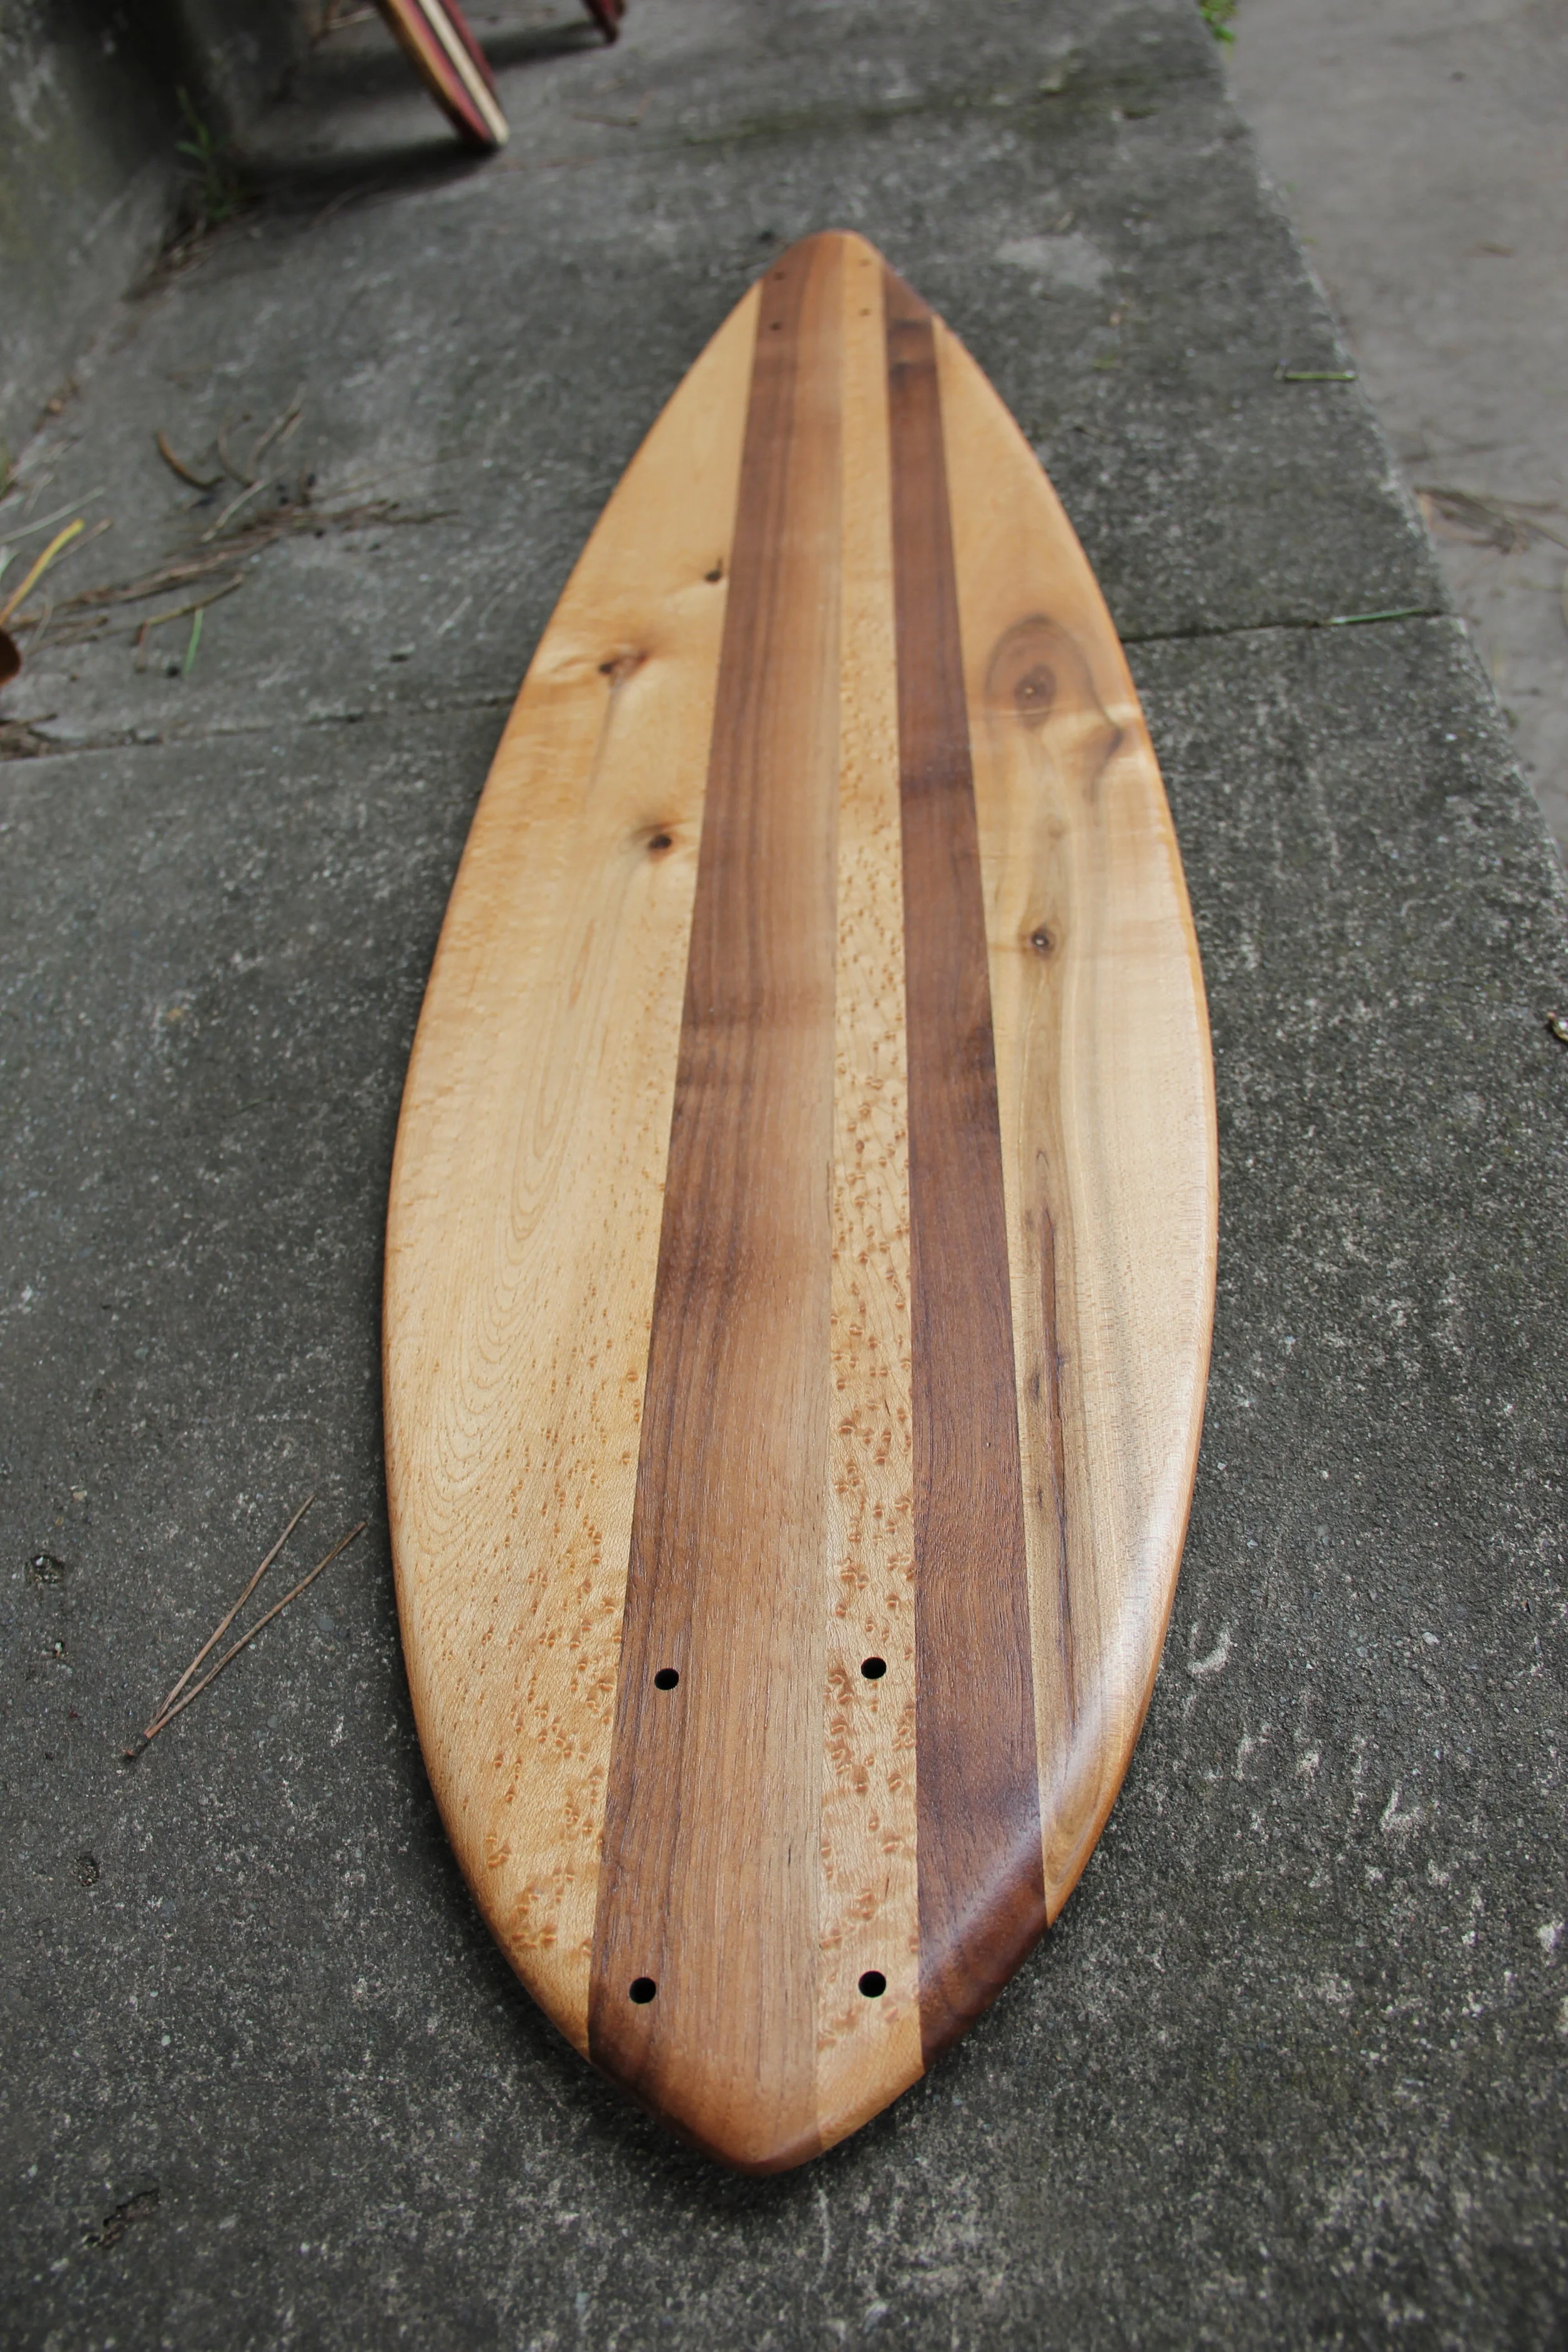
Curly Maple Pin tail - Long Board
Another board used for the Bookshelf project.
Required Resources: 5 hours, $35
Size: 8" x 32" x 0.5" Thick
Materials: Walnut, Birdeye Maple, Titebond III (Foodsafe wood glue)
Finish: Natural Colored Stain, 3 Coats Semi-Gloss Polyurethane Aerosol
Tools: Table Saw, Planer, Jointer, Orbital Sander, Router with 1/8" round over bit.
New Techniques: This board was cut completely out on the laser cutter. On builds prior to this one I would either print out a stencil and tape it to the slab, or perhaps laser etch the outline on the board and then cut out the profile with a band saw. On this set of boards however, I just went for it; profile and mount holes all blasted out on the MetaBeam Laser at Otherlab. It was a little nerve wracking because I had done plywood cuts with similar settings that had charred edges and in one instance actually caught the whole work piece on fire. I dialed up the feed speed and hoped for the best. It ended up working out great; skipping the intermediate band sawing and drilling steps saved me 45 minutes per board.
Lessons Learned:
It's a Bird('seye Maple), Don't Plane! - Bird's eye maple is renowned for its beautiful shimmering figure. It's also loathed for it's interlocked grain and propensity for tear out. Imagine typical, unfigured wood as a bowl of jello. Planing the wood is analogous to taking a knife and cutting a sliver off the top of the jello mold. Now imagine there's jelly beans in you're jello (gross, I know, but just go with it.) The jelly beans ares the "Bird's eyes" of the Birdseye maple. If you attempt to cut a sliver off the top of the mold and hit a jelly bean, the bean is ripped out through the jello, leaving in its place a crater where is once resided. This is what happens with figured woods like Bird's eye. A planing pass looks like it going well and, BAM! a chunk is torn from the surface, ruining your near perfect finish. You can mitigate this problem by making sure you planar blades are super sharp and taking small passes.

