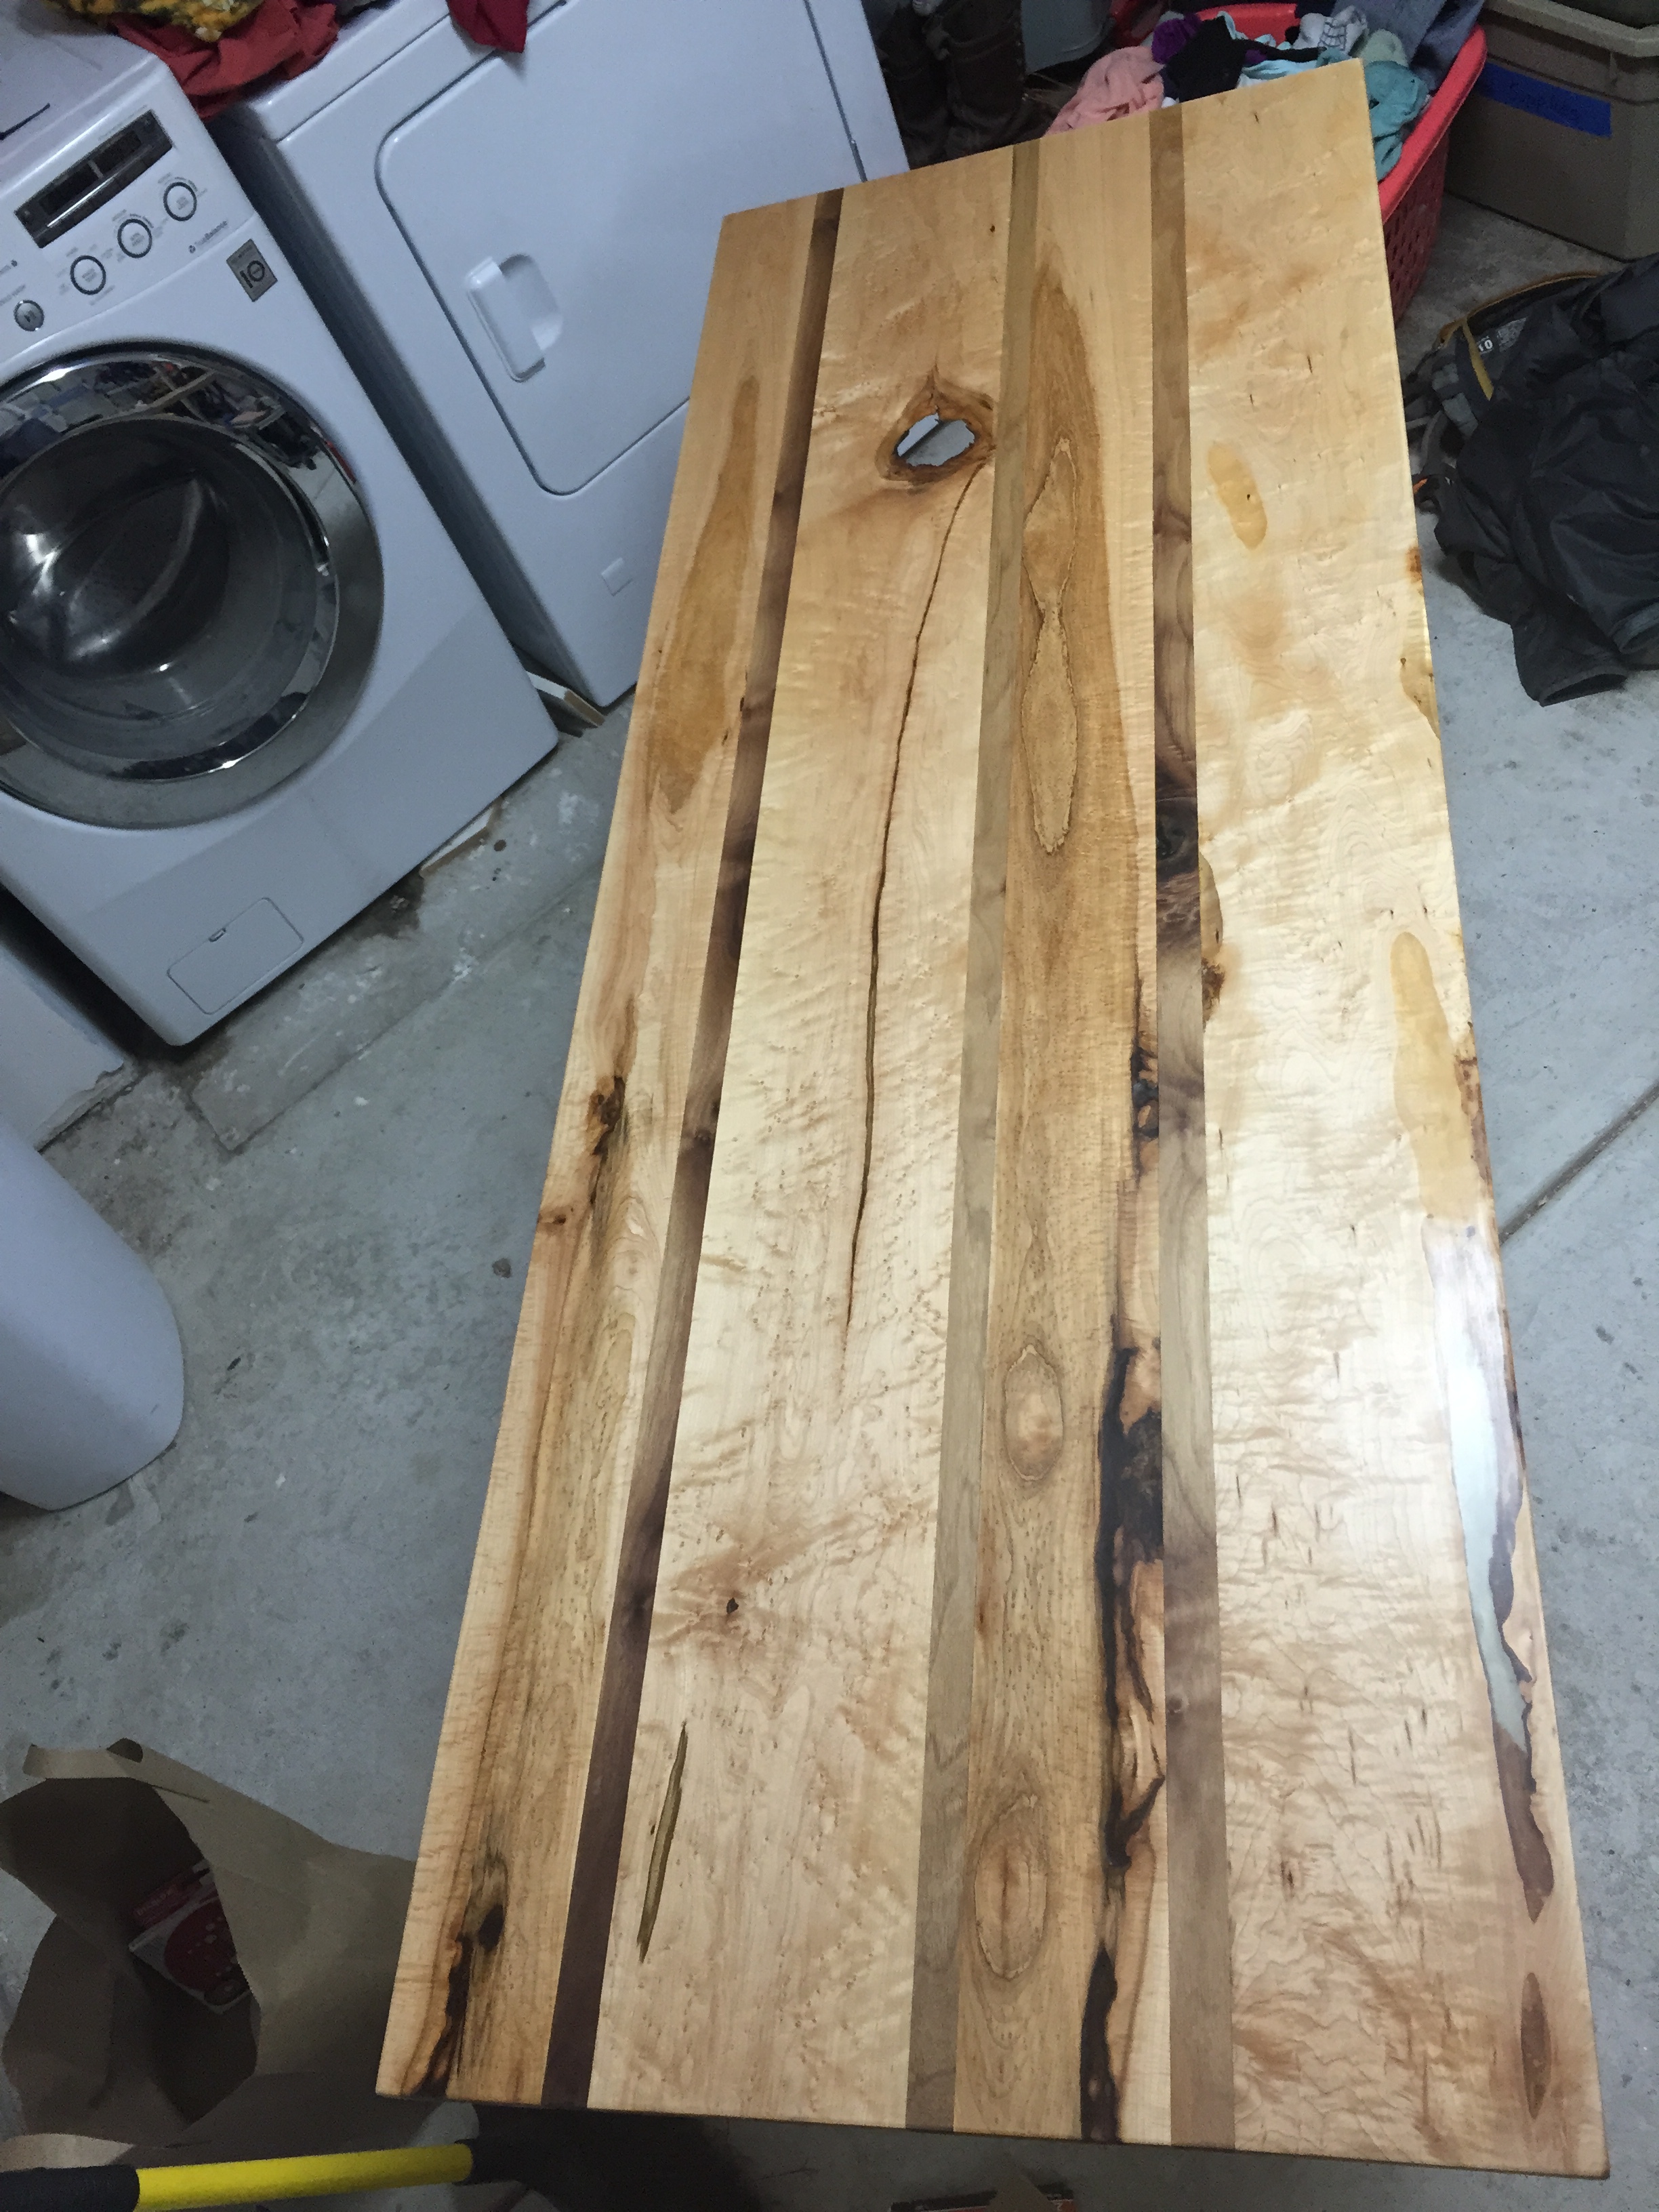
Rustic Maple and EPoxy Desk
A computer desk for our room, made from "Rustic" (euphemism for for common board) bird's eye maple. It was too good a deal to pass up at McBeaths (9$ a board foot) and the irregular knots and live edge also gave me an opportunity to experiment with casting epoxy. While the implementation of this build could have been completed much more efficiently and effectively with the right tools, overall I was pretty please with the result. Buffed with a little automotive wax, the figure in the maple strips pops under a raking light. The see-through epoxy filled ports also add a unique twist and even the unfilled knot in the back half of the table top serves as a convenient cord port for our external monitor.
Required Resources: 15 hours, $150
Size: 24" x 60 x 29" Tall
Materials: Walnut, Maple, Rustic Bird's Eye Maple, Titebond II, EasyCast Epoxy, 4 x 28" Steel Hairpin Legs ("Industrial by Design").
Finish: Minwax Natural Stain (2 Coats). Minwax Semi-Gloss Polyurethane Aerosol (3 coats), Sanded with 400 grit in between coats and finished with 800 and 1000 grit, Buffed with Turtlewax.
Tools: Table Saw, Orbital Sander
New Techniques: This was the first table that I made that wasn't a work table for the shop; meaning it was the first table I made that I cared about how it looked. I incorporated a slew of new skills in this build, including glue line rip cutting on the table saw, side grain edge glue up with alignment cauls, and epoxy filling live edge.
Lessons Learned: While this project was one of the more interesting I've taken on, it did have it's share of frustrations; frustrations that could have been mitigated by having the right tool:
Glue-Line Rip Cuts are Hard: The most challenging part of this entire build was getting the glue-up faces (the sides of the boards) straight, and normal to the broad faces. For a professional woodworking, this is trivial: Plane the top and bottom faces of the boards with a pass through the planer. Then push the board up against the back guide of your 5' jointer. After 2-3 skim passes, viola, you're done. Squared up and smooth in under 20 minutes. I, however, was not (and still am not) anything close to a professional woodworker and did not have the requisite tools (nor knowledge to know exactly which tools I needed) to complete this step with ease. I, instead, thought that I could make perfectly straight, normal rip cuts on my contractors table saw (with no catch cabinet, nor spotter to catch the lumber as it was cut) 14 times in a row. Yeah, that didn't happen. In attempt to clean up the edges, I made 2 dozen re-rip passes, tried using my oribital sander to smooth out high spots (to no avail) and ultimately settled for less than (well far less than) perfect glue lines. Apart from buying a planer and a jointer (which I did not long after), the other way I could have done this would have been to buy a specialty "glue-line" saw blade, designed to make "no-touch up" rip cuts. Additionally, building my table saw into a cabinet or at the very least having a partner guide the off cuts onto a roller bed (instead of letting the piece fall to the ground) would have gone a long way in reducing the calamity that was prepping for the glue up.
Epoxy Isn't as Viscous as You Would Think: One of my favorite elements of this build was the epoxy fill on the natural knots and live edge of the rustic maple. Being my first time using it; however, I did run into one major problem. It leaked everywhere! I thought I had taped up all the cracks on the bottom side of the wood, creating a perfect basin for the epoxy fill. I missed a couple (around 8 separate leaks....). Like water, freshly mixed epoxy finds a way out. The leaks being on the bottom side of the piece, I didn't notice until I de-masked the boards the following day. Not only did this leave a nasty epoxy buildup that I had to clear with my oribital sander (like 2 hours of sanding) it also meant that the knots were under filled. This meant I had to prep an perform a secondary pour. I'd like to think I learned my lesson, but sadly I've been bitten by this error a few more times since (see the Glass Inlay Table project for a heinous example).

