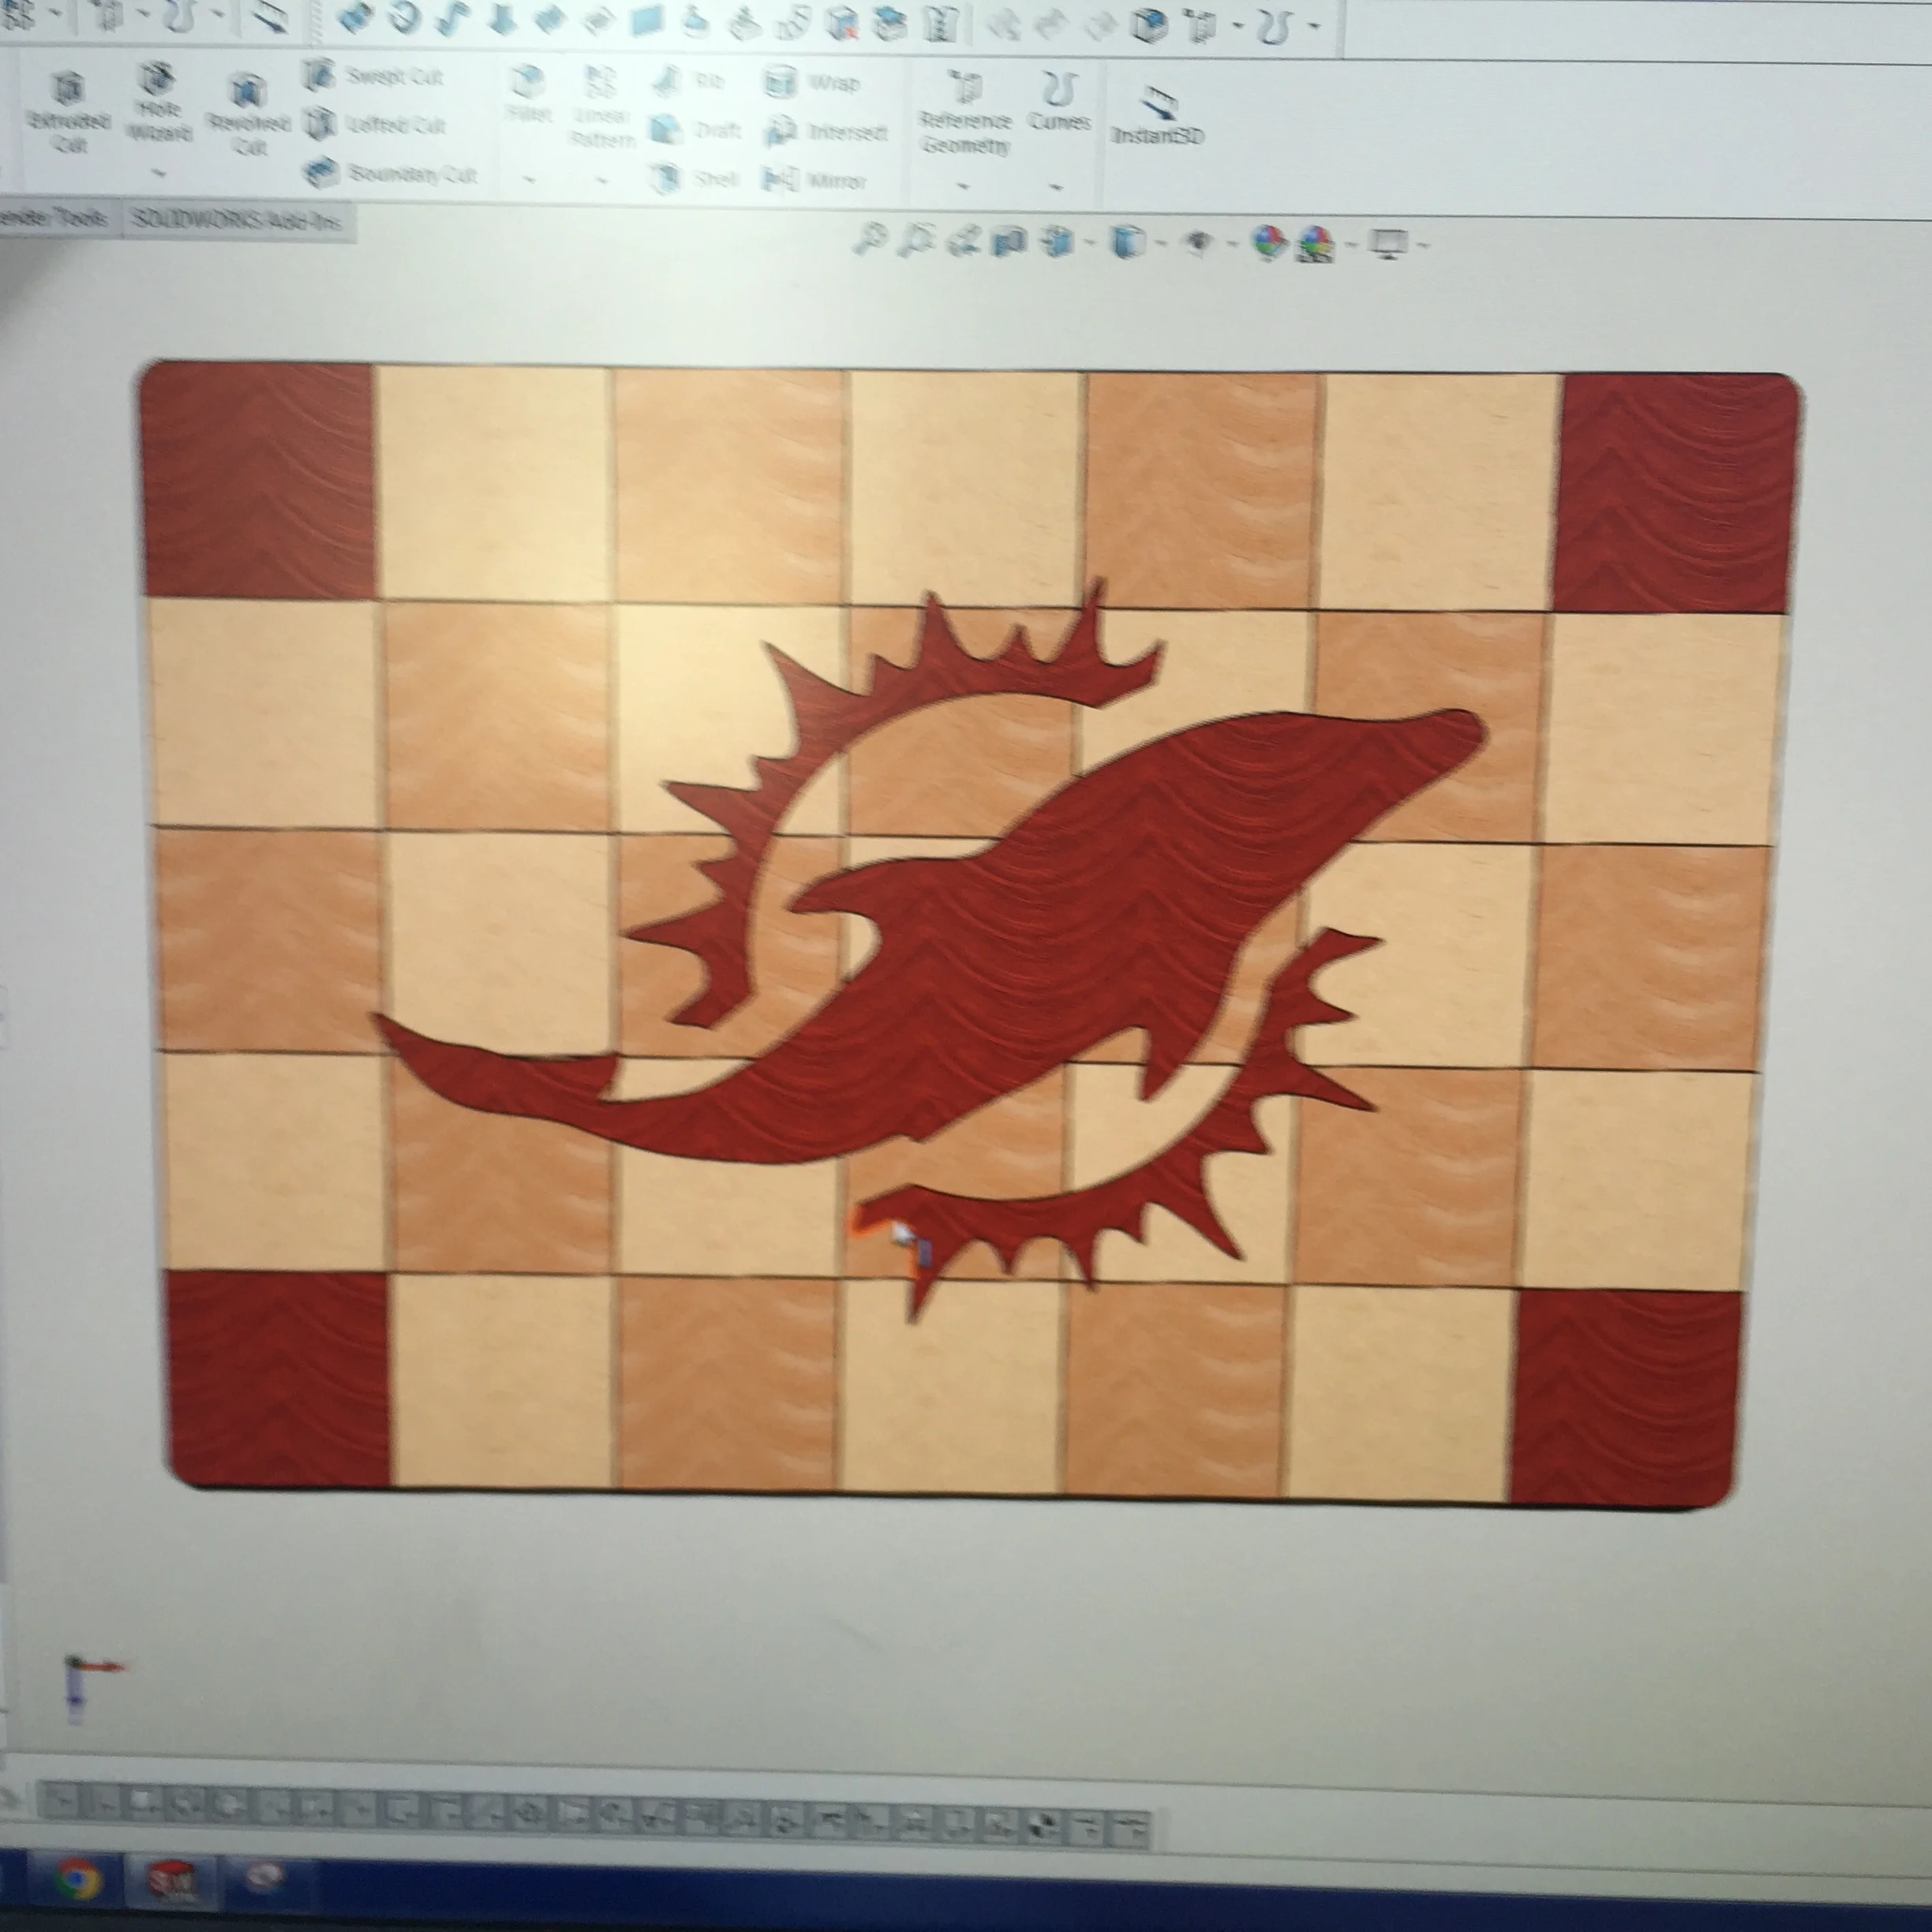

Dolphins End Grain Cutting Board
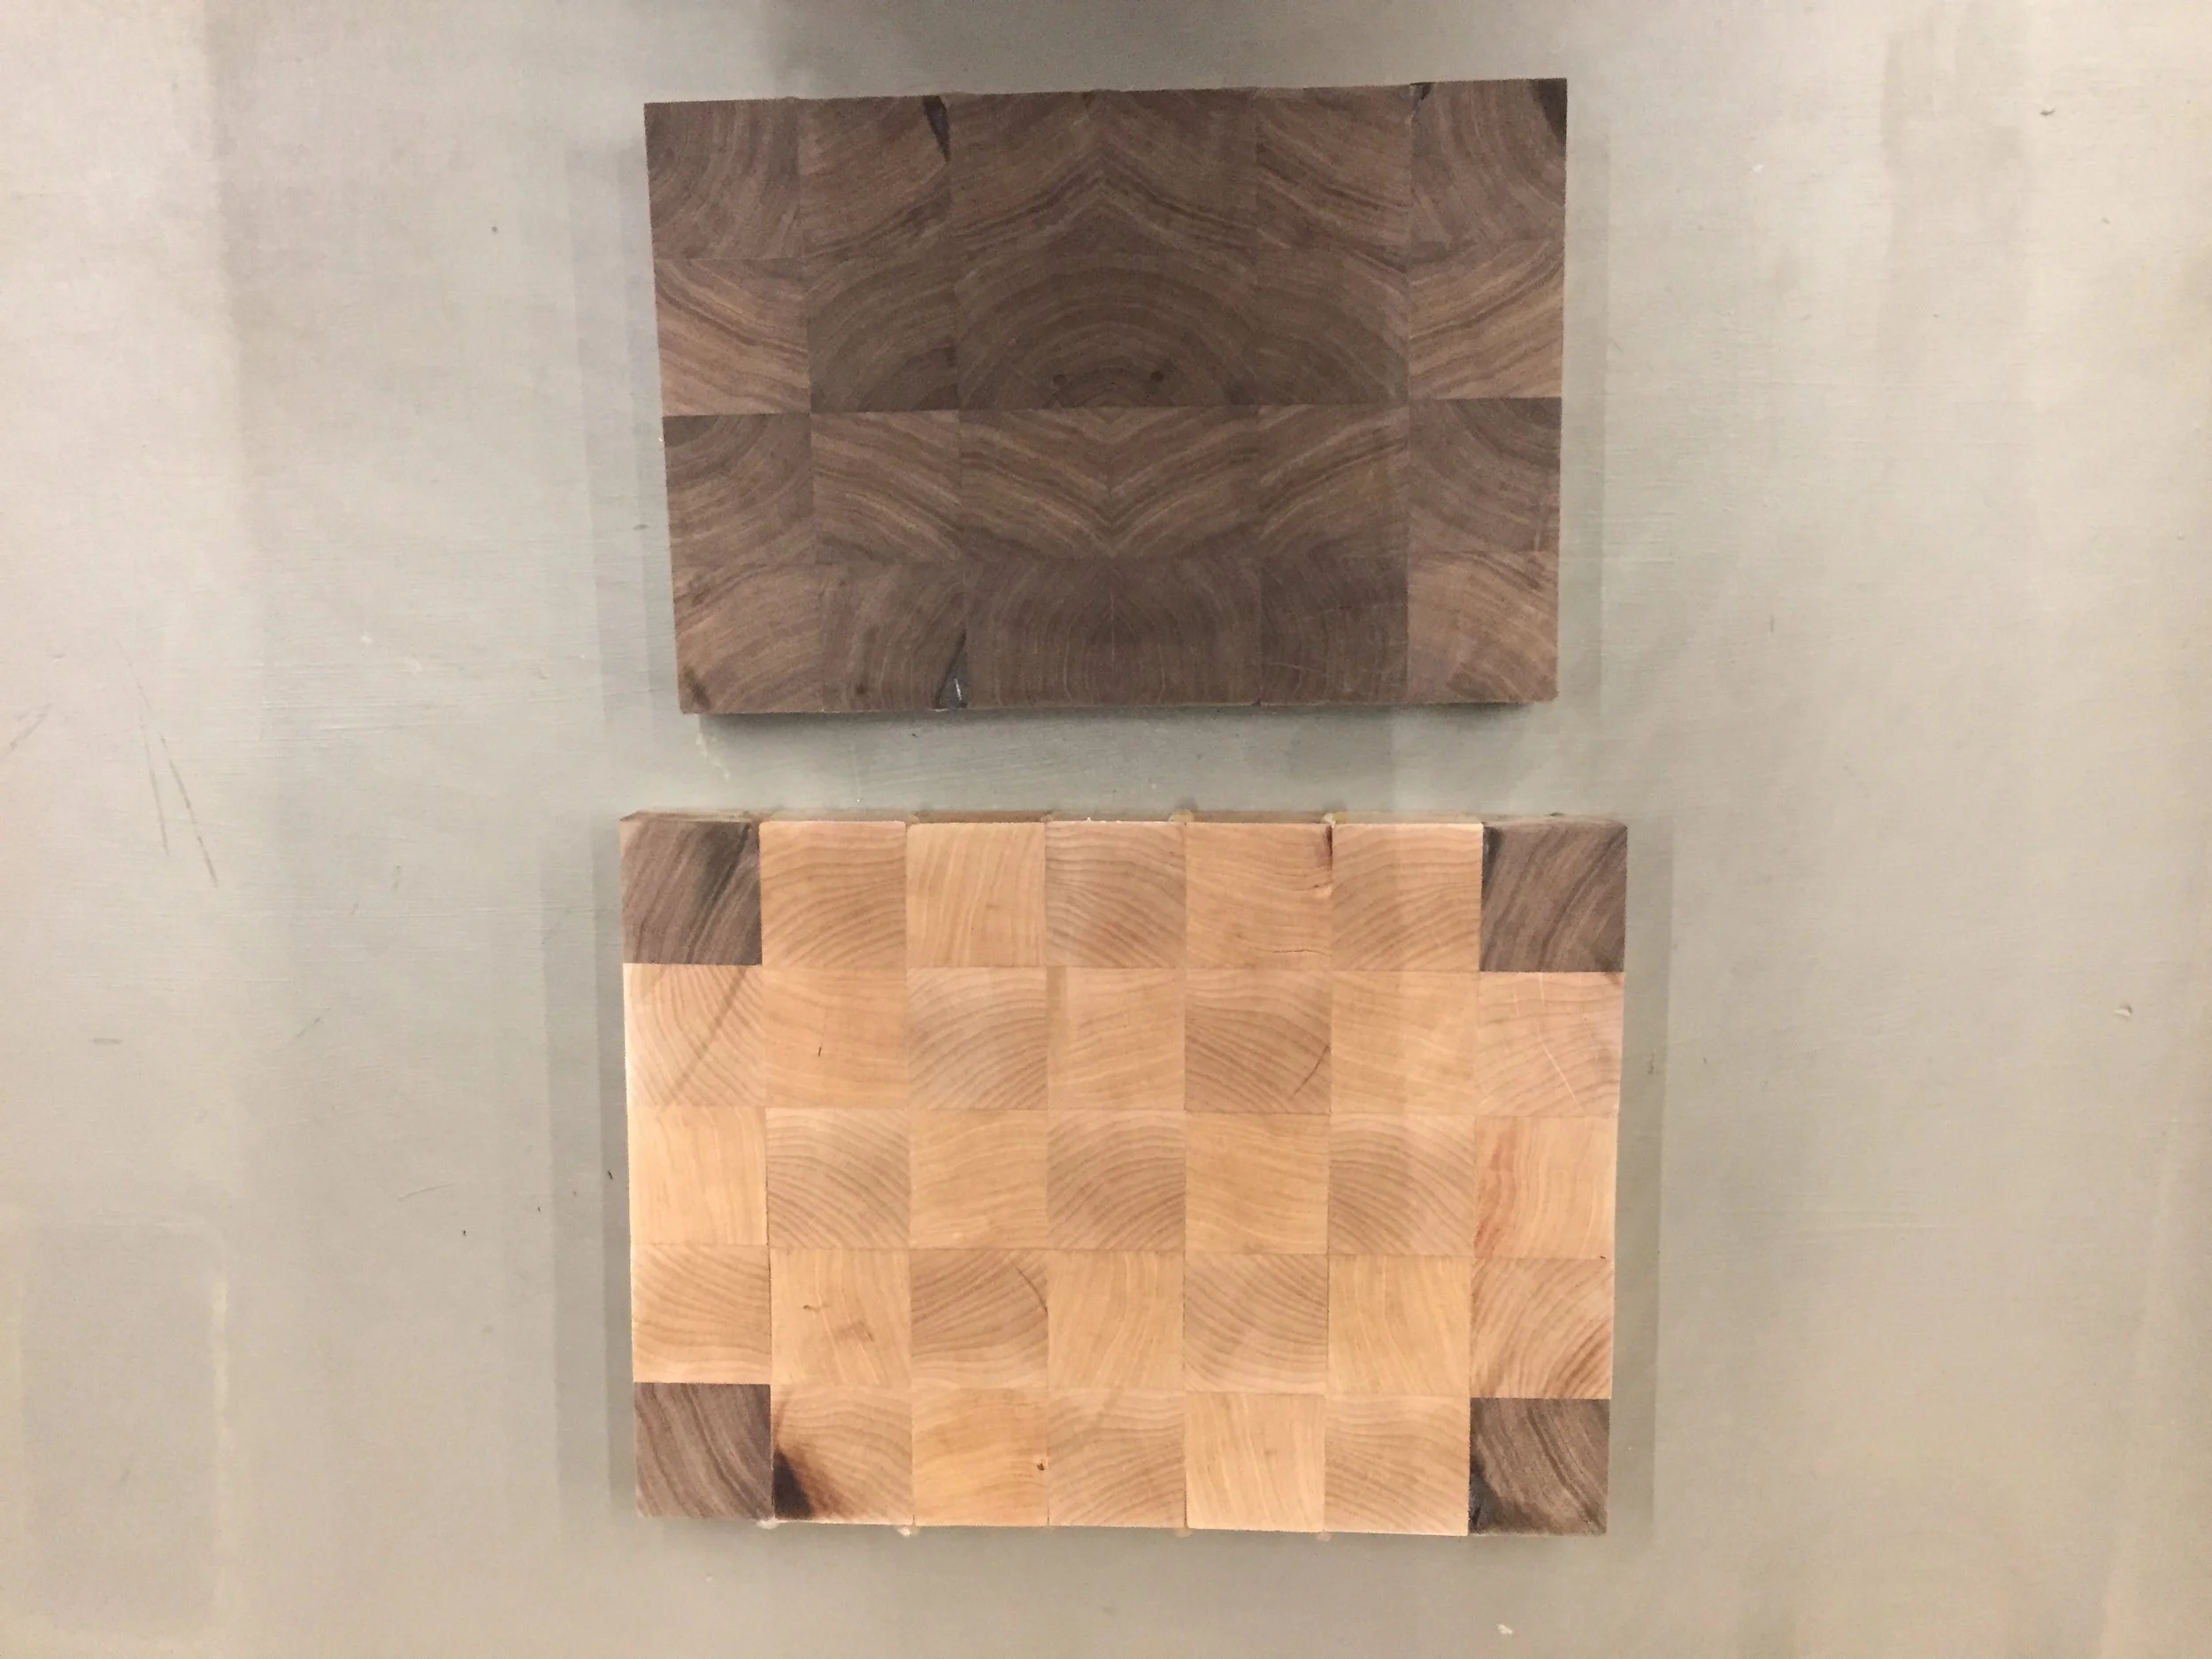
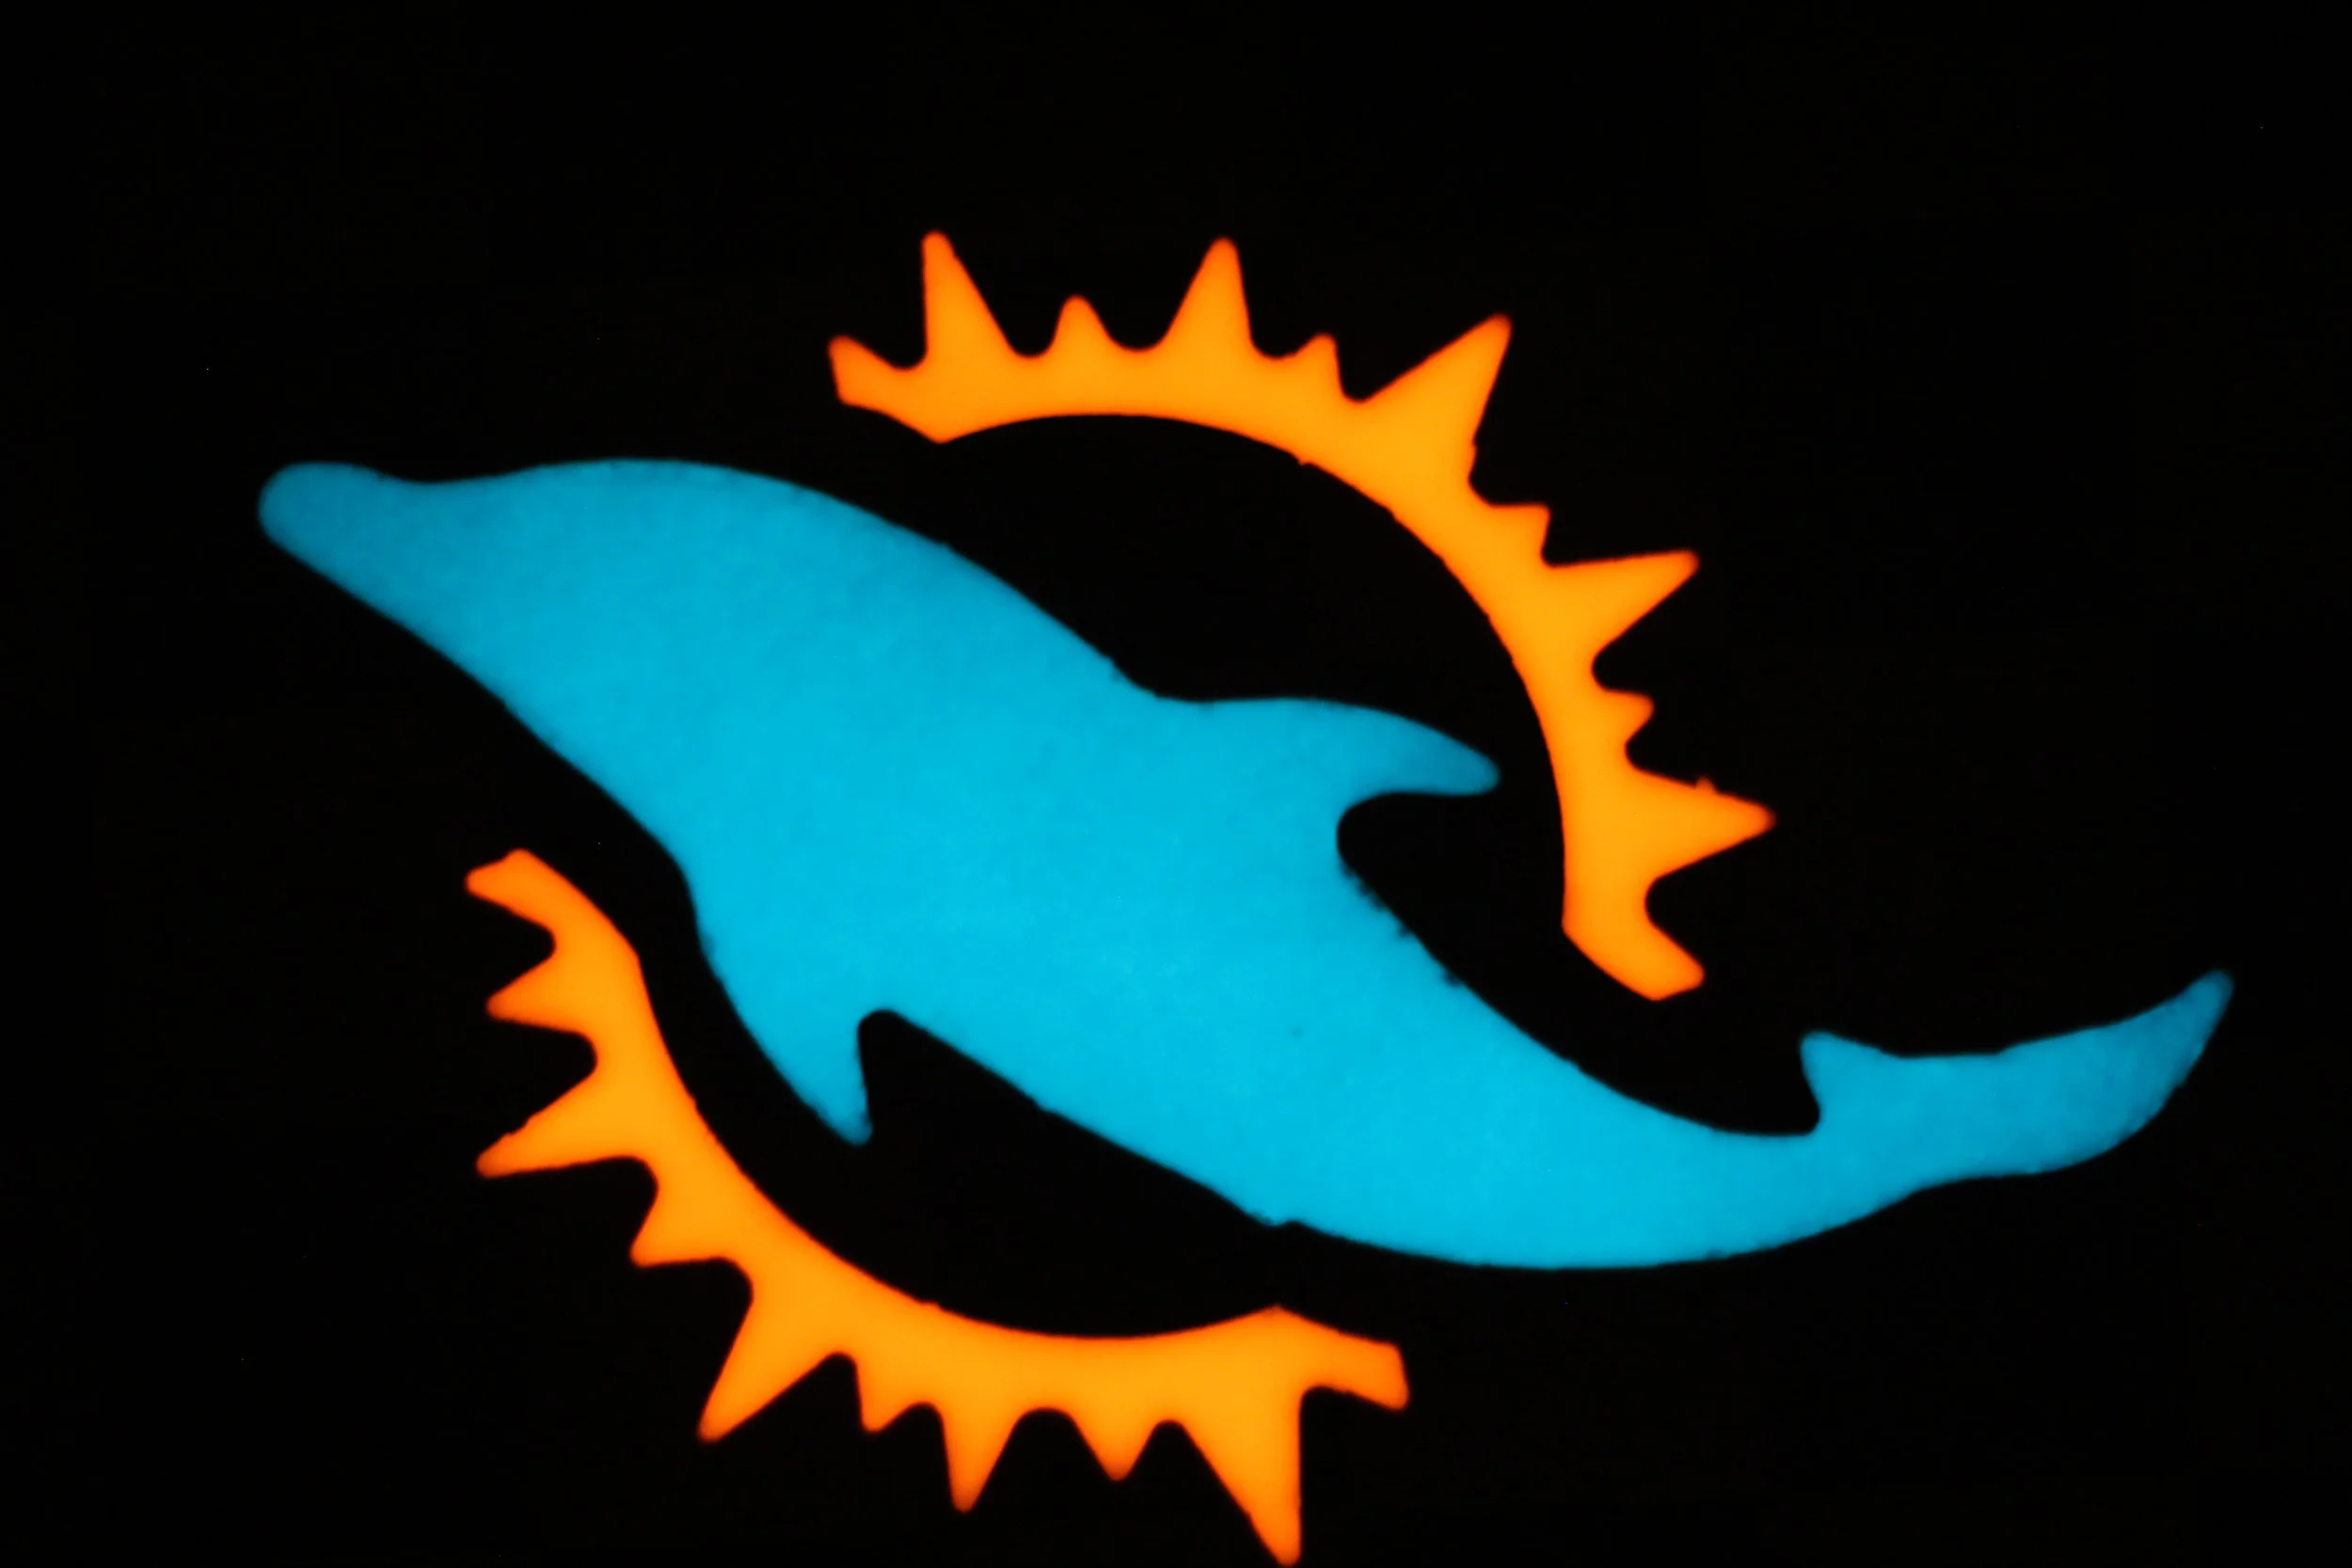
My first and perhaps most complicated cutting board project, this board was made a gift for couple of hardcore Miami Dolphins fans. I made two end grain boards ( a cheery and maple checker and a solid walnut) to complete the inlay. On the back side, Aqua and orange glow in the dark epoxy fill in the inlay recess create an interesting after dark aesthetic even if its not entirely food safe.... ooops.
Required Resources: 15 hours, $70
Size: 10" x 14" x 1.25"
Materials: Walnut, Maple, Cherry (Pre-Finished 2"x2" Leg blanks), Titebond III (Foodsafe wood glue)
Finish: Howard's Butcher Block Conditioner (Canuba + Bees Wax + Mineral) Oil
Tools: Table Saw, Stationary Belt Sander, Orbital Sander, Water Jet
New Techniques: This was my first major woodworking project and I decided to bite off a lot in tackling it. An end grain cutting board requires several skills that I did not have at the time, such as jointing, glue line table sawing, end grain planing and proper glue up set up. On top of this I added an inlay and epoxy filling step that severely complicated the effort. In all this project was only 25% actual woodwork and the rest spent online watching videos of people who actually knew what they were doing to plot a course of my own.
Lessons Learned: This project experienced so many hiccups, I'm not sure where to start:
Use the right tools, use the tools right: I made this cutting board without the use of a planar or a jointer. 75% of my time was spent cleaning up my rip cuts and poorly aligned glue with a stand mount belt sander. It was extraordinarily tedious and unfathomably messy. Without setting proper dust collection, a thin film of sawdust coated the entirety of the workshop; clean up taking 90 minutes when all said and done. Access to a planar and hooking up a shop vac to the dust port on the sander was key in reducing the time and improving the quality of the next cutting board I made.
All woods were not made equal: Maple and Cherry have different physical and mechanical properties. Thus, when being sanded with an orbital at coarse grit, the two woods erode at different rates. This becomes a problem when the cutting board is a checkerboard pattern, with interleaved and alternating material squares. I ended up with an undulating pattern on what was supposed to be a flat cutting board. Switch over to a belt sander for areas that required high mass removal was key in salvaging the project.
Water and Wood Don't Mix: As mentioned before I complicated this project by adding an inlay of the Miami Dolphins logo. As The block was quite thick, the best option for cutting the cut through was the water jet. Now, I've watch plenty of videos on youtube of a water jet being used to cut wood, so I thought I knew what I was doing. What I didn't quite grasp the importance of in those videos, was the fact that the operators made special care to avoid letting the water in the bed rise to the base of the wood work piece. I didn't take this precaution and the ramifications were 2 fold. First, the large surface are of end grain sucked up a ton of water. By the end of the cut, the board was visibly swelling and several of the small, un-buttressed features of the cutout began to split. Secondly, the water that board absorbed was filthy. Not great for something you intend on preparing food on. When I got to the board the next morning, it covered in black mold. Bleach and another couple hours of sanding were the only remedies for this mistake.