Dolphins Inlay Cutting Board
My first and perhaps most complicated cutting board project, this board was made as a gift for couple of hardcore Miami Dolphins fans. I made two end grain boards ( a cherry and maple checkerboard and a solid walnut) to complete the inlay. On the back side, aqua and orange glow-in-the-dark epoxy fill in the inlay recess to create an interesting after dark aesthetic, even if its not entirely food safe.... ooops. Don't worry, they don't use that side for cutting things anyways. I've confirmed it.
Required Resources: 15 hours, $70
Size: 10" x 14" x 1.25"
Materials: Walnut, Maple, Cherry (Pre-Finished 2"x2" Leg blanks), Titebond III (Foodsafe wood glue)
Finish: Howard's Butcher Block Conditioner (Canuba + Bees Wax + Mineral) Oil
Tools: Table Saw, Stationary Belt Sander, Orbital Sander, Water Jet
New techniques: End Grain Cutting Board With Inlays
Constructing the BLanks
Since I was planning on doing an inlay, I need to create 2 end grain blanks. I had never made an end grain board before, so jumping straight into project such as this, where I had to make two full size boards and then cut out patterns from them, was some what nerve wracking. If I messed up the cut out procedure, all the work I had done to make the two constituent boards would be for naught, and I'd have to start all over again.

As this was a rather complicated design with a high level of risk, I took the time to CAD and render the board so I knew exactly what I was getting in to.
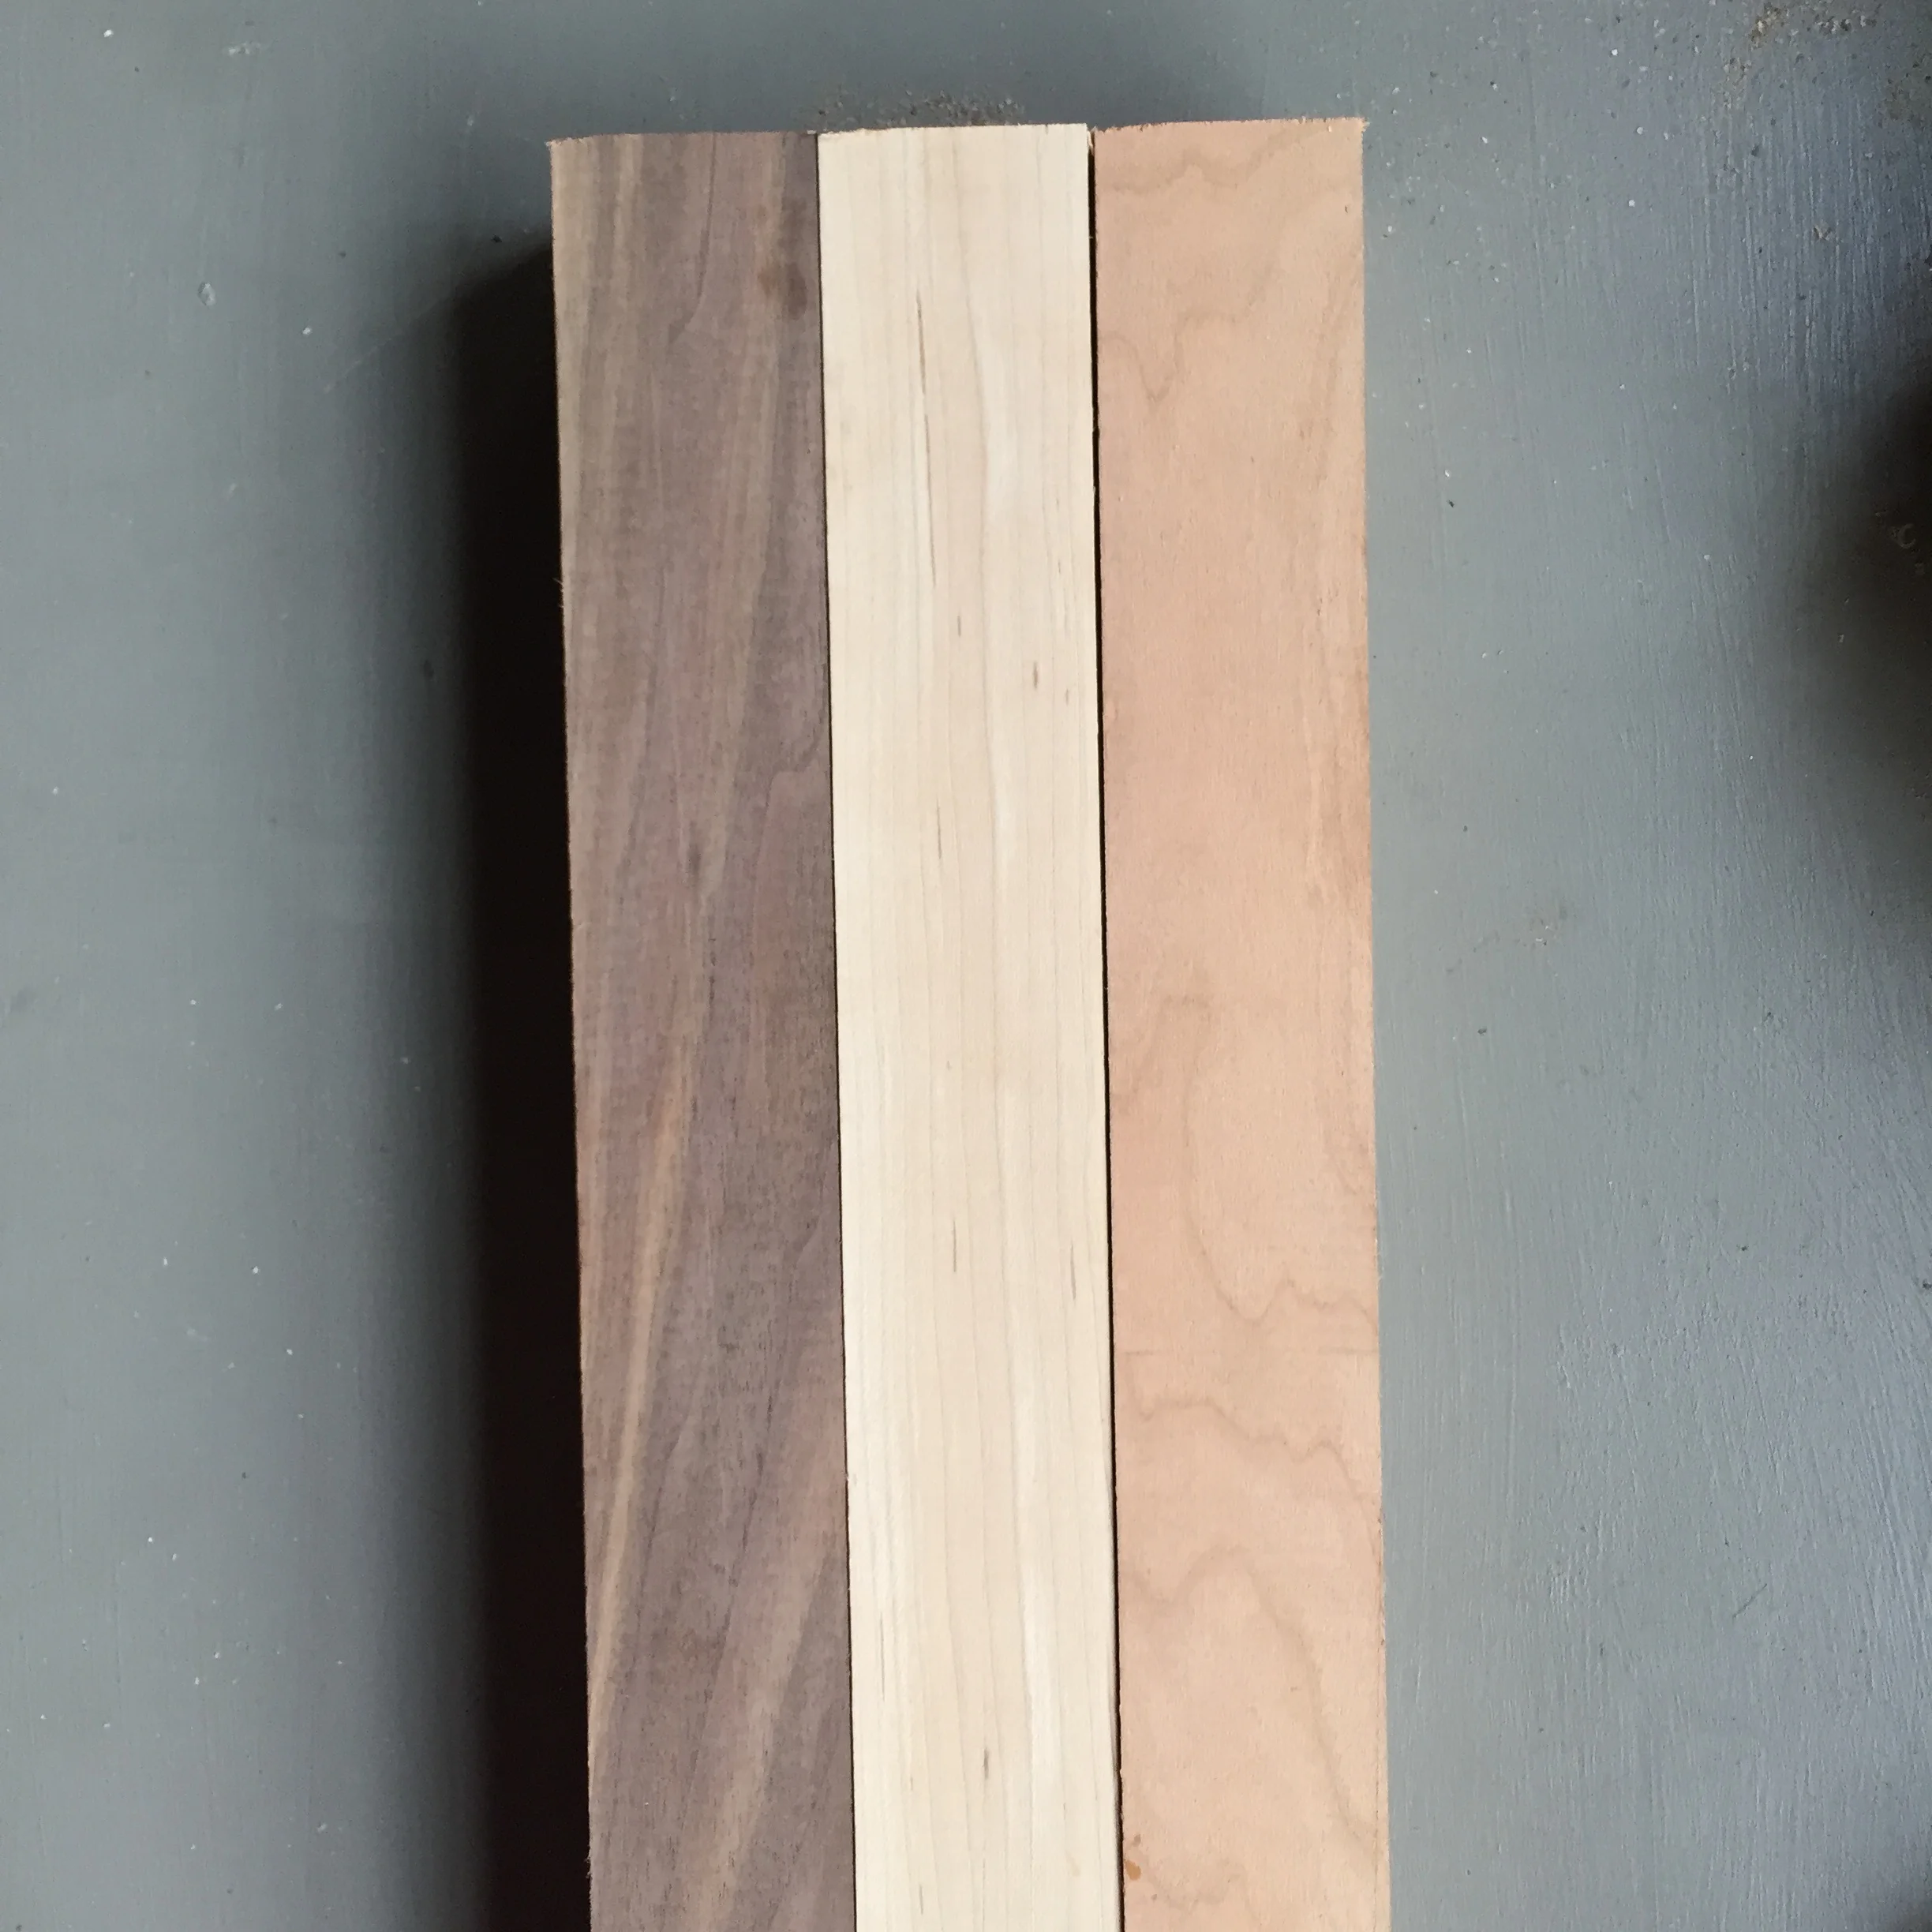
This was before I had my own planer, jointer, or even belt sander at home, so I bought pre-milled, turning blanks from McBeath's Hardwoods. I bought sticks of walnut, maple and cherry, the 3 most common cutting board woods on account of their tight grain structure and durability. They did not come cheap, however, as pre-milled lumber in small quantities garners a steep premium. For 3 board feet of material, I ended up paying ~$70. Now that I have the appropriate tools to mill blanks like these in my basement and the space to buy in bulk, this amount of wood typically runs about $22.

The first "unit slab". This glued assembly is cross cut to reveal the end grain. In many cutting board projects, the "unit slab" is quite long and can be cross cut into a dozen or more slices.
Exposing the End Grain
After the "unit slabs" are set, the pieces are cross cut, flipped 90 degrees and glued back together to form an end grain cutting board.

All the "unit slabs" that I need to complete this project.
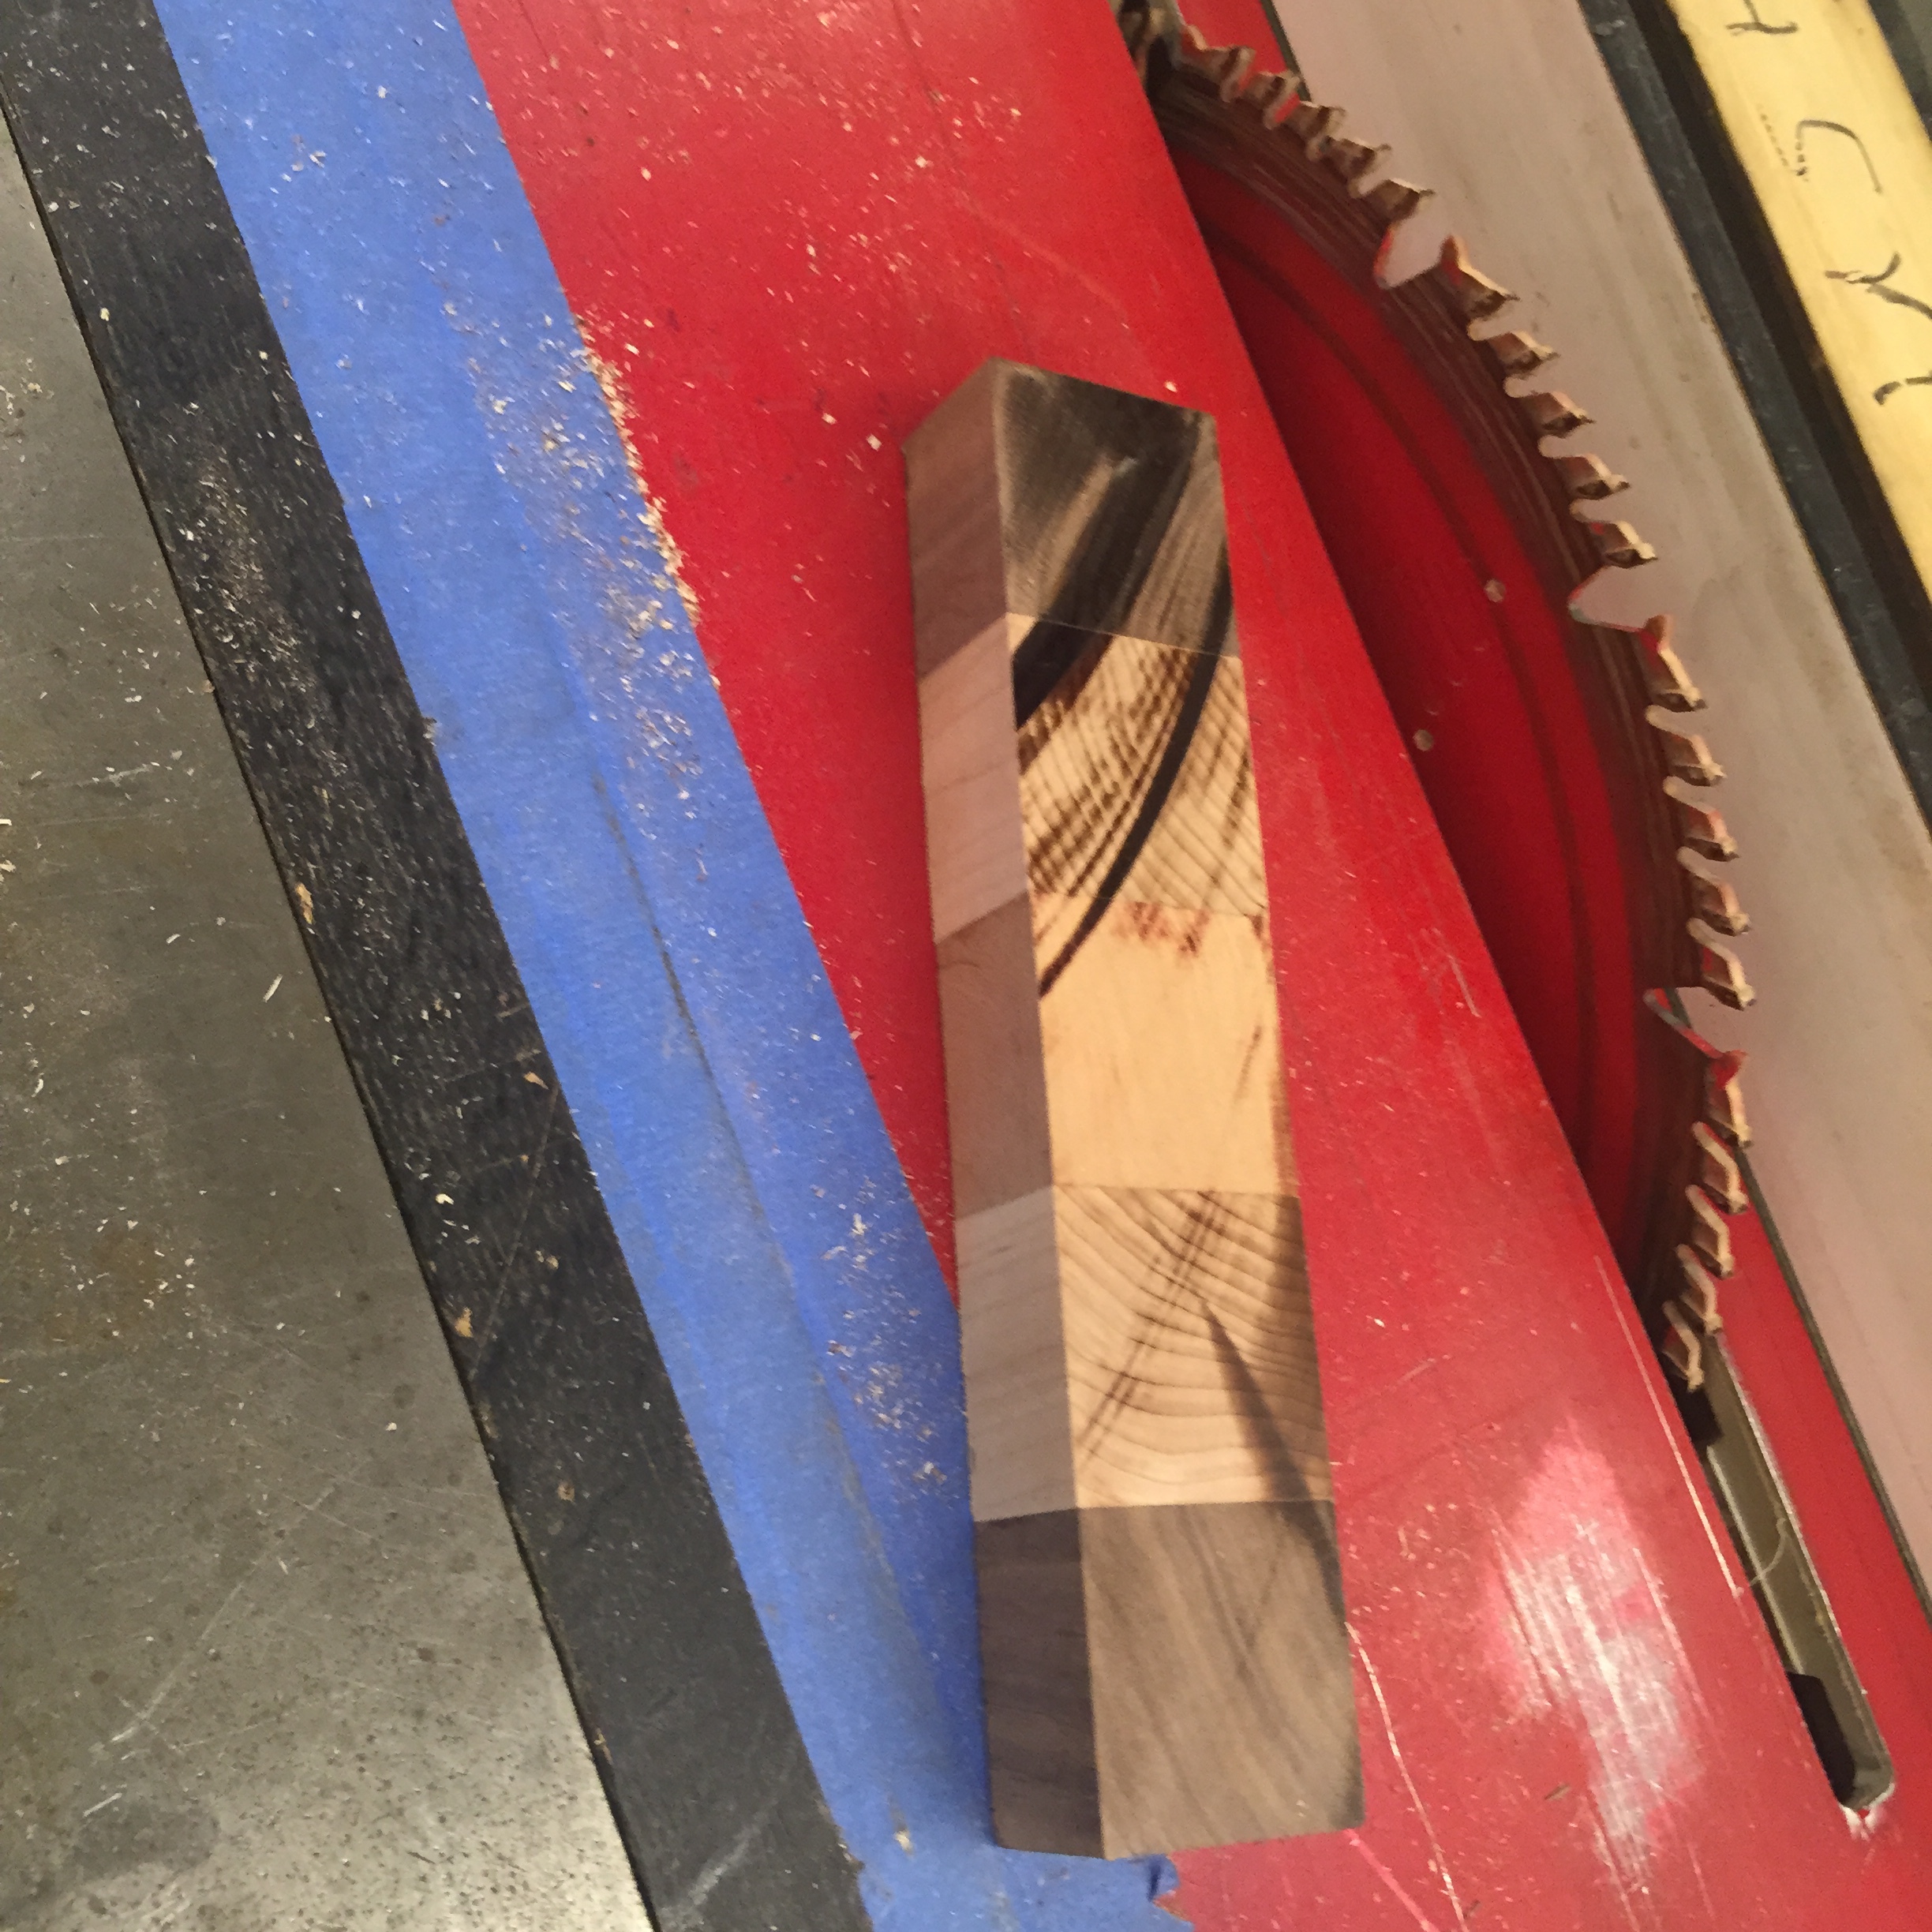
Crosscutting the unit slab on the table saw to reveal the end grain. In order to maximize cutting area of the board, I decided to cut the unit slab into 1 inch slices. Typically I prefer to go for 1.5" as the extra thickness gives the board a sturdier look/ feel.
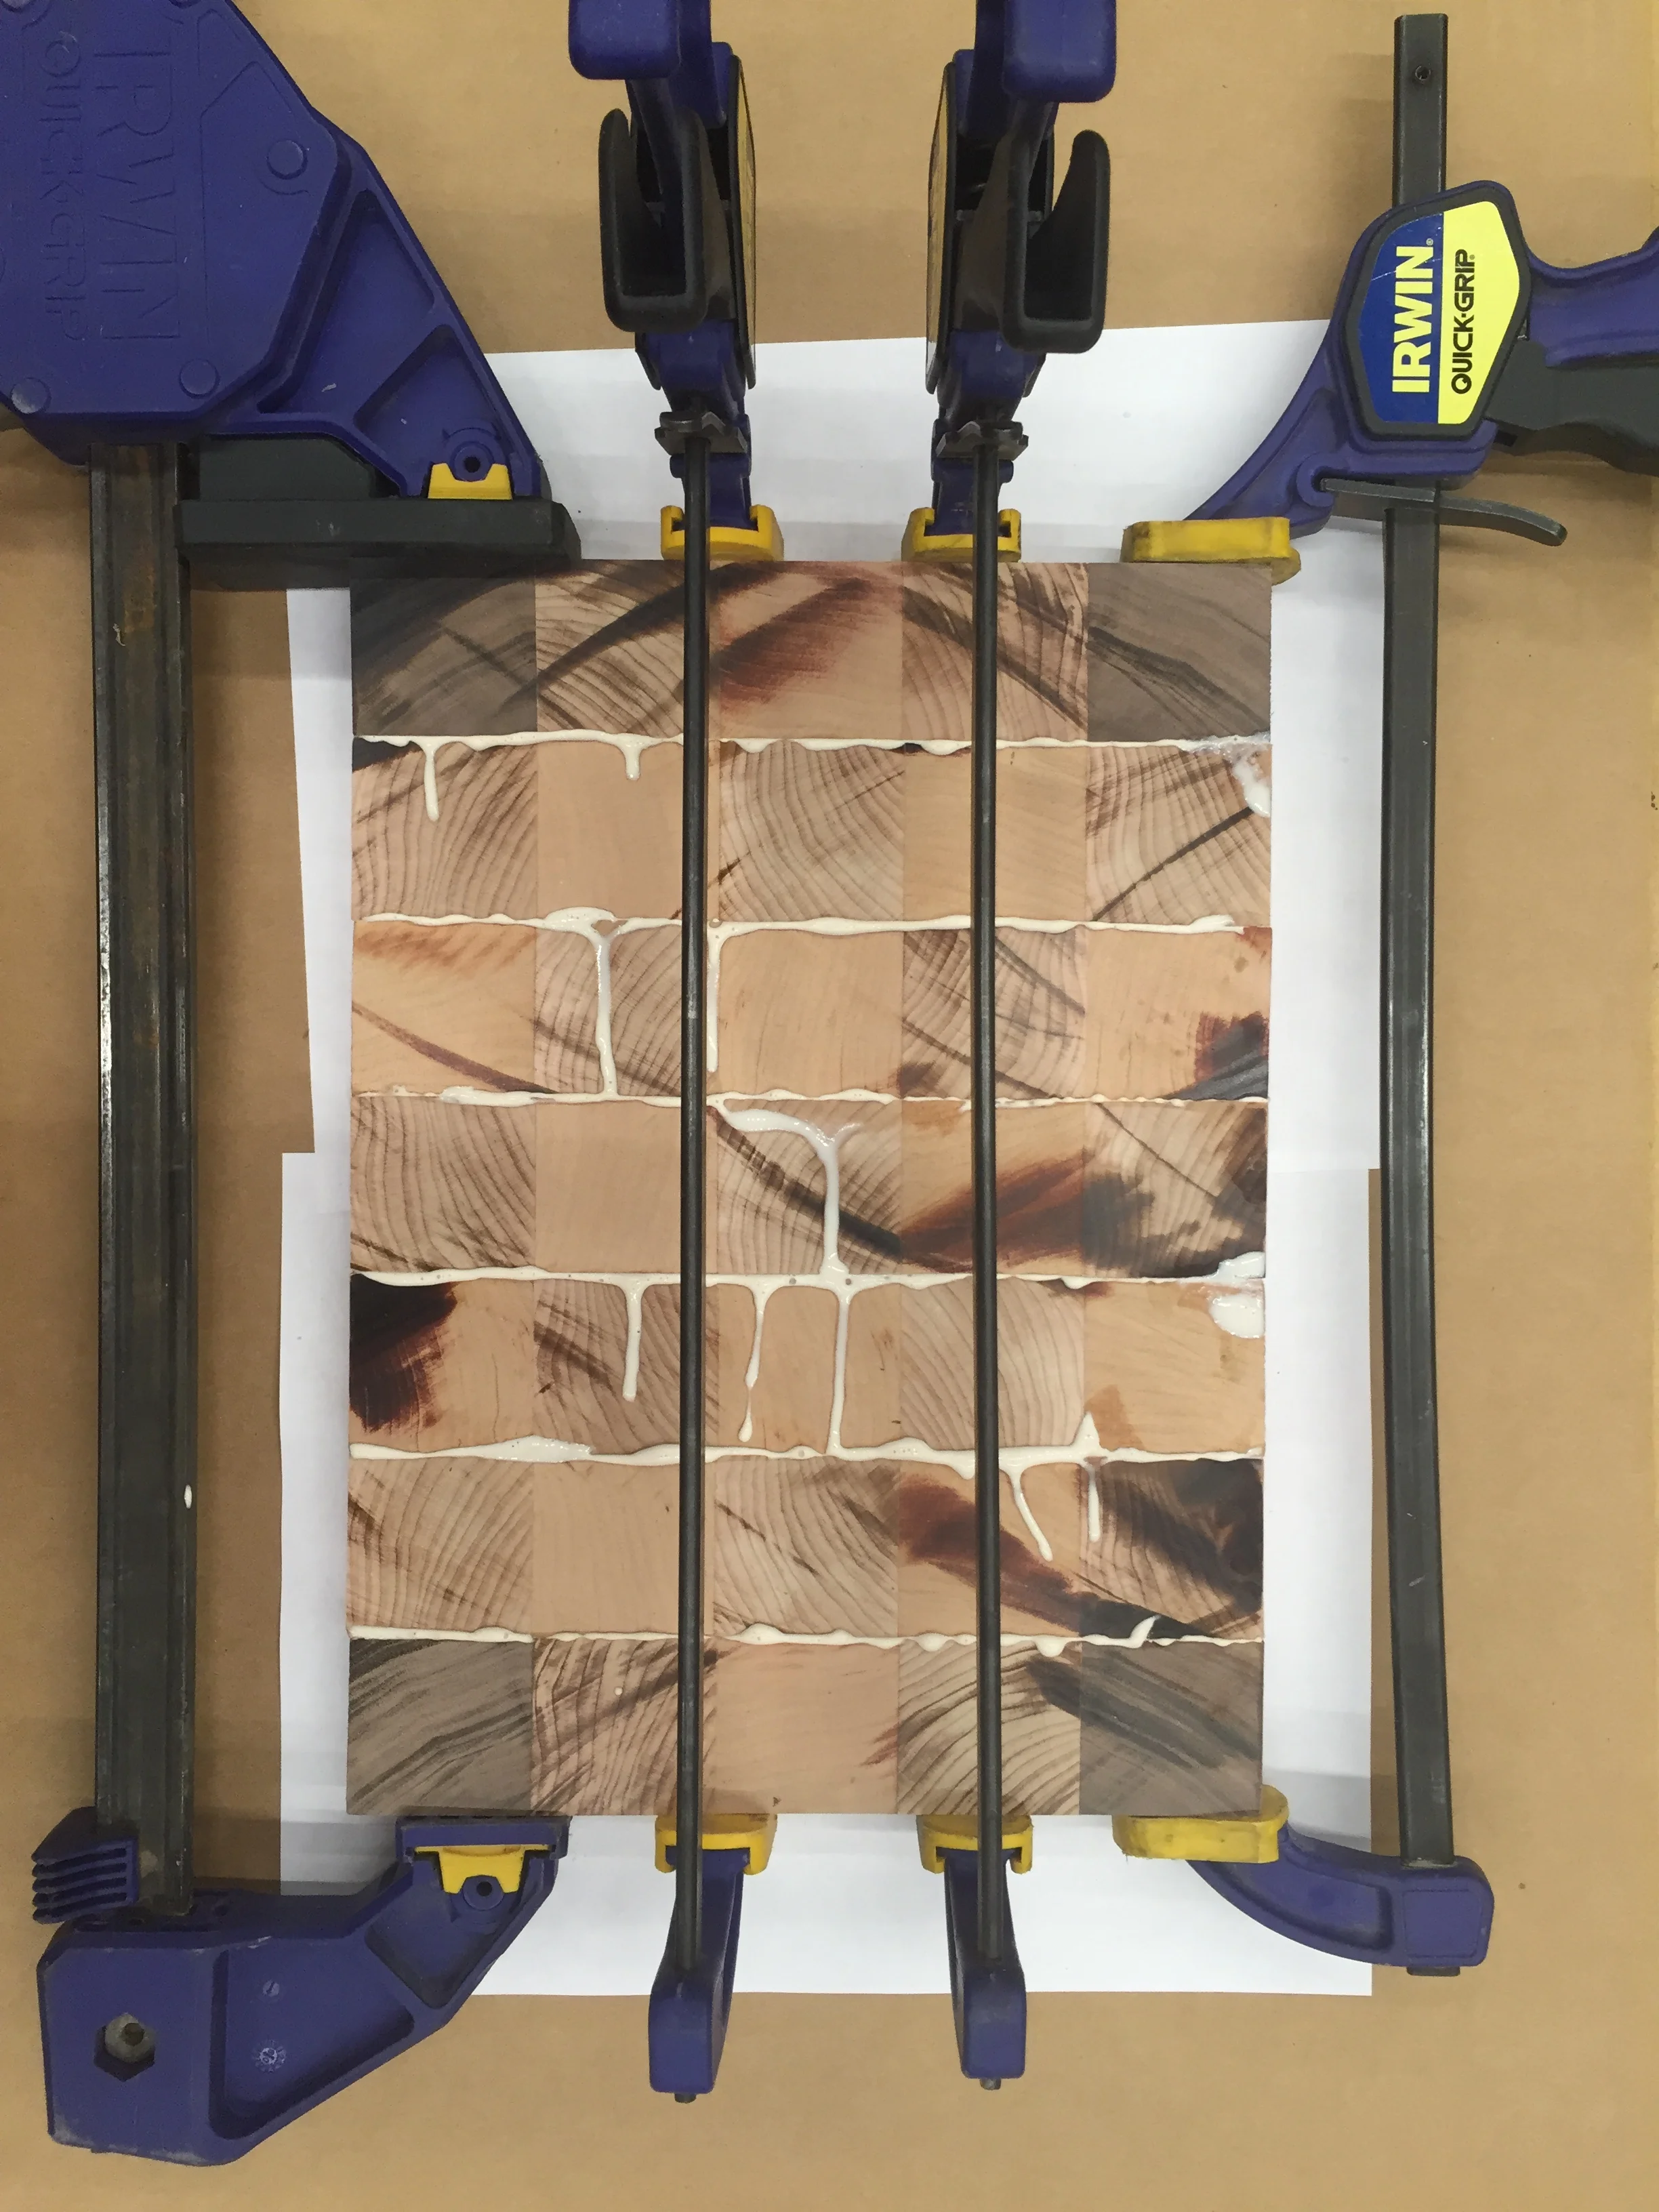
With all the slices cut, it was time for a glue up. One of the major takeaways from this project was that as a woodworker, you can never have too many clamps.
Cutting out the Inlay
High Risk, High Reward. After 6 hours spent creating the end grain blanks, it was time for the main event. Water jetting out the inlays. If it worked, I would be 90% of the way towards a cutting board my friends would be sure to cherish. If it failed, I'd have to scrap the boards and start all over.

The two end grain blanks after glue up. Both of these boards could have been converted into quality cutting boards on their own. But... you got to go big or go home. Right?

Cutting the blanks on the water jet. With the water level as low as it could go,there was still splashing which soaked the board and caused the grain to swell. Obviously, this was not ideal given that I was trying to precision fit an inlay.

The moment of truth.... Drum Roll Please! And it fit. With a little coaxing with a mallet, the Dolphin's logo inlay was a tight fit into the base board relief. A couple hours of sanding later, and the board was ready for the final stage.
Glow-In-the-Dark Epoxy InLay
The walnut Dolphin's inlay was not quite as thick as the base board, leaving a pocket on the back side of the board. No worries, I had a plan.

I filled the recess on the back of the board with some glow powder infused casting resin. The process was pretty straight forward and the clean up I did with the orbital sander was far easier the clean up on the front face.

An image of the board in the dark. The Glow feature came out a lot crisper than I had anticipated. I am really quite pleased with it.

I ended up buying a light box to take product photos and the cutting board was my first photo shoot. I am still working out my process post-process, but I do think that even with the remedial methods I employ now, the professionalism of my photos has been stepped up.
Lessons Learned:
Lessons Learned: This project experienced so many hiccups, I'm not sure where to start:
Use the Right Tools. Use the Tools Right: I made this cutting board without the use of a planar or a jointer. 75% of my time was spent cleaning up my rip cuts and poorly aligned glue joints with a stand mounted belt sander. It was extraordinarily tedious and unfathomably messy. Having eschewed a proper dust collection set up, a thin film of sawdust coated the entirety of the workshop. Clean up would take 90 minutes on average. I had far better ways to spend my time. Eventually, I learned my lesson and hooked the belt sander up to a shop vac, drastically reducing the time to make and improving the quality of the next cutting board I made.
All Woods Were Not Made Equal: Maple and Cherry have different physical and mechanical properties. Thus, when being sanded with an orbital sander at coarse grit, the two woods erode at different rates. This becomes a problem when the cutting board is a checkerboard pattern, with interleaved and alternating material squares. I ended up with an undulating washboard surface on what was supposed to be a flat cutting board. I switched over to a belt sander for areas that required high mass removal and it truly salvaged the project.
Water and Wood Don't Mix: As mentioned before, I complicated this project by adding an inlay of the Miami Dolphin's logo. As the block was quite thick, the best option for the cut through was the water jet. Now, I've watch plenty of videos on YouTube featuring a water jet being used to cut wood. I thought I knew what I was doing. What I didn't quite grasp was the importance of not letting the water in the bed rise to the base of the wood work piece. I didn't take this precaution and the ramifications were two-fold. First, the large surface of exposed end grain sucked up a ton of water. By the end of the cut, the board was visibly swelling and several of the small, un-buttressed features of the cutout began to split. Secondly, the water that the board absorbed was filthy. Not great for something you intend on preparing food on. When I got to the board the next morning it covered in black mold. Bleach and another couple hours of sanding were the only remedies for this mistake.