End Grain Chess Board
This was a gift for my father last Christmas, although this wasn't originally supposed to be his gift. I had designed, cut out all the parts for and was beginning to assemble a Submarine themed backgammon board. (My dad builds submarines for a living, and loves to play back gammon. It would have been a thoughtful gift, I know.) Unfortunately, 2 days before I was to fly home, I was working on the backgammon board and sent halve of the backgammon board through the planer. The piece must have been too thin, because it got caught in the spindle blade and got spit out the back as a cloud of saw dust. Very seldom do I get angry while I'm wood working, it is my primary de-stresser, but never have I been so incensed with my self as when I saw the plume of wood chips shoot out the back of that planer. With the project I had already poured 15 hours into go almost literally up in smoke, I turned my efforts to make a different game board,.
Required Resources: 2 hours, $20
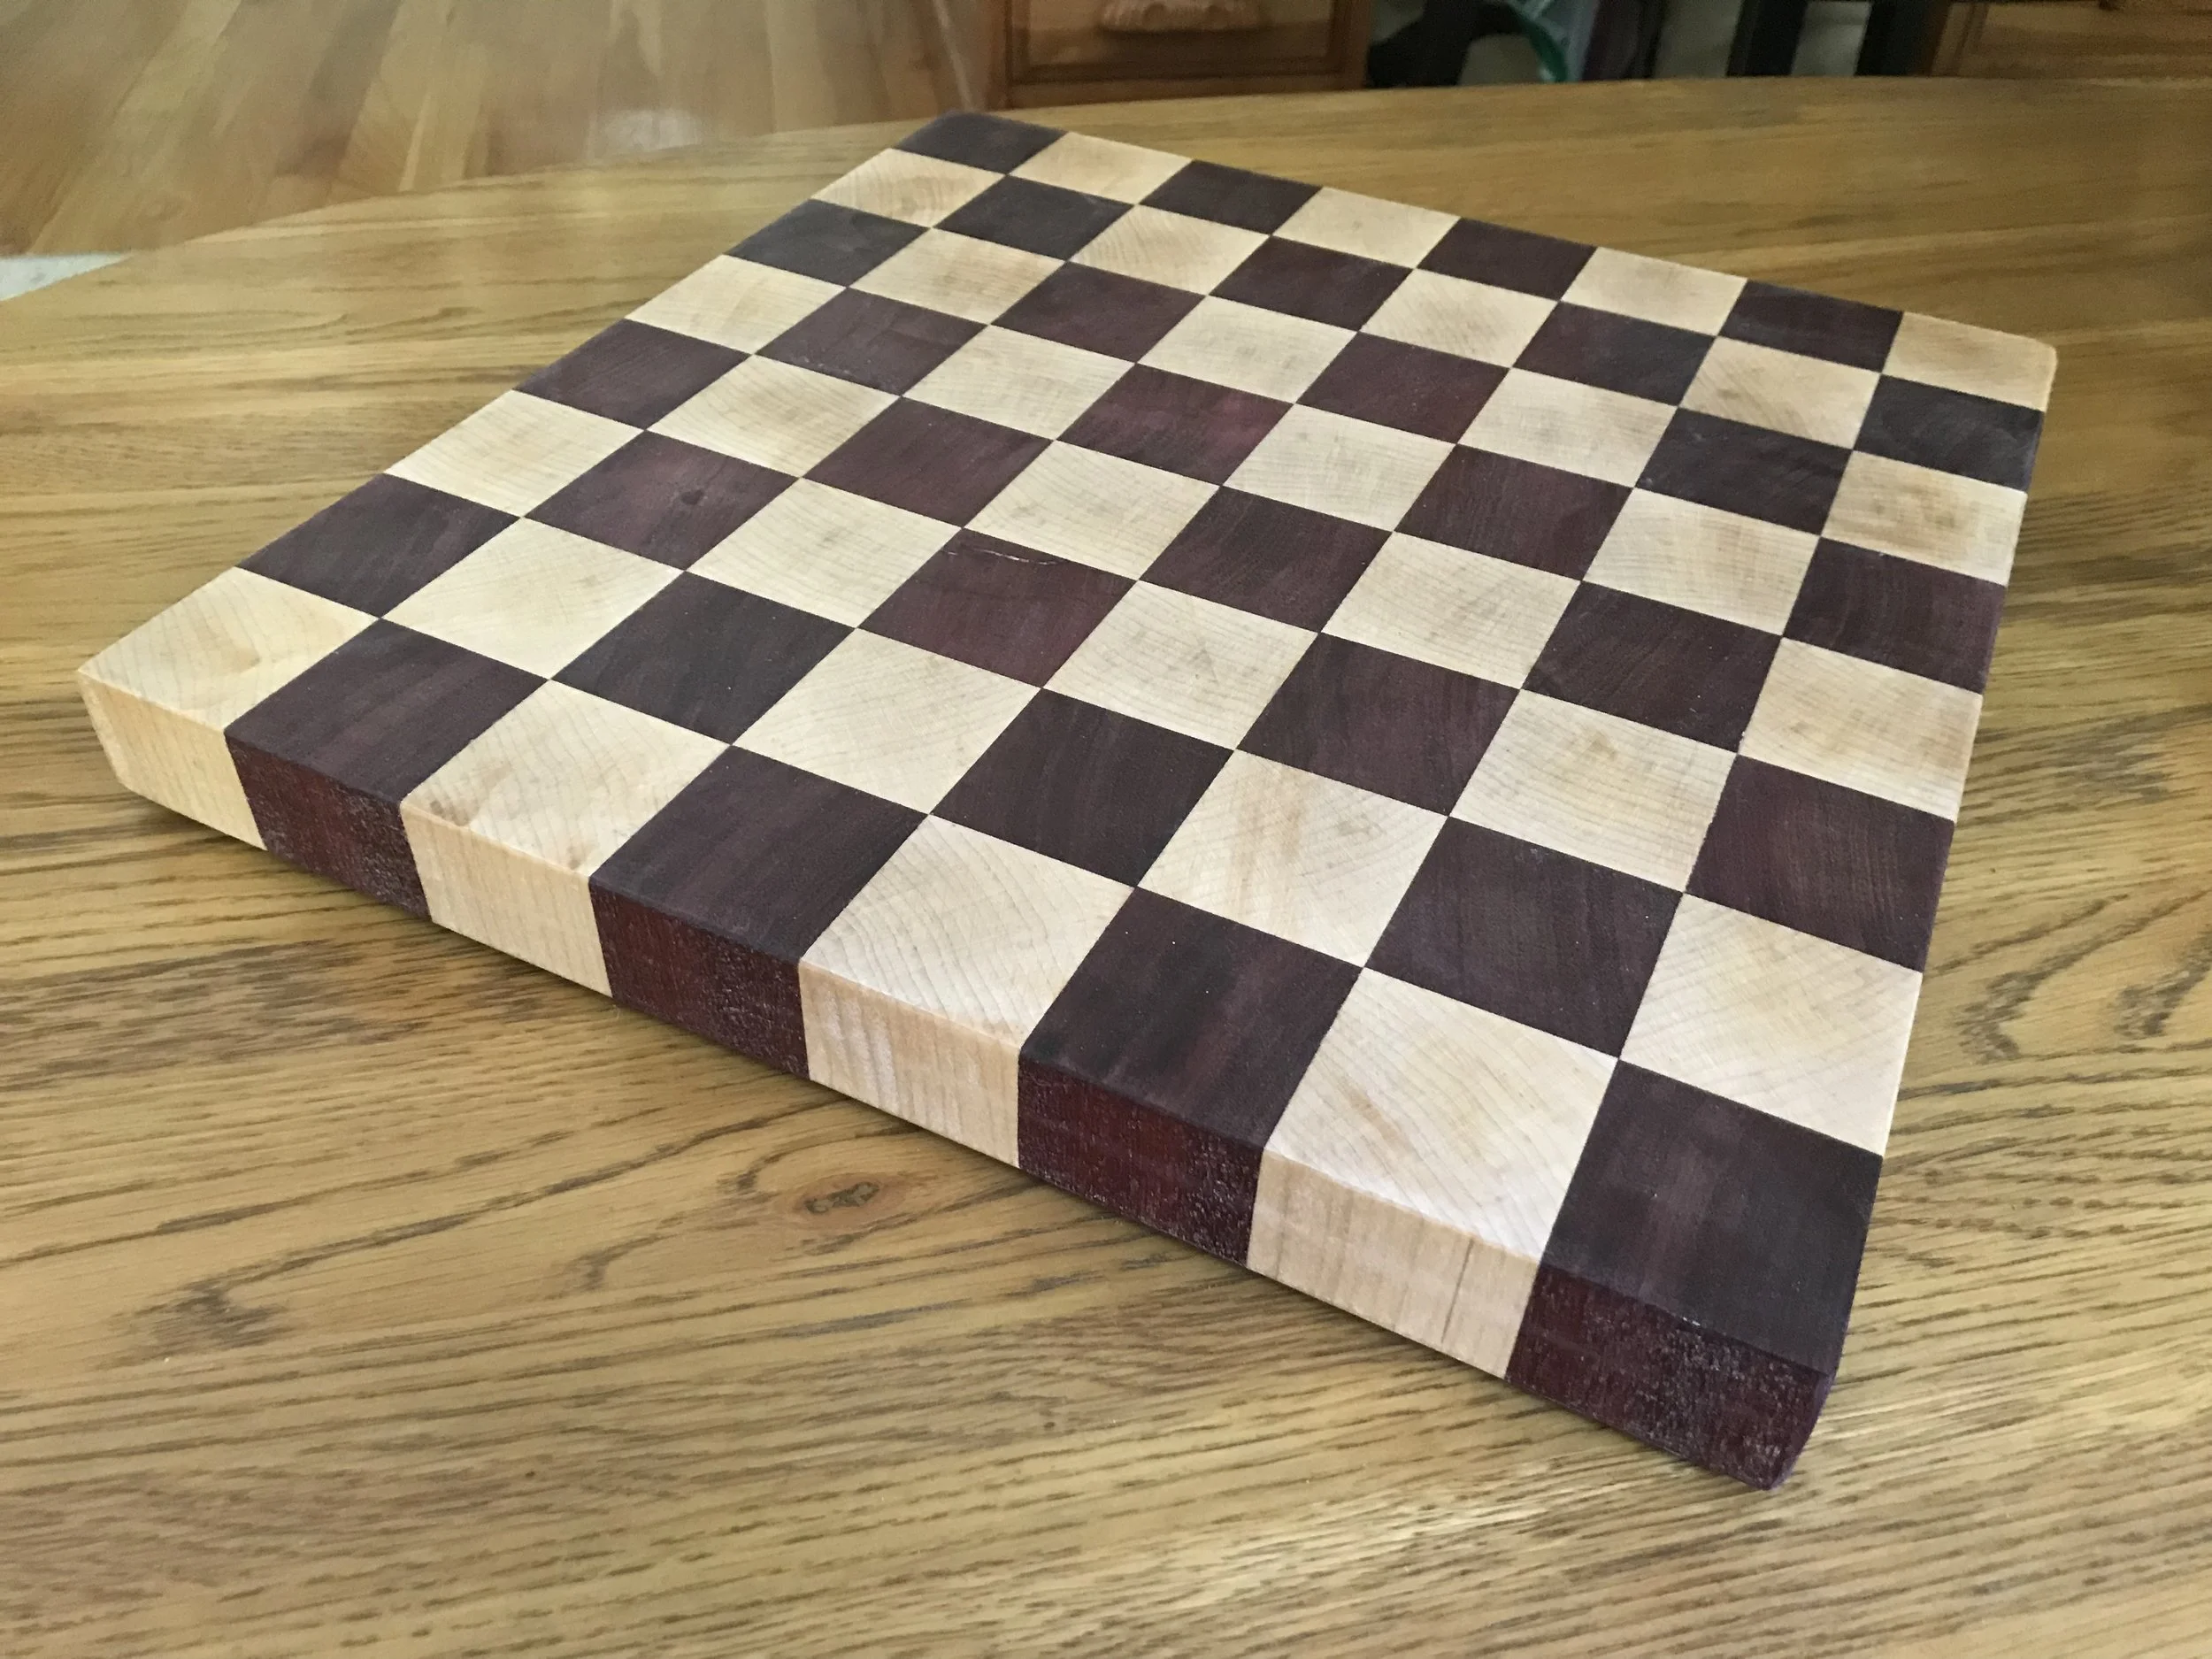
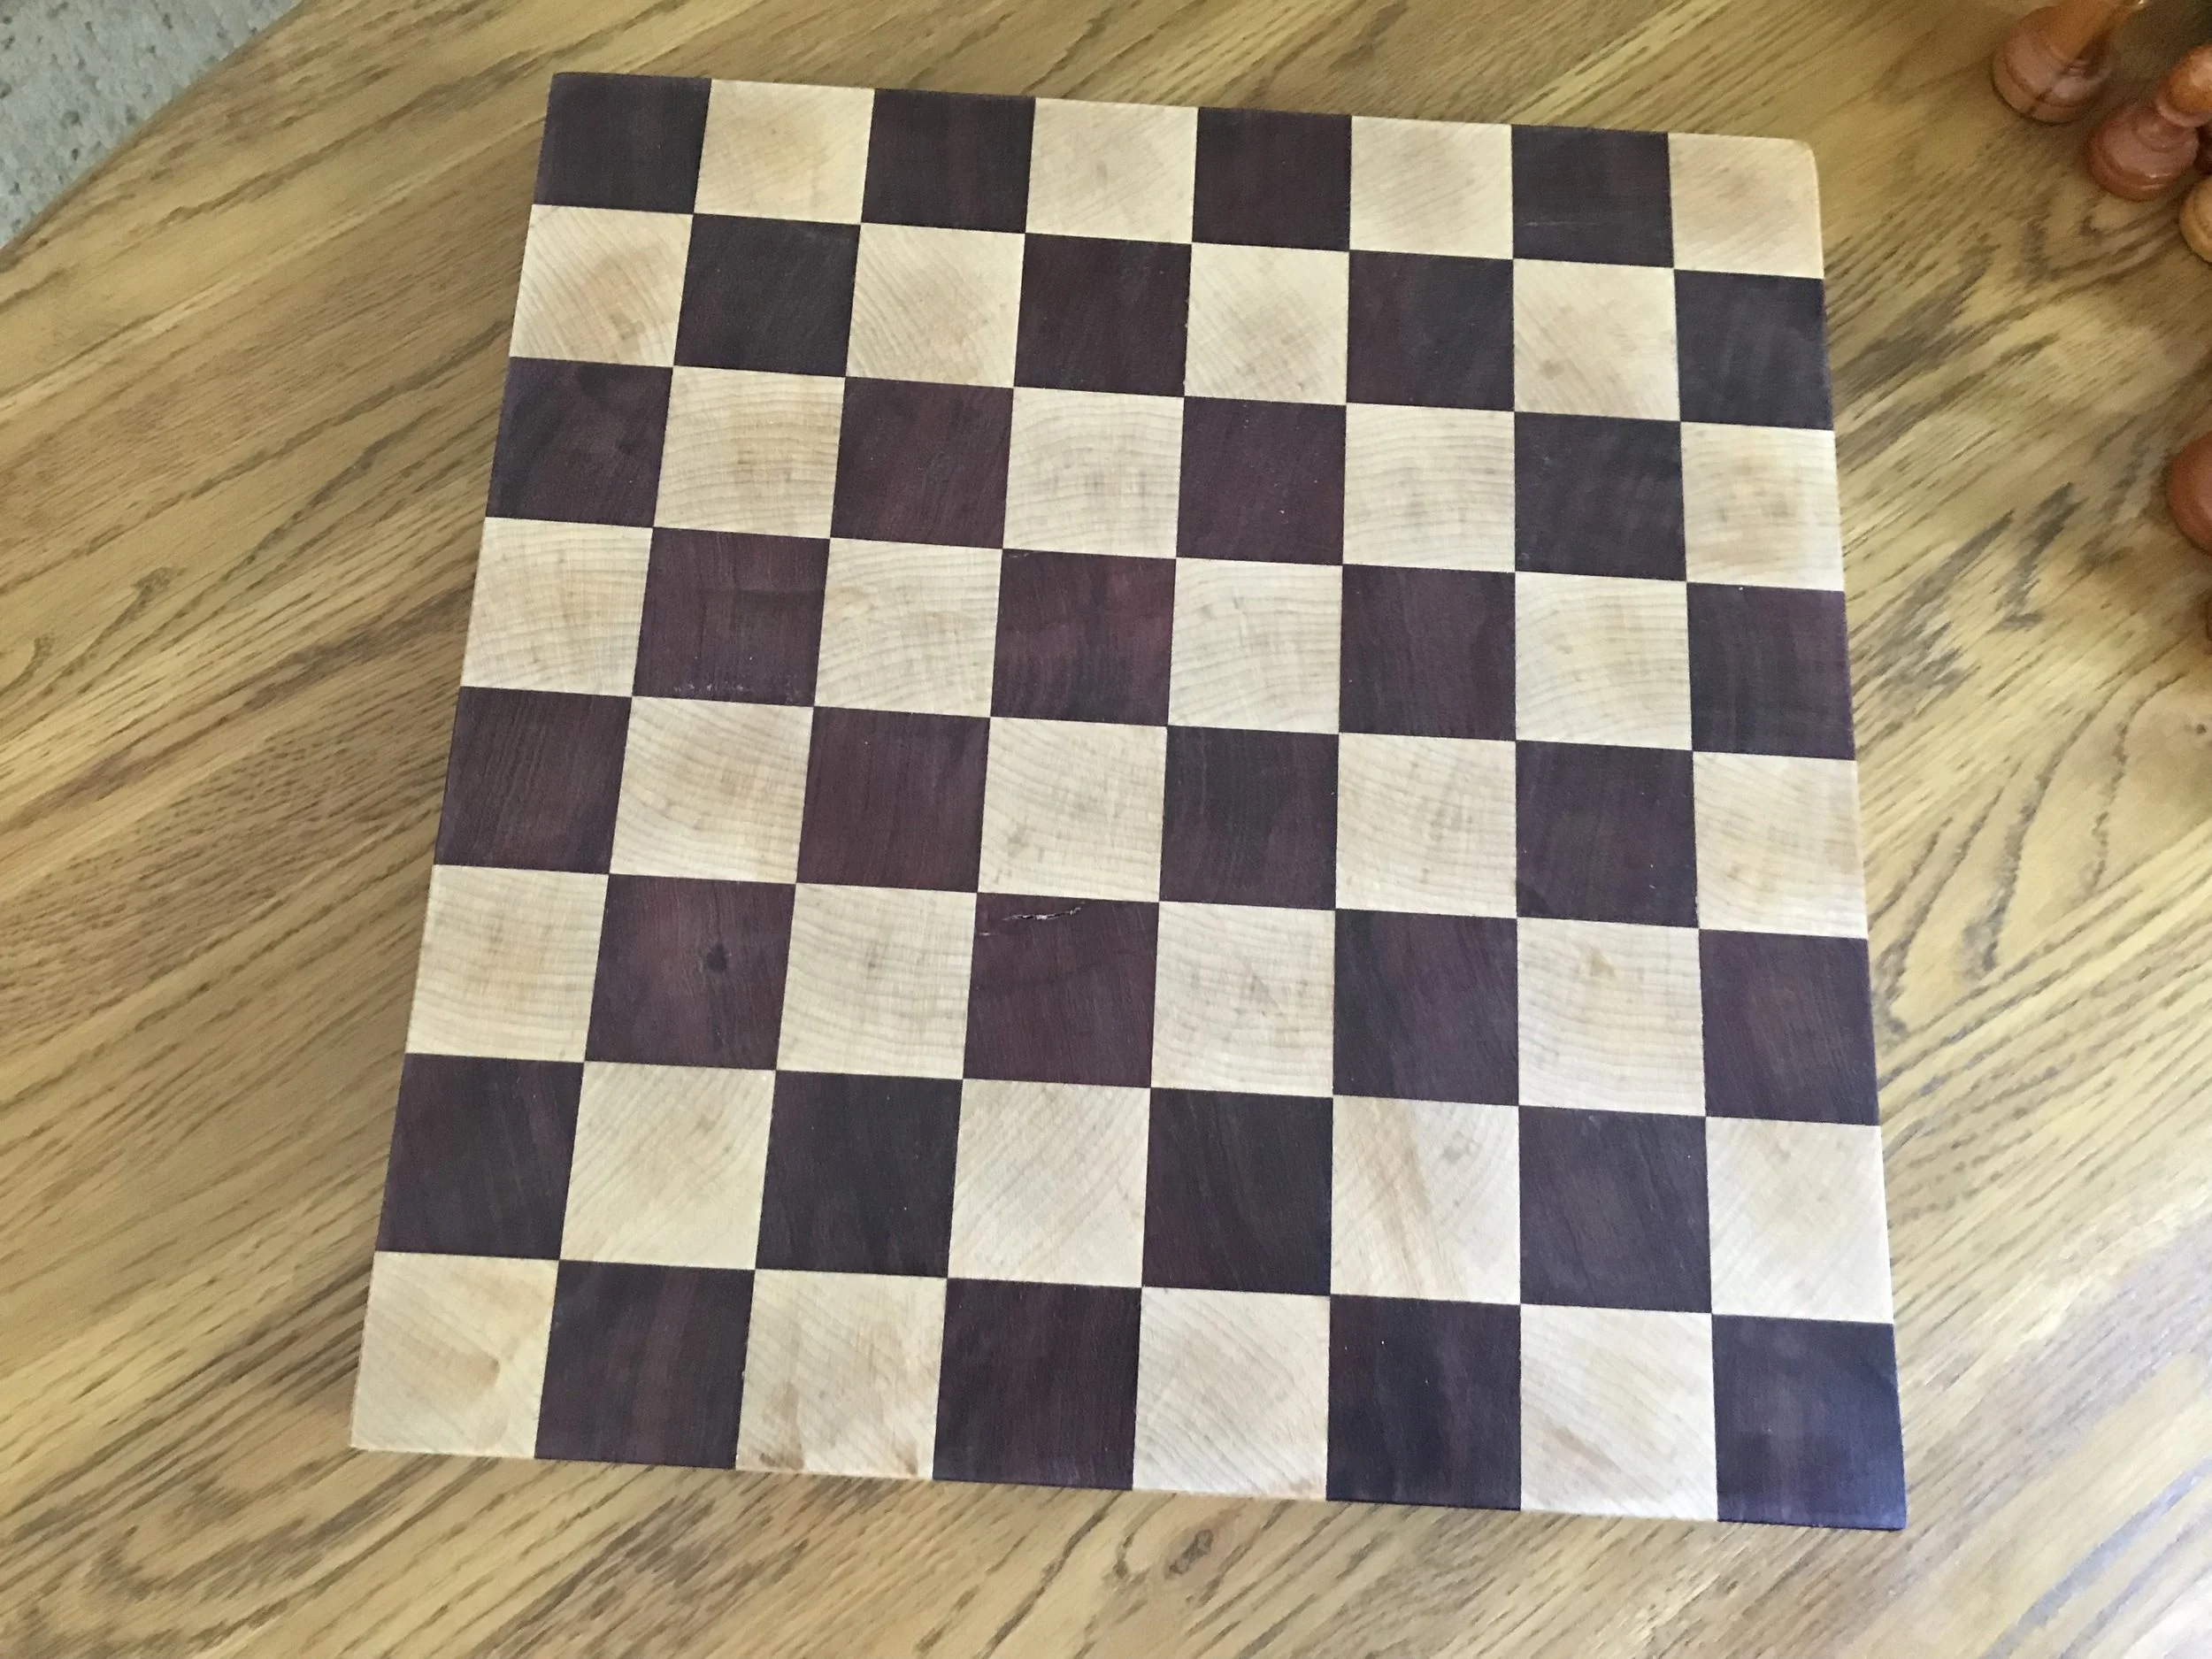
Size: 16" x 16" x 0.75"
Materials: Maple, Purpleheart, Titebond III Glue
Finish: Natural Colored Stain, 2 coats Semi-Gloss Polyurethane Aerosol.
Tools: Miter Saw, Table saw, Planer, Jointer, Orbital Sander
New Techniques:
Speed Woodworking: This is one of the quickest projects I've ever completed, and not necessarily because it was super simple. My back was up against the wall (T-minus 36 hours until my flight and I still had to finish 3 other gifts) but fortunately I knew exactly how to make this board, I has done several almost identical board over the previous 3 years. Within half an hour I had planed to size, cross-cut and glued up the first stage. (On the first board like this I made, these steps took me around 6 hours). After several hours letting the glue dry, I was cross cutting again, planing and gluing up the final assembly stage. The next morning I went to town on the board with a belt sander and then a random orbital. I saved the finishing steps until I got to my parent's place in Connecticut. And that was it! All said, about 2 hours of active work. Typically a project such as this one would take me twice that long. It's funny how you can rise to the occasion when the pressure is on.
Lessons Learned:
Don't Forget to Sand!: Of course, with the time pressure I was under to finish this board, I did a terrible job sanding between finishing coats. Typically, after each coat of poly, you'd sand about half the finish layer off to try to even out the grooves of the wood grain. After 3 coats and sanding in between, you should be left with a completely flat and non-pitted surface. Welp, not the case here. In my haste the grain grooves were still plenty visible. To add insult to injury, the little sanding I did do created a pernicious dust that filled the still present grain grooves. Instead of eliminating these imperfections, the white residue highlighted them. Ugh.