FiberGlass Long Board
I had built a few boards at this point and I was looking to get Alexa involved in both the making of and the riding of long boards with me. She, of course, did the art, and I took care of the construction. I decided that this would be a good board to try something new on; fiberglass skinning. Fiberglass is lightweight and extremely stiff when bonded to a substrate with epoxy. We left the board intentionally thin so after fiberglassing it would be as strong as thicker board, but much, much lighter.
Required Resources: 6 hours, $45
Size: 9" x 32" x 0.5"
Materials: Baltic Birch Plywood, Fiberglass Twill Weave, 2 part (30 minute pot life) Epoxy, Aluminum Bushings
Finish: 3 Coats Semi-Gloss Polyurethane Aerosol, Turtlewx
Tools: Laser Cutter, Router with 0.25" round over bit, Random Orbital Sander.
New Techniques:
Fiberglass - The woodwork on the board was simple: glue two pieces of birch ply together, laser the raster design, cu the profile and then sand. The interesting part of this build came in the form of applying a composite fiberglass layer. First, I used a spray adhesive on the top face of the board. I then laid the fiberglass twill over the top and pressed it down until it stuck to the board without any lumps or air pockets. An initial layer of epoxy was applied on top of the fiberglass weave until the twill was thoroughly "wetted". I squeegeed off the excess and let the board cure for a full day. The next day, I sanded out any lumps on the cured face and then rolled out another layer of epoxy. This time there were fewer lumps and the fiberglass had become translucent. I sanded everything as flat as possible and then took the polishing extension for my drill and TurtleWax and gave the fiberglass surface a nice shine. Assembled, the board is much stiffer than similar, non-fiberglass boards I've made. If I were to do this again, I think I'd go even thinner (down to 3/8") on the board to achieve the lightest weight possible.
Lessons Learned:
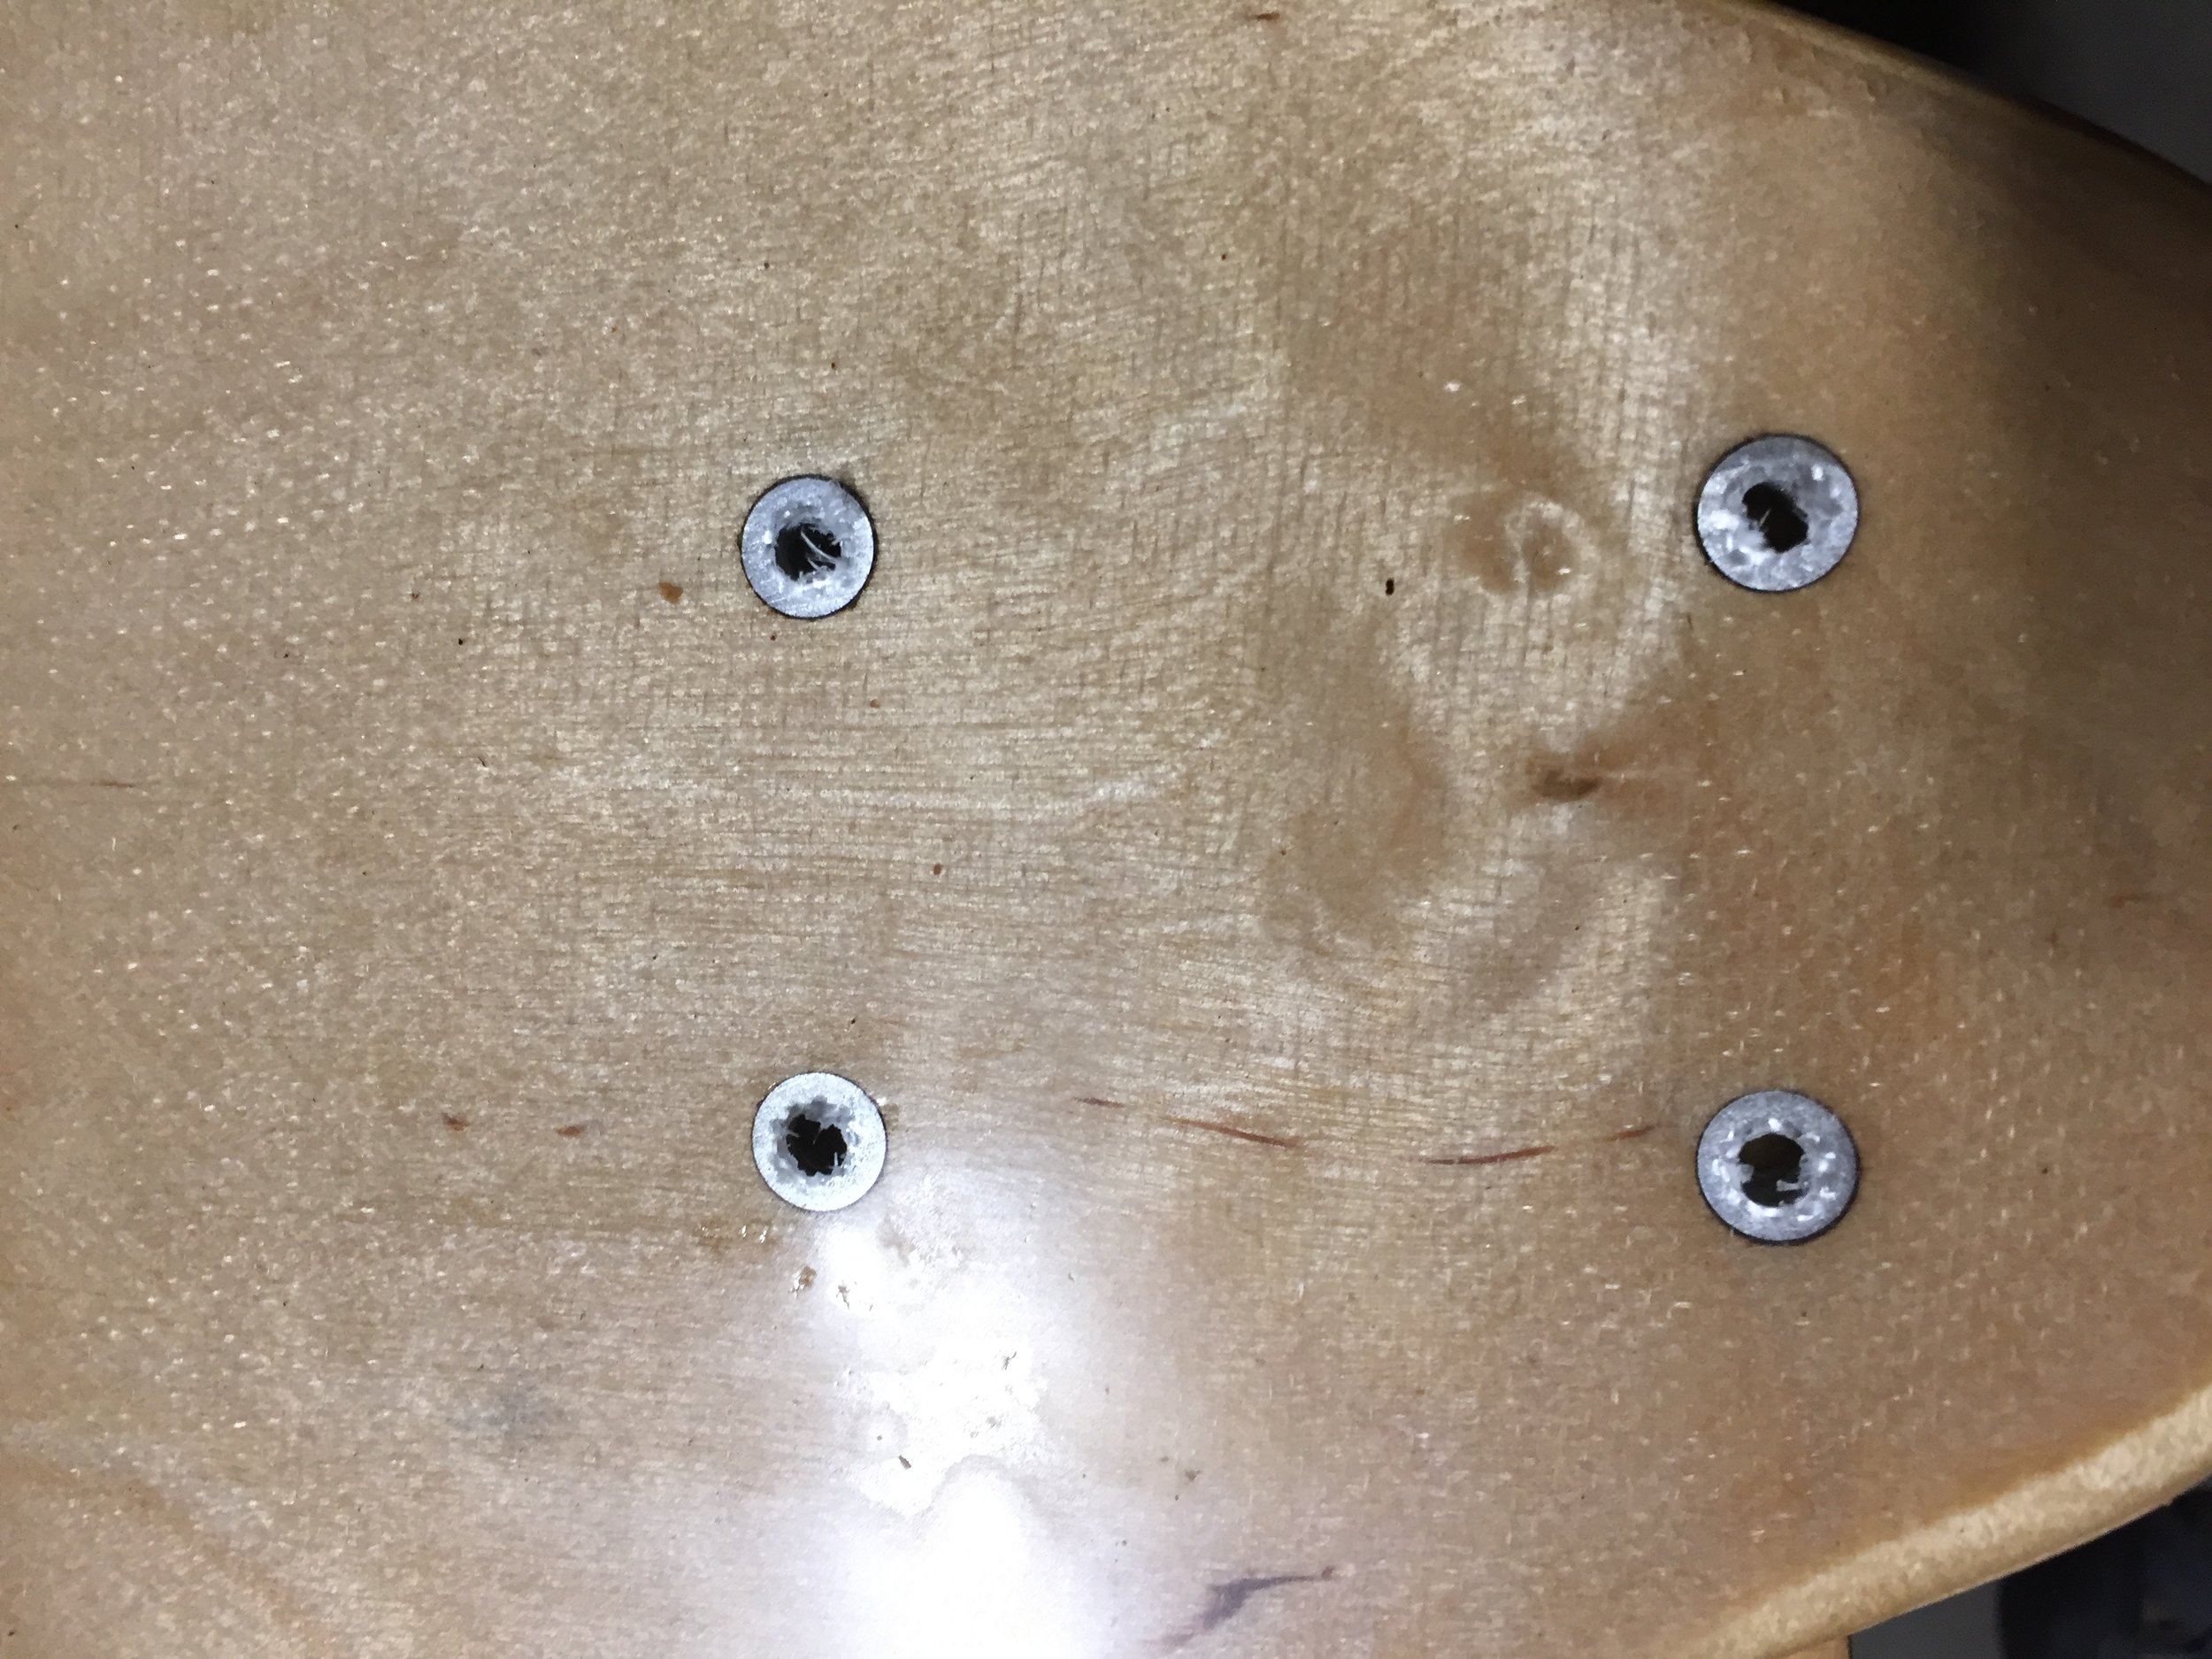
Measure Twice, Cut Once: You may have noticed the aluminum bushings where the truck mounts are on the board. No, those weren't originally decorative features. When setting up the cut file for this board on the laser cutter, I mistakenly unsuppressed large cut outs around the correctly sized mounting holes. The laser then cut these over sized features, leaving the mounting holes 2x too big. Not wanting to scrap the board, I hopped on the lathe, and turned down some aluminum stock into bushings which I pressed and epoxied into place. It all worked out, but it added an extra hour to the build time. The moral of the story is, double check your cut files, people.