State Shaped MArble Cheese Platters
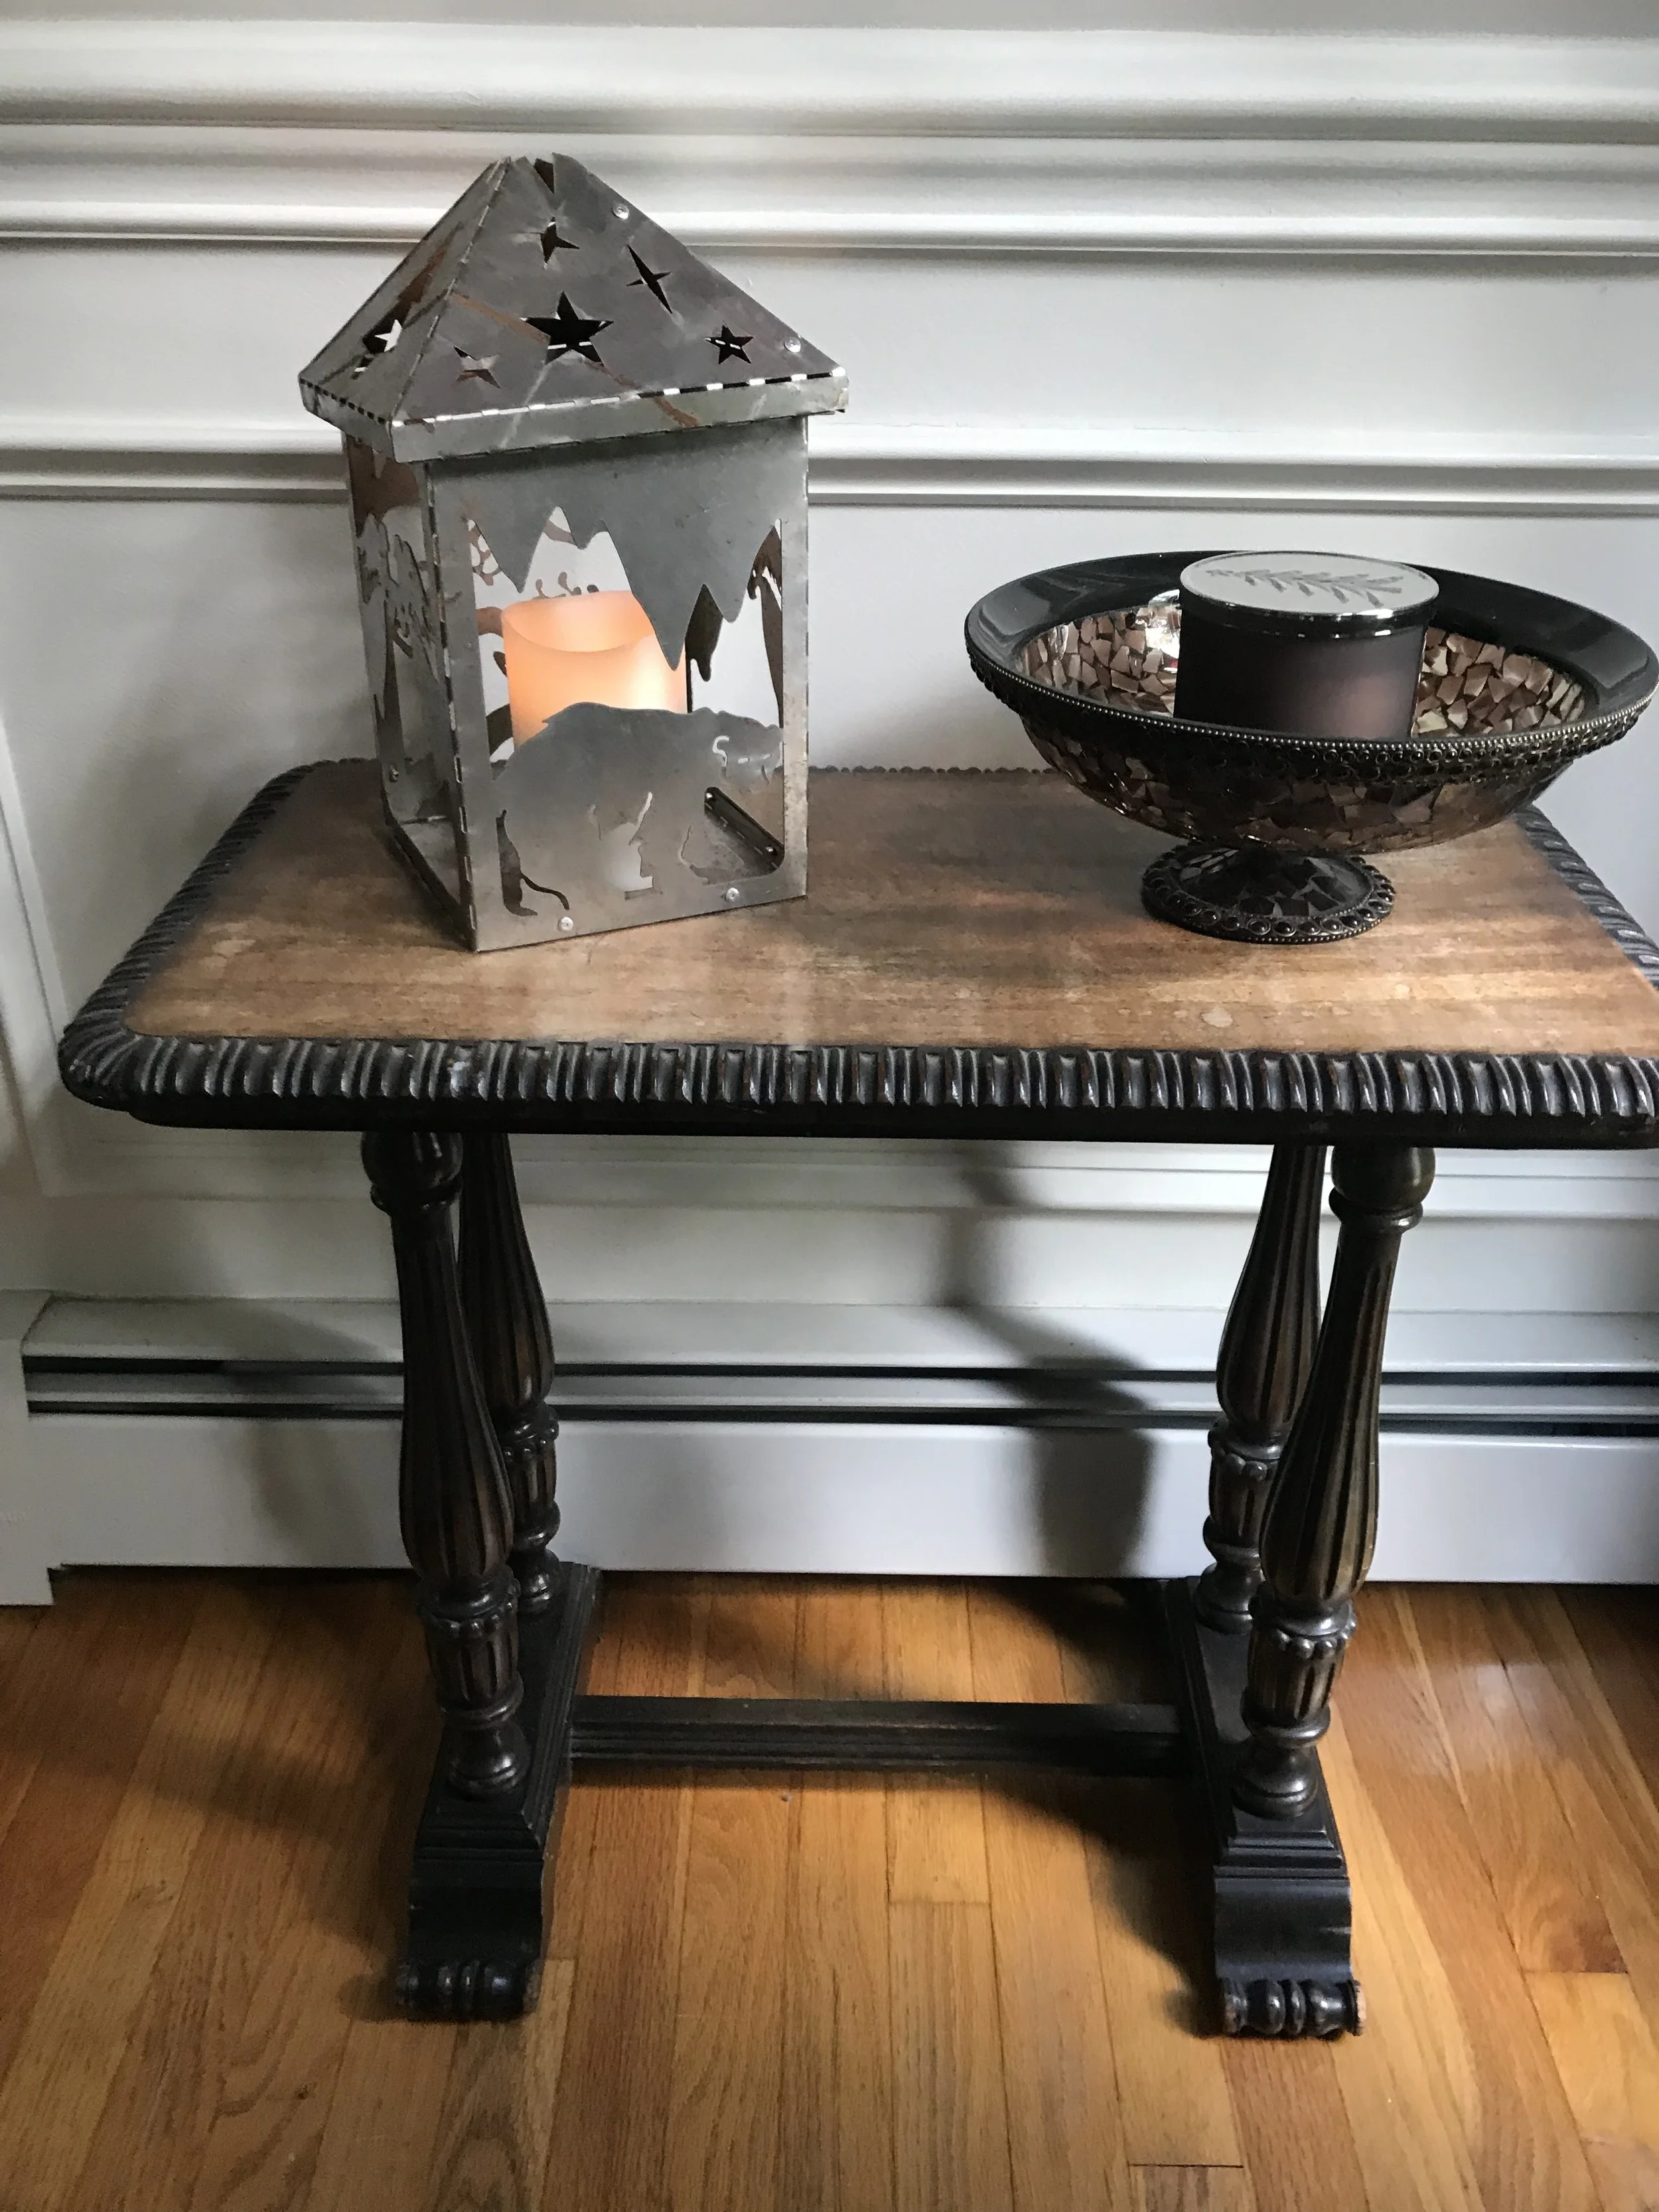
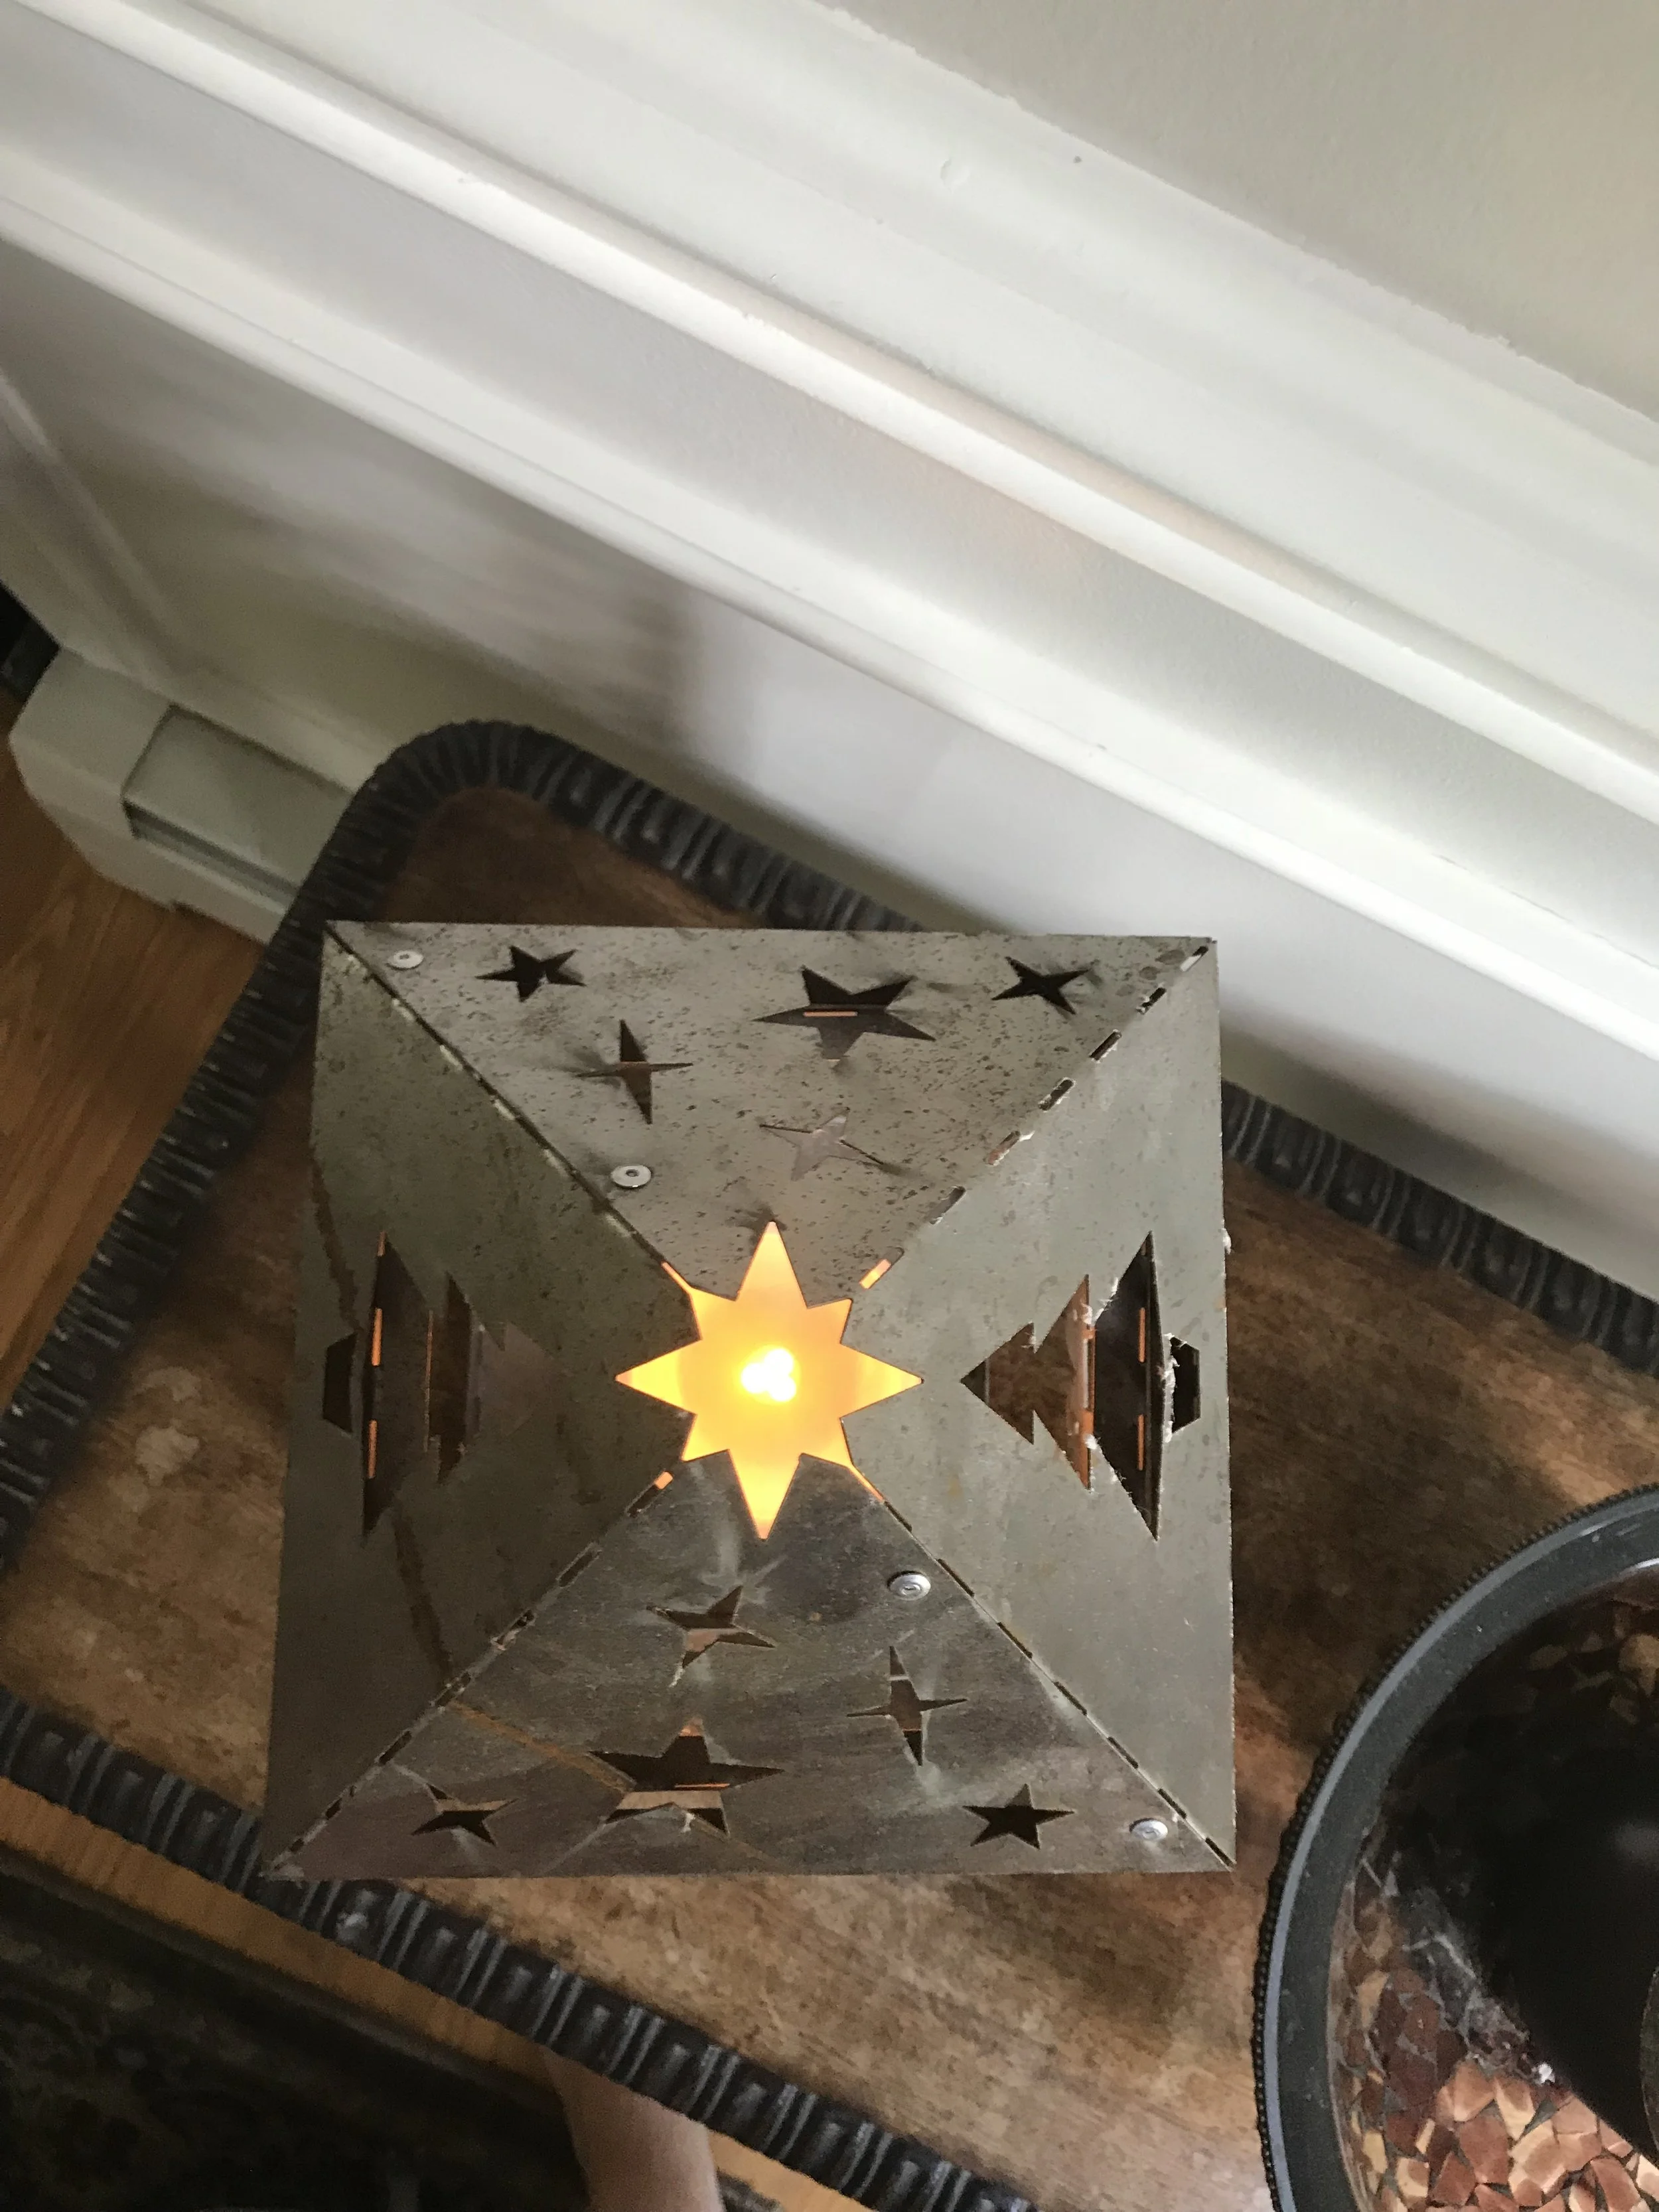
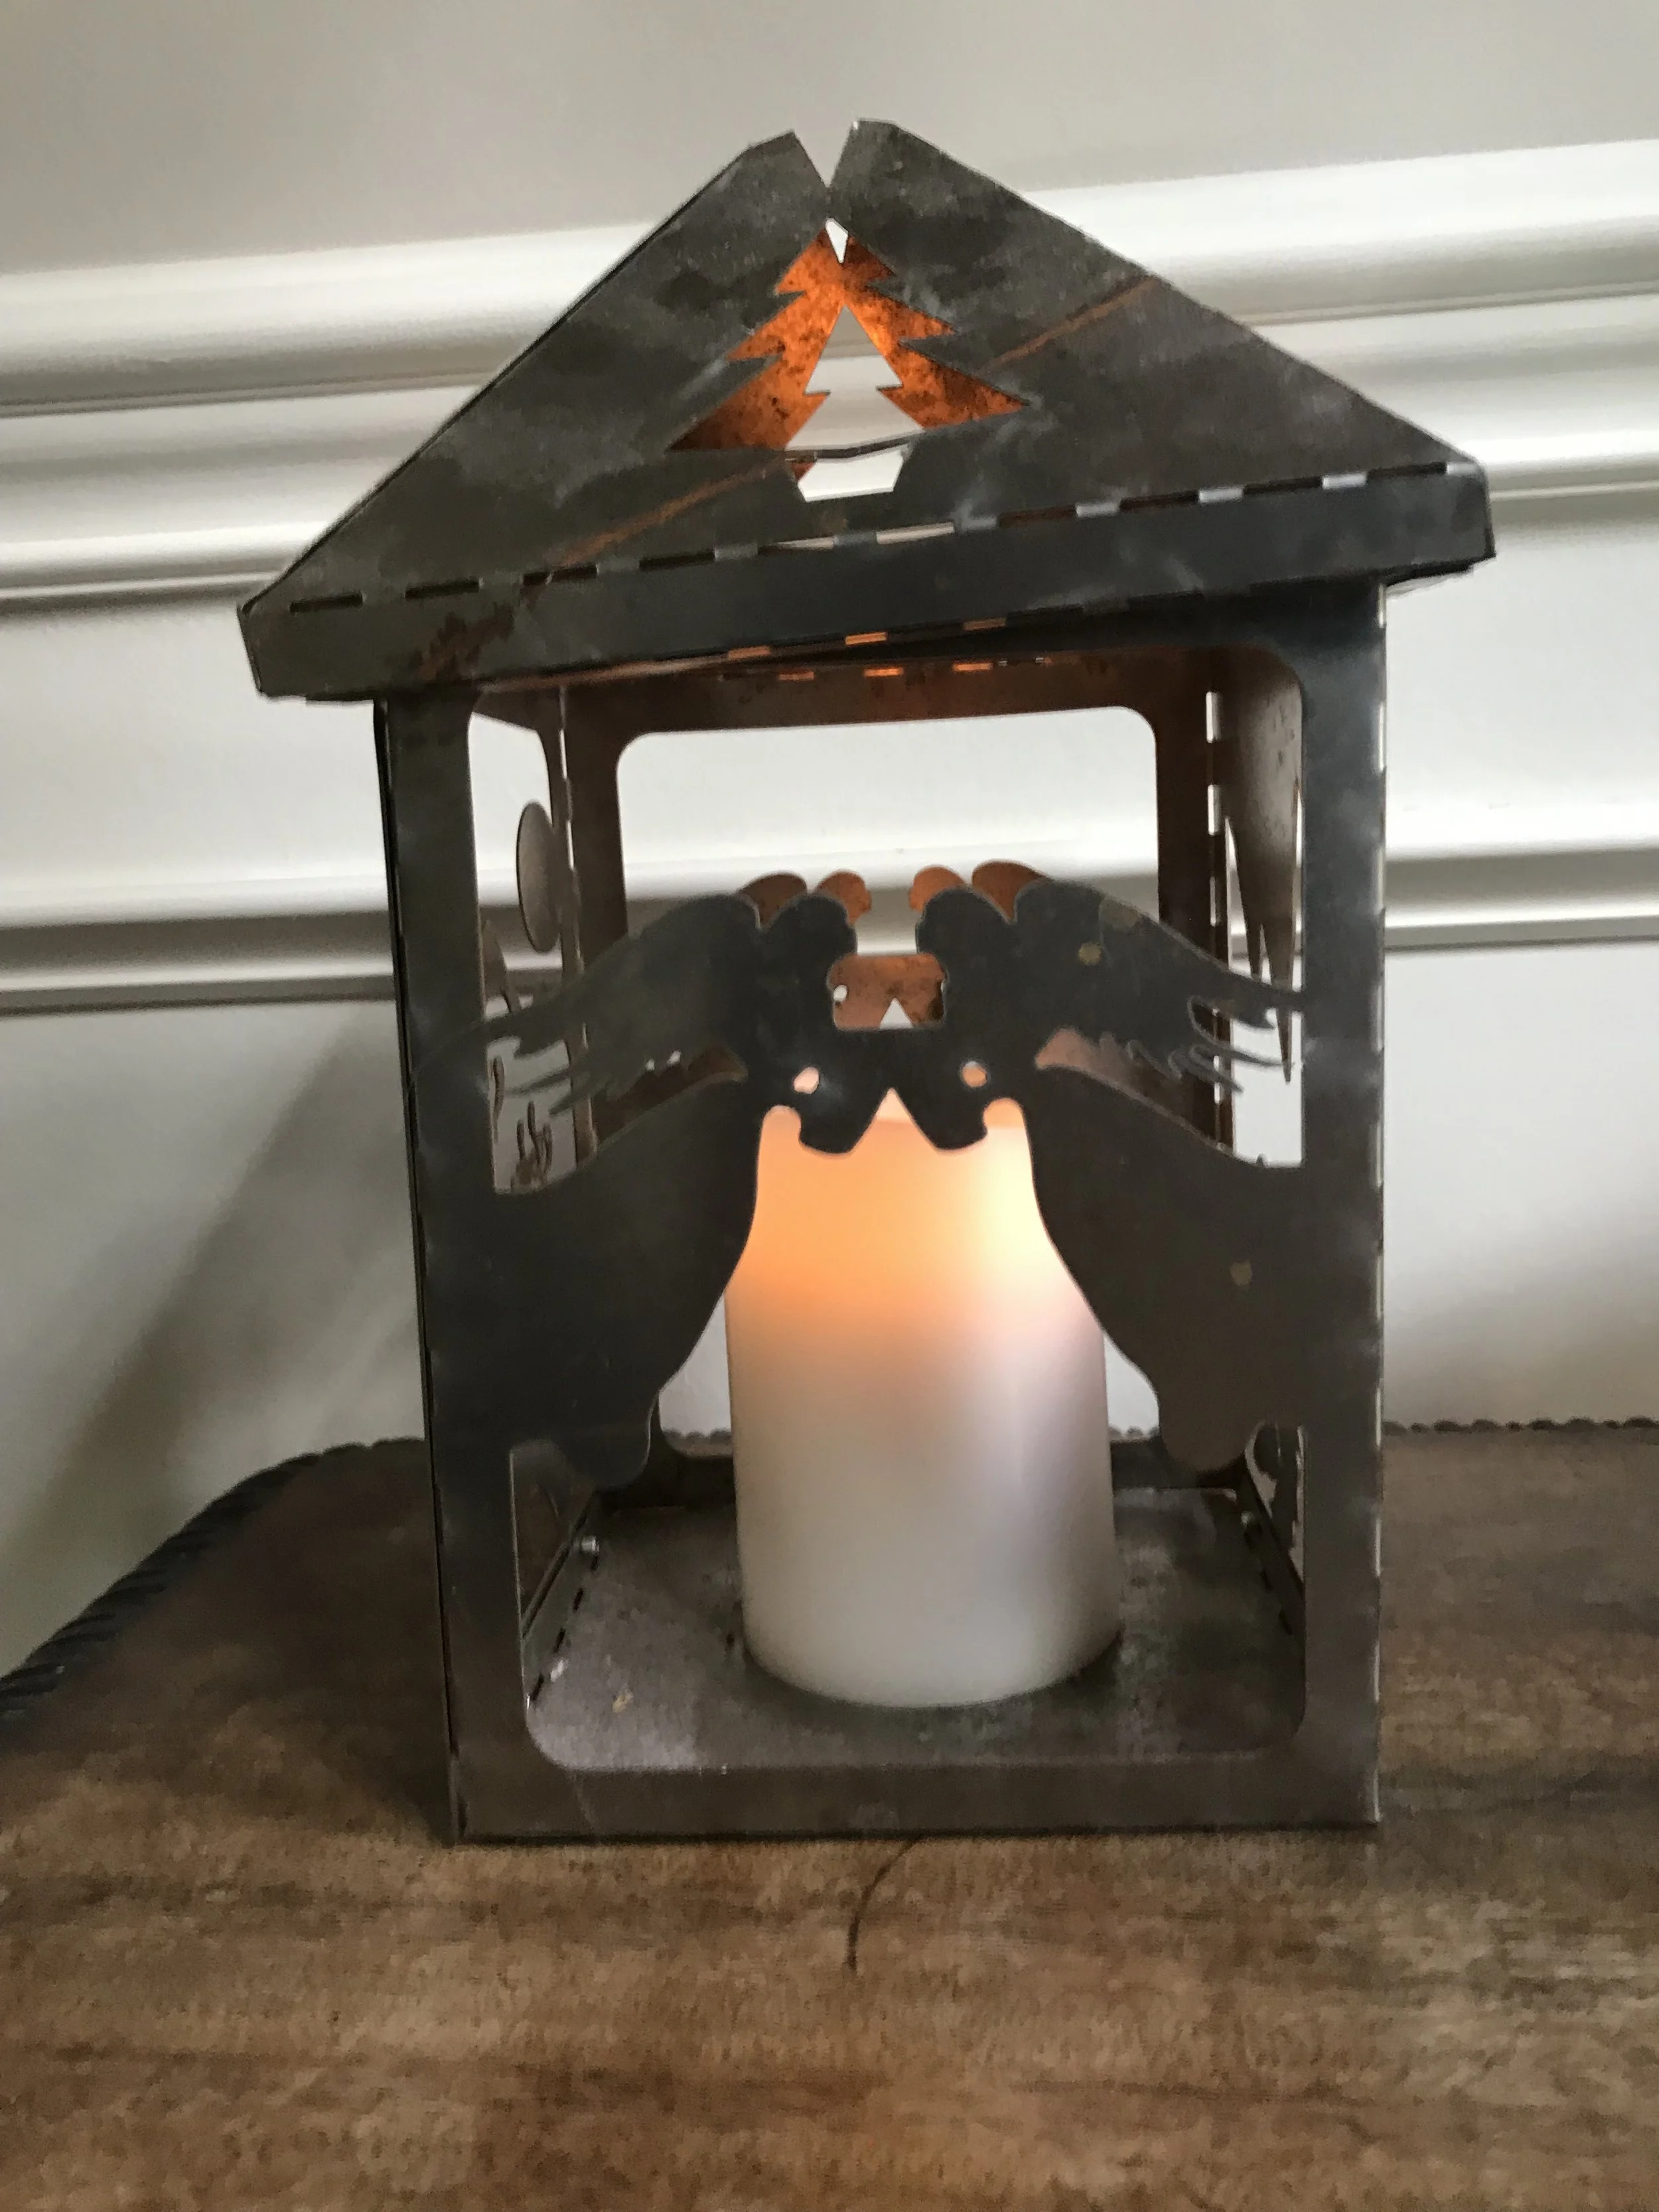
A collaboration between Alexa and I; a decorative holiday lantern. Alexa did the 4 panels of artwork and I did the engineering leg work and fabrication to put these together. We each made one for our parents as Christmas gifts. The lanterns were made out of some sheet steel that I found laying around the lab. and was bound together with blind rivets. Over the last few years, the lanterns have started to rust a bit, but I think I like the new rustic (no pun intended) aesthetic.
Required Resources: 8 hours, $20
Size: 7" x 7" x 12"
Materials: Sheet Metal (Steel), Aluminum Blind Rivets
Finish: Iron Oxide
Tools: Water Jet, Rivet Gun
New Techniques:
Sheet Metal Bending: I had completed a couple bent sheet metal parts for programs at work in the past, but the fabrication was always done by a vendor or manufacturing partner. For this personal project however, I got to do the fabrication myself, blanking the pattern on the water jet and bending on the pan brake at work. Using the brake was pretty straight forward; step on the peddle to release the clamp, place the part under the clamp bar, line up the creasing edge with the desired bend line, press the peddle again to clamp everything down, and swing the pivot arm up to the desired angle to create the bend. There were a few bends that were difficult to get to on the pan brake and I had to improvise with a straight edge and a mallet.
Lessons Learned:
Fillet your corners: Un-filleted (un-rounded) corners are sharp. It's easy to stab yourself on sharp corners. If the sharp corners are rusty, you might want to expedite that tetanus booster (I think this is the 4th time I've mentioned Tetanus Boosters on this website. You can never be reminded too often...) I cut myself a couple times when fabricating these lanterns, mostly because of my laziness when CADing up the flat pattern and not taking the time to fillet sharp corners. Definitely now a must when ever I work on similar metal working projects.