Click Image Below To Scroll
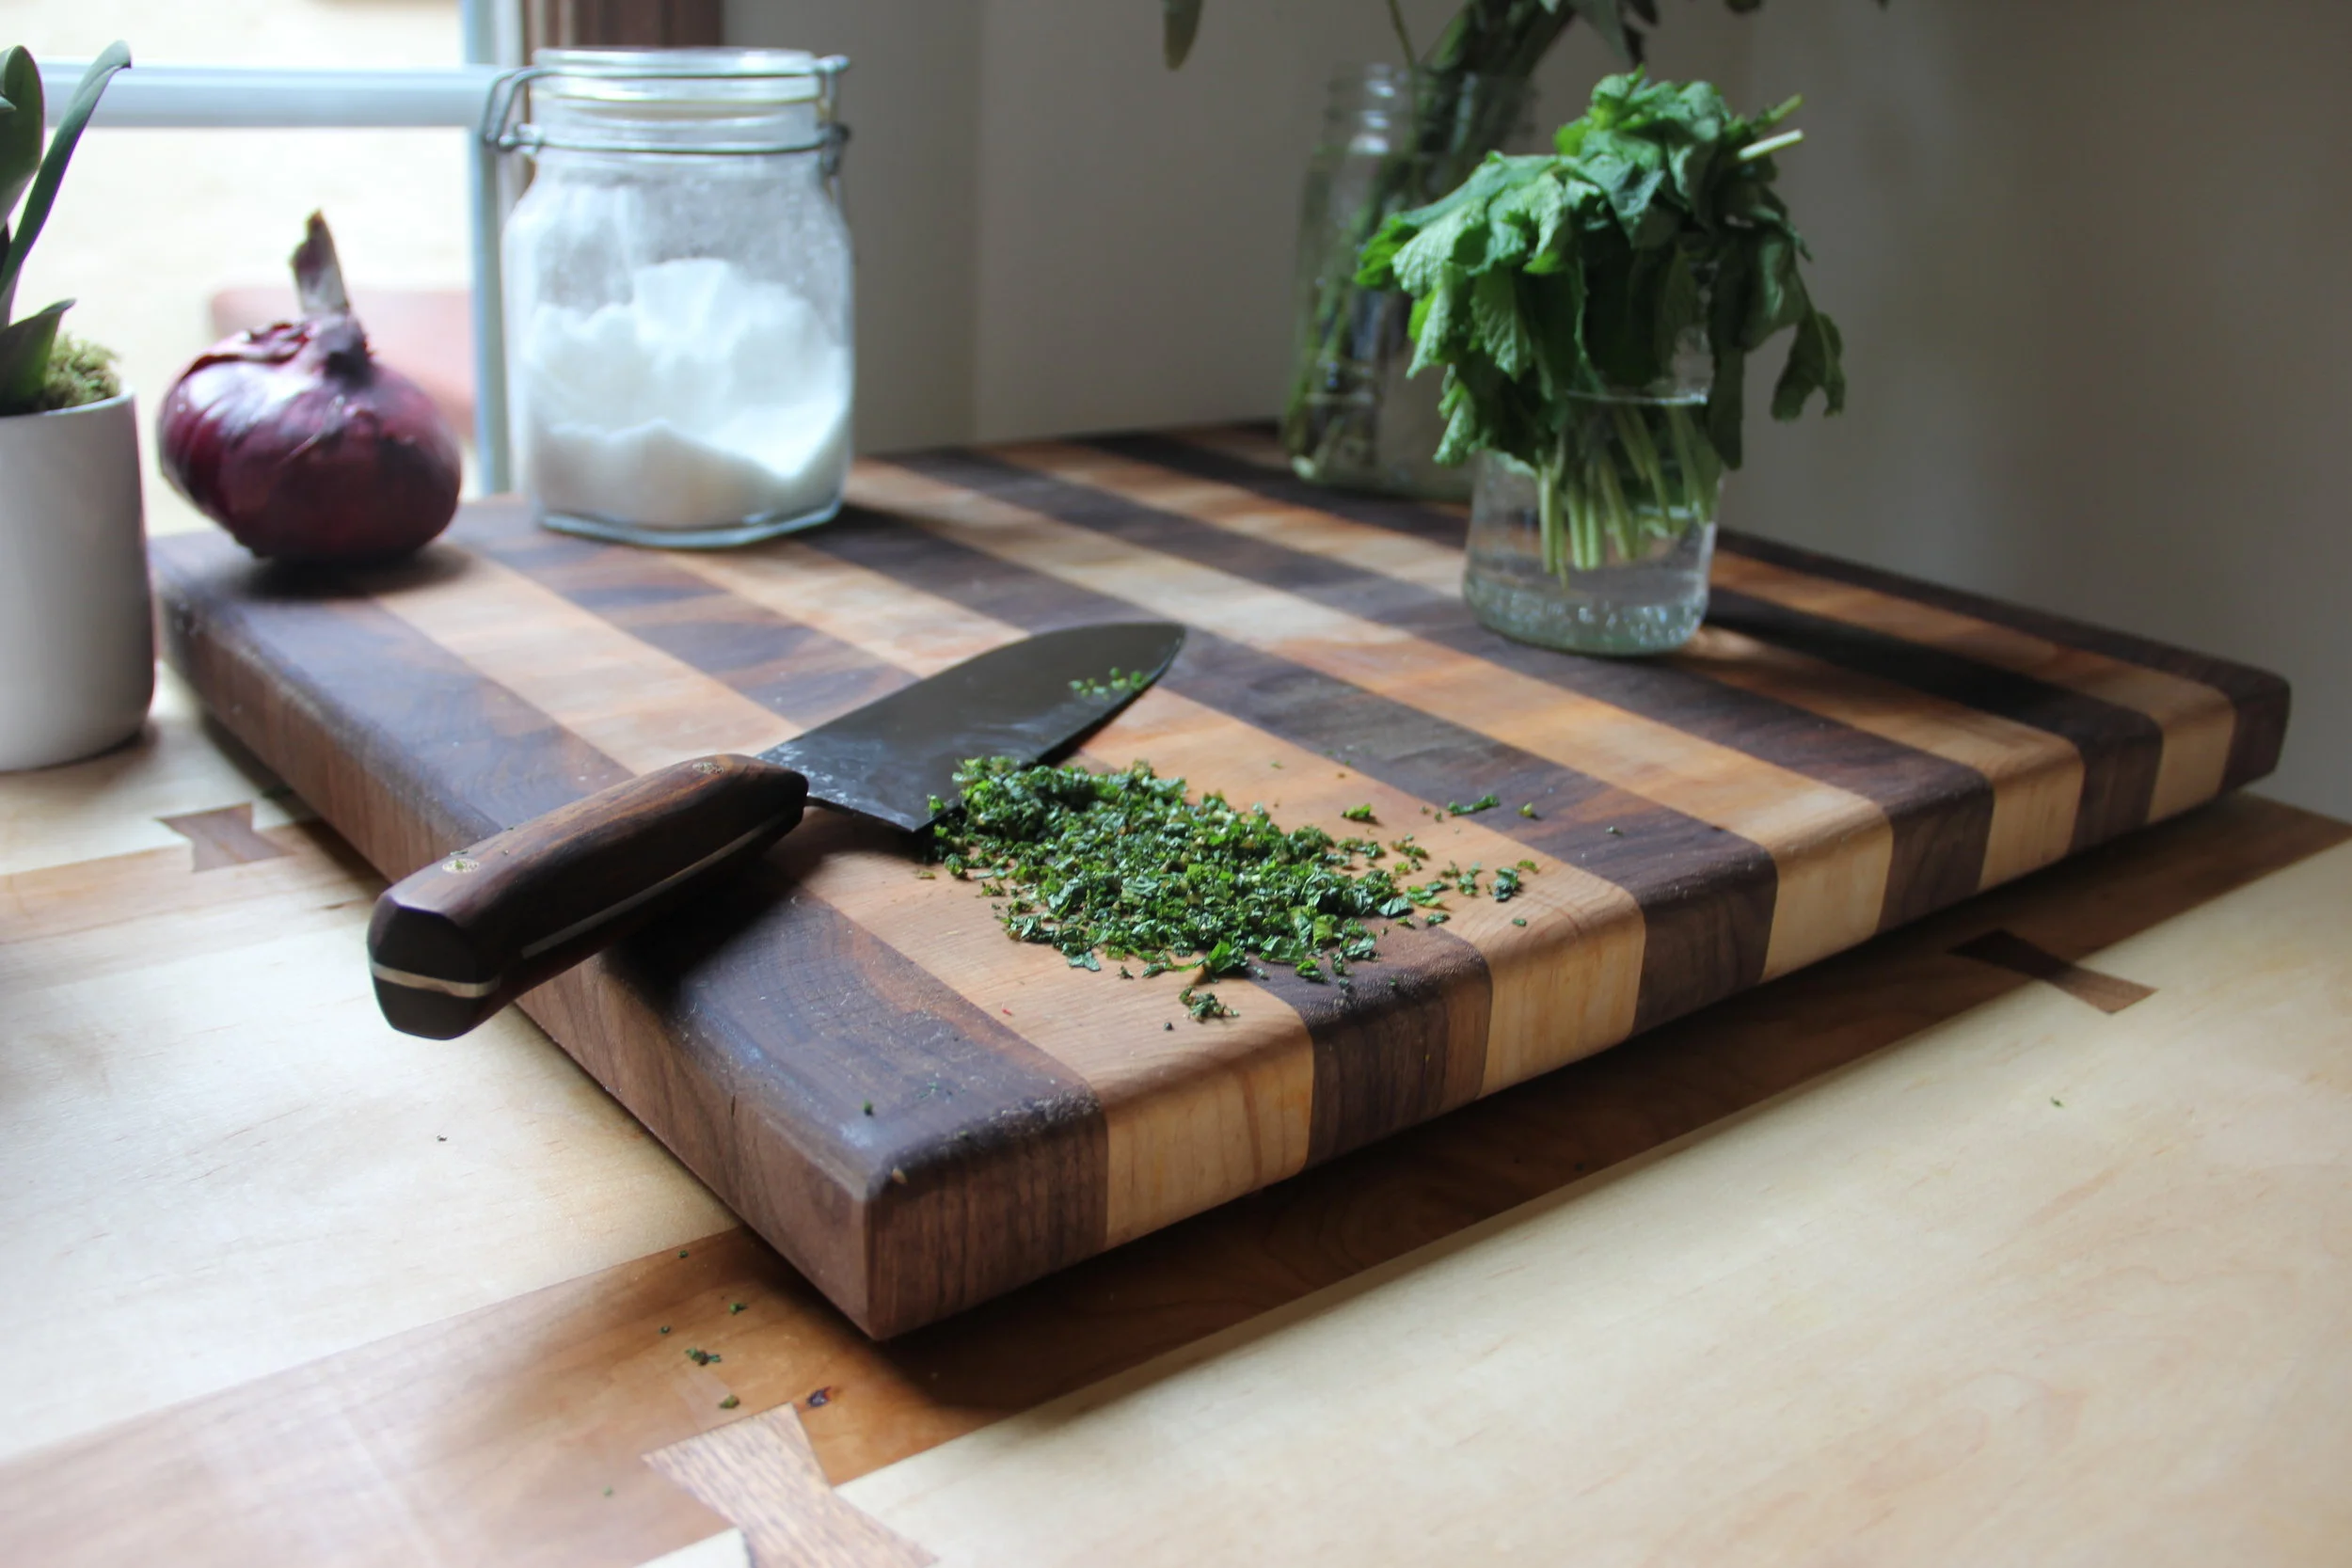
LArge Meal Prep End Grain Cutting Board
Part of the Meal Prep expansion I completed for my new apartment, this 21" by 21" butcher block cutting board provides all the chopping, dicing and slicing surface area that our roommates could ask for. Made of classic cutting board woods, Maple and Walnut, this board has an ideal tight grain structure that inhibits bacteria growth, while still being gentle on knife blades and exhibiting "self-healing" properties.
Required Resources: 4 hours, $40
Size: 21" x 21" x 1.5"
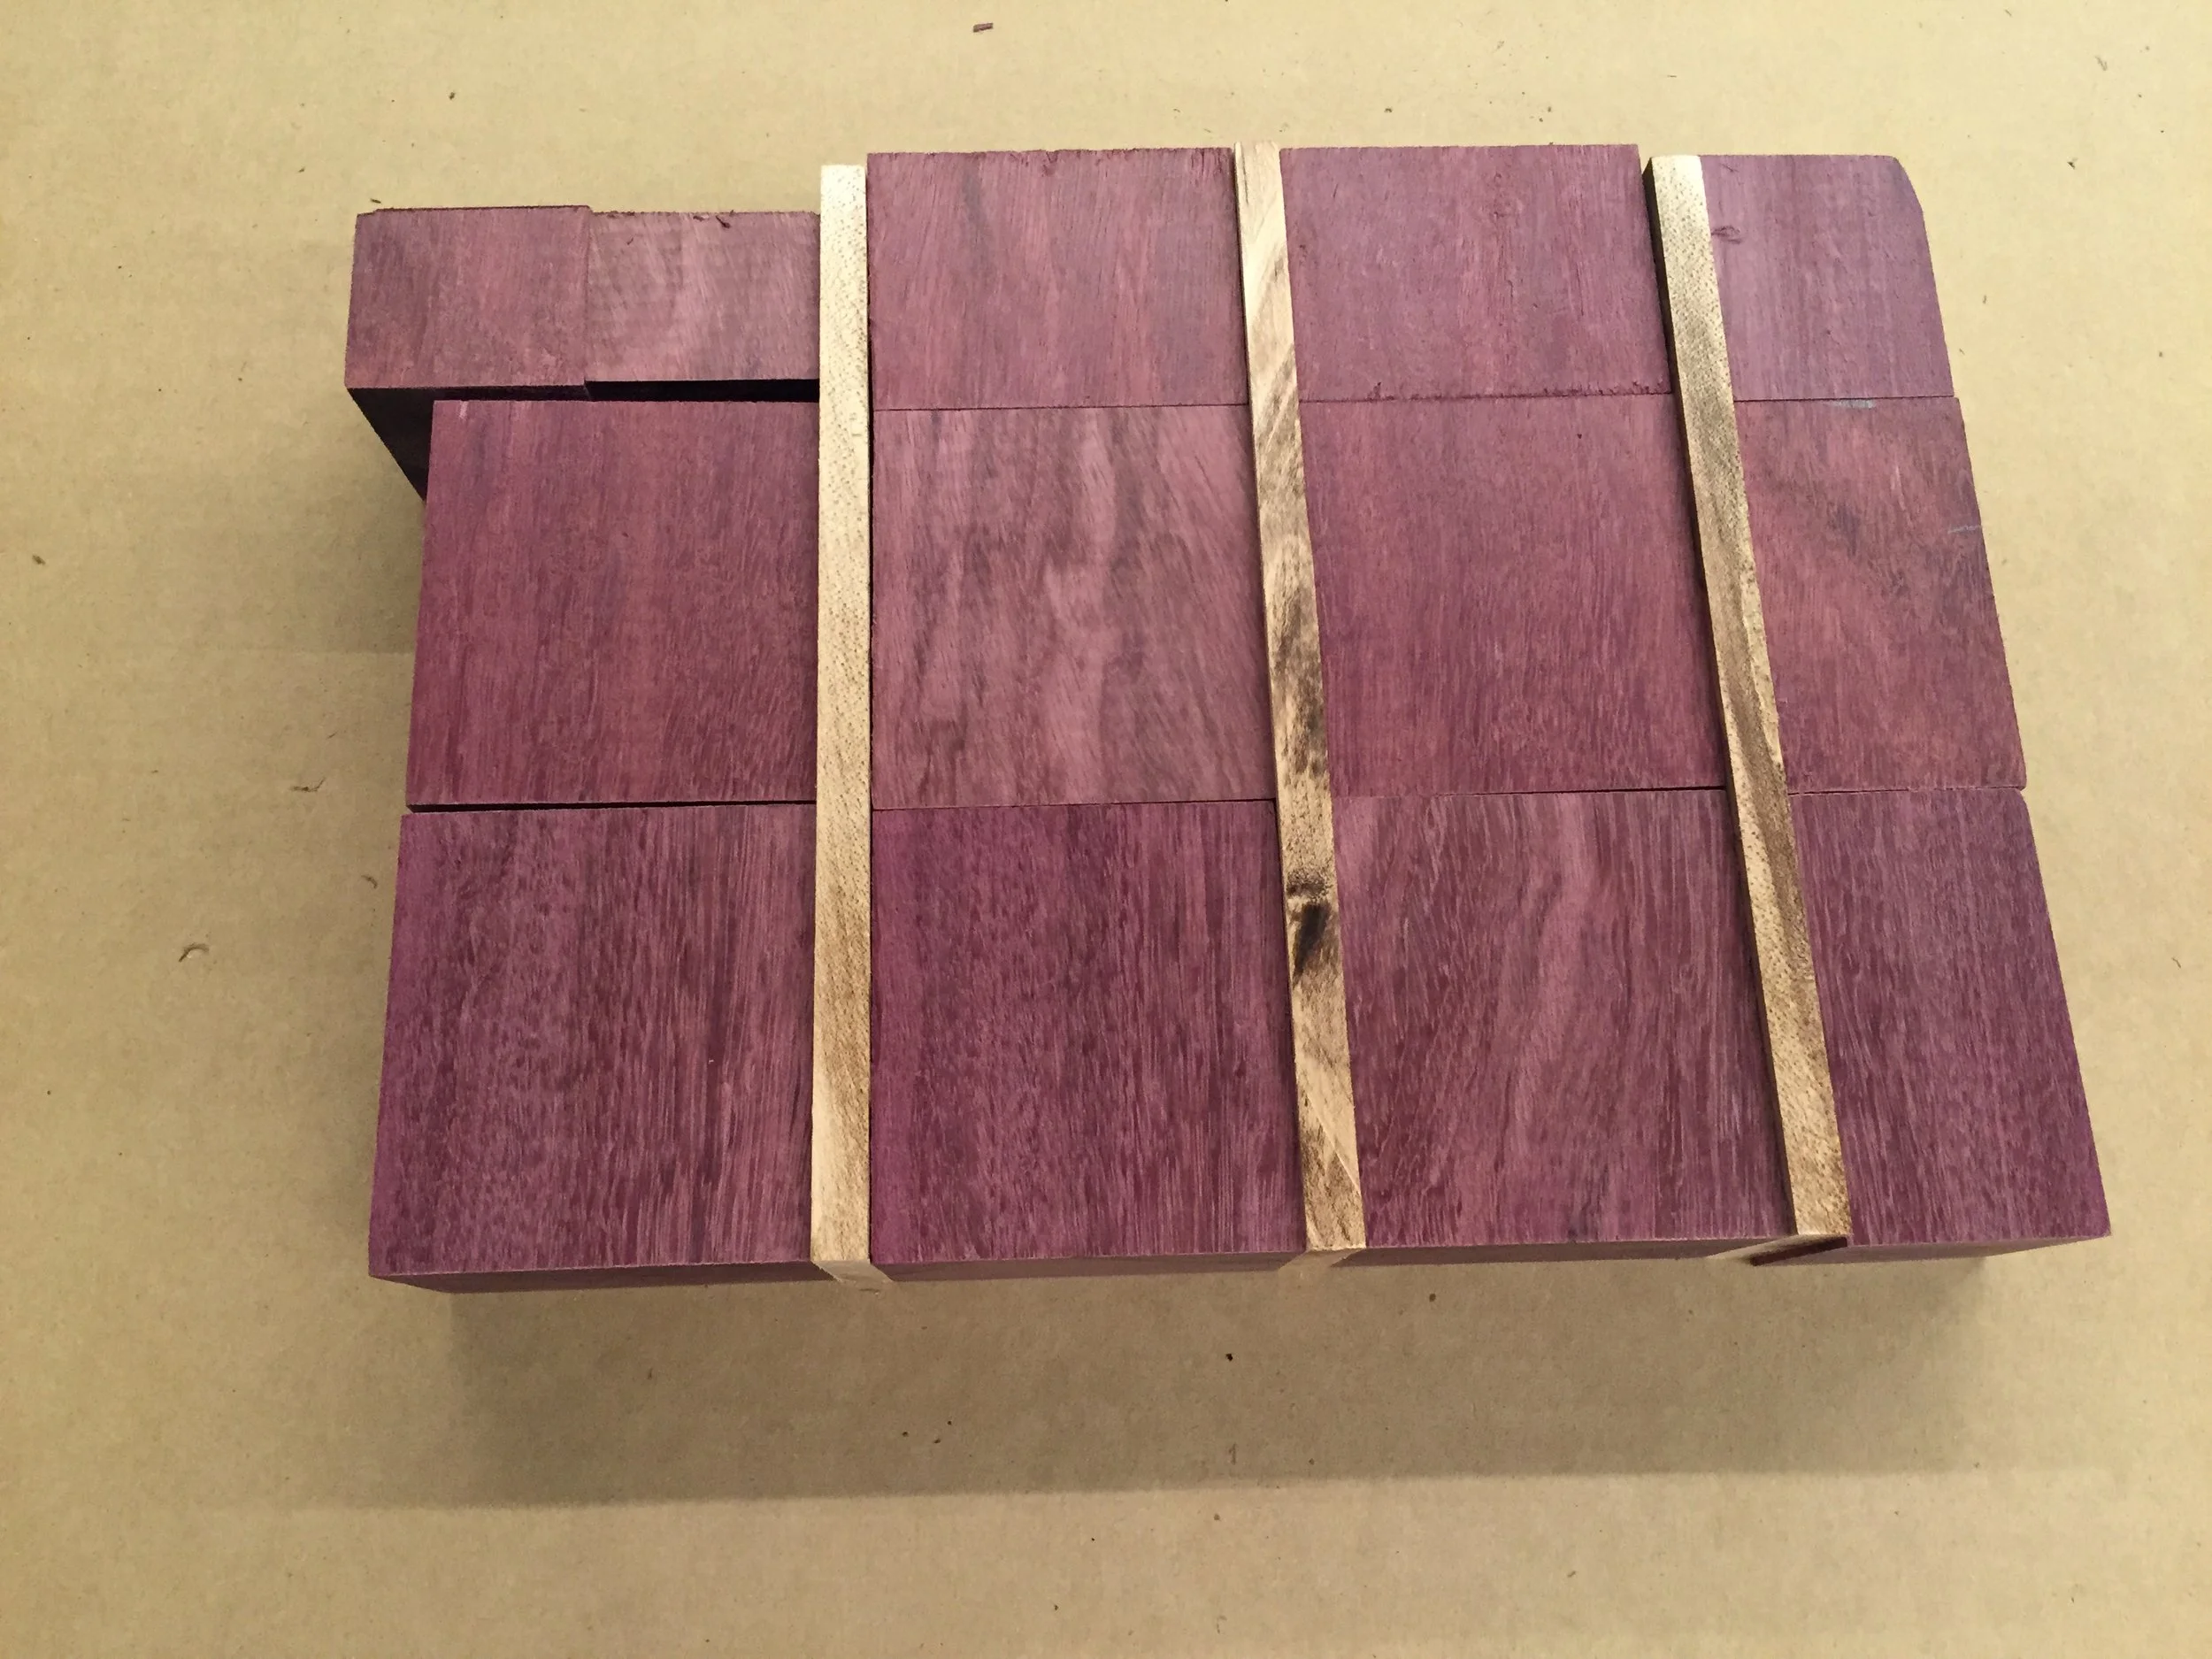
Materials: Walnut, Maple, Titebond III (Food safe wood glue)
Finish: Howard's Butcher Block Conditioner (Canuba + Bees Wax + Mineral)
Tools: Table Saw, Planer, Jointer, Belt Sander, Orbital Sander
New Techniques: This is the largest cutting board I have attempted to make. But, honestly, there wasn't really all that much different done than on similar but smaller versions. I did take care to keep the order of the "squares" correct so that adjacent squares mirror the end grain pattern. I really enjoy this aesthetic and would like to do a full board in one type of wood in this style (probably Walnut). I also added rubber feet to the board. It's large enough that it will have to be cleaned in place often, meaning it probably won't we set on a rack to dry out. I wanted to give the bottom of the board some space for ventilation to avoid a nasty mold build up.
Lessons Learned:
Stay Alert on the Table Saw: No, I didn't cut off a finger during the construction of this cutting board. But, I did almost ruin a good part of it on the table saw. During the crosscut stage, (where you expose the end grain and prep the "unit slabs" for final glue up) I wasn't fully paying attention and let the the board cam off the close end of the rip fence. If you didn't catch the jargon, the board was fed into the table saw blade at an oblique angle and dug a big chunk out of the close to finished product. I was pretty disappointed in myself, but there was nothing else to be done. The best I could do was put the marred face on the bottom of the cutting board and move on. In the future an adjustable feather board would be a good addition to ensure a straight feed through the saw. Building the saw into a cabinet (as opposed to being free standing as it is now, would also be a positive improvement for the general quality of cuts I make. Next item on the list!
Beware of Coarse Grit.: The board being as big as it is, I knew I was going to have to spend some serious time on material removal, especially since the final glue up wasn't terribly even. Its very tricky to plane end grain because its very hard and prone to tear out. To do it right, you'd need freshly honed blades and need to take very light passes (< 1/64"), Aside from not having sharp blades, my planer is only half the width of the board, so it wouldn't have worked anyways. Instead, I took out the trusty belt sander and some coarse grit (60) paper and went to town. It is easy to get carried away, however, and I soon found that I had scarred up the board pretty good with the coarse grit belt. I switched over to an 80 grit on the orbital, but it was too late, I had dug some pretty deep trenches into the board. I sanded for 2 hours in total, but I didn't achieve the smooth finish I normally strive for. In the end, I conceded that it wasn't perfect but in weeks time, with all the cutting and chopping we do, it would look like this anyways. In the future, I'd probably start with the 80 grit belt instead of the 60. Also, in the far future (need an actual wood shop, with outlets, and ventilation and all that jazz) I'd like to get a drum sander ( the sanding analog of a planer) which would make exposed end grain projects, such as this, a breeze.