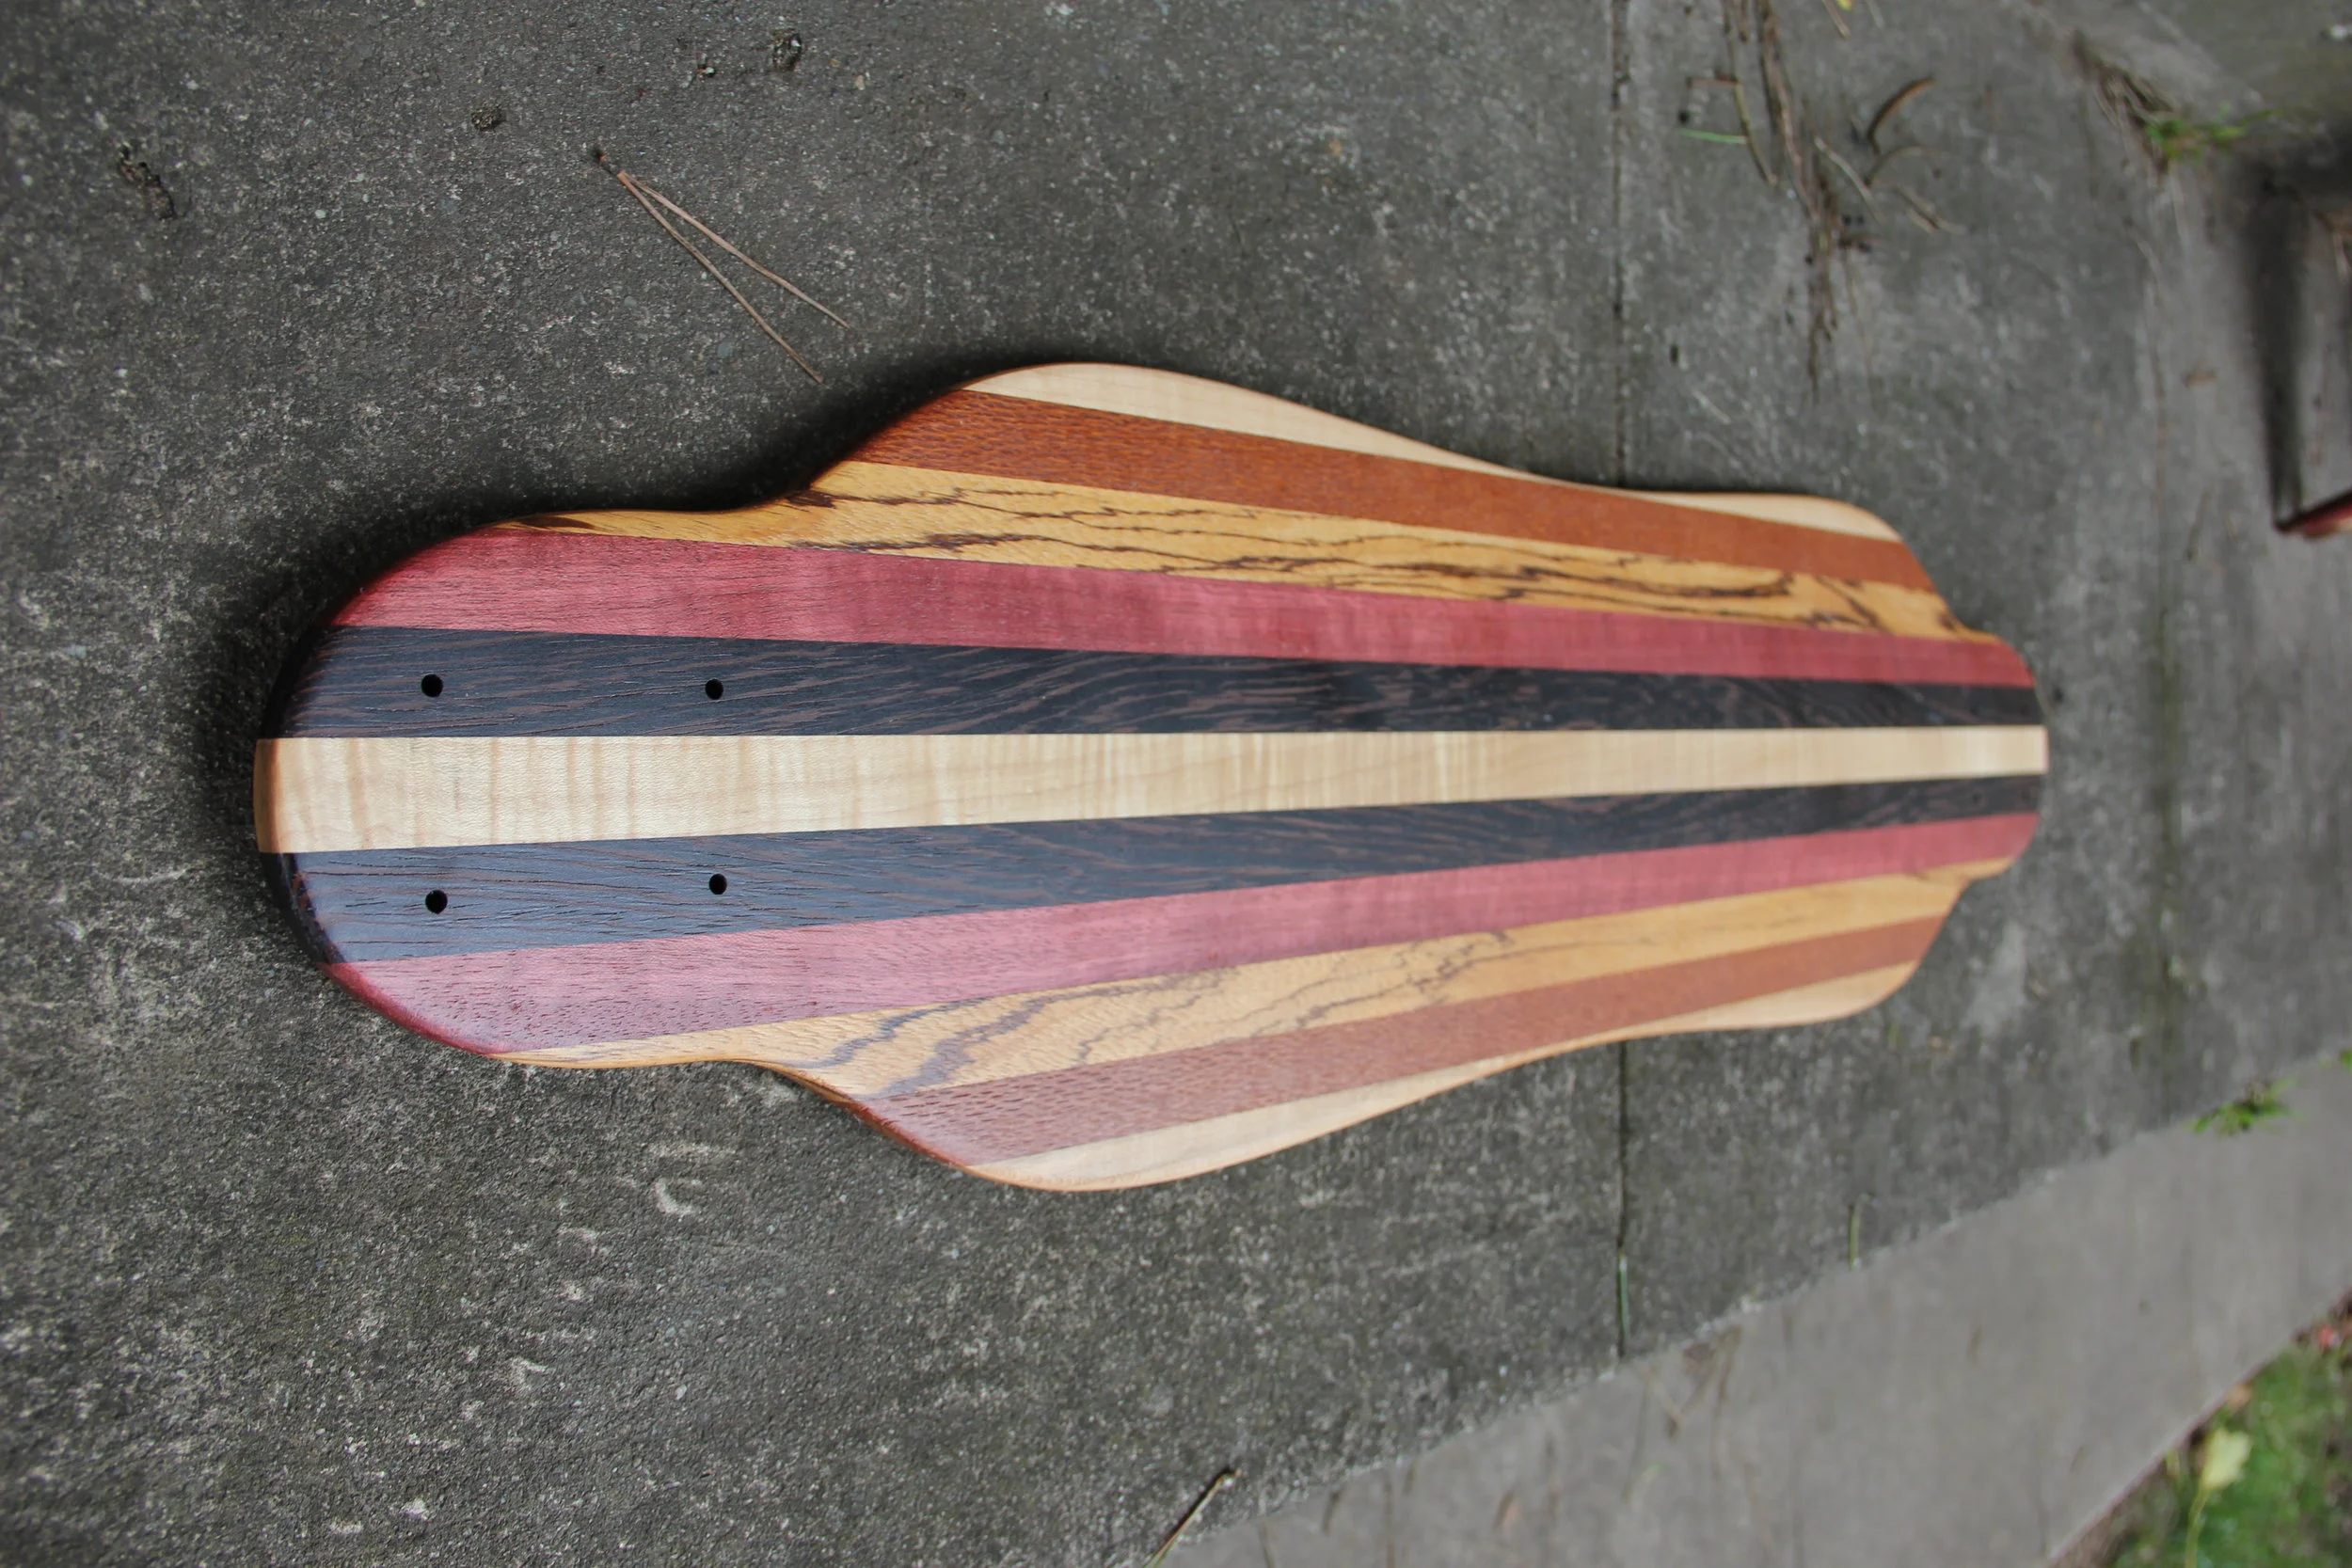
Thin Strip, Twin Tip Long Board
Another in a series of 4 boards I worked on simultaneously. This board was more of an after thought, comprised of strips of left over wood from the other boards. I had designed another twin tip before and I wanted to try again with slightly more flowing curves. Its wide width at the feet gives a rider good leverage for carving. It's on the thinner side of the boards I've made, which makes it relatively light, and suitable for a commuter board.
Required Resources: 15 hours, $70
Size: 10" x 14" x 1.25"
Materials: Curly Maple, Wenge, Purpleheart, Zebrawood, Lacewood, Hard Maple, Titebond III (Foodsafe wood glue)
Finish: Natural Colored Stain, 3 coats Semi-Gloss Polyurethane Aerosol.
Tools: Table Saw, Planer, Jointer, Orbital Sander
New Techniques:
Multi-Joint Glue Ups: This board had 10 edge glue joints, which makes the glue up tricky. If the jointer isn't completely squared up you can end up aggregating angle over the 10 joints, which will buckle the stack under compression when clamped. With some careful tuning of my jointer and the use of alignment cauls in the glue up stage, I was able to make a pretty even slab. The slab was also 9 inches wide and easily slide through the planer for a finishing pass.
Lessons Learned:
Finishing takes time: This board had 4 woods (Wenge, Lacewood, Zebrawood and Purple Heart) that have very coarse and interlocked grain structure. this means surface level tear outs and checking are common occurrences when planed. These blemishes can be eliminated in a number of ways. First, I could have sanded down the last 1/32" of an inch instead of planing. Sanding does not create the tear outs or checking that planing does. Also in woods with a naturally coarse grain, sanding tends to fill in the large pores with saw dust, which can be sealed in place with a finishing polymer. Unfortunately, without a specialized tool like a drum sander, removing that much material with a handheld belt sander or an orbital might take an hour or two. I've done it before. Yes, it was terrible. The second method is to use wood filler to fill in the pores; then sand flat. Since the wood filler is opaque, you must match your filler color with the wood. Otherwise, you may being highlighting the pores, instead of obscuring them. The third way to create an aesthetic finish with these woods, is to introduce a thorough sanding step between each finishing coat. The sanding step cuts the polymer coating back to the point that the polymer in the pocket of the pores is now flush with the top surface of the finishing coat. This is my preferred method of finishing when working with these woods.