Meal Prep Station
Part II of the kitchen "renovations" I promised my roommates. The table was to fit in our breakfast nook, a little side room in our apartment that is too small to put a dining table, but, too big to leave empty. Our kitchen does lack surface area for cooking prep/ baking, so this room seemed to be the perfect place for a counter height prep table. To make this table a little more interesting, I incorporated butterfly inlays into the table top and tried out a half-lap joint for the A-frame table legs. The table took a couple weekends of work, but I and my roommates couldn't be happier with the result.
Required Resources: 20 hours, $200
Size: 30" x 60" x 36" Tall
Materials: Hard Maple, Walnut, Cherry, TiteBond III Glue, Stainless Steel Angle Brackets.
Finish: Minwax Natural Stain, "Good Stuff" Gel Polyurethane Semi-Gloss Polyurethane
Tools: Planer, Jointer, Table saw, Belt sander, Orbital Sander, Laser Cutter
New techniques: Butterfly Inlay Prep Table
Prepping for the Inlays
The table top I made for the Prep Table was pretty standard. I've already made 3-4 Maple, Cherry and Walnut edge glued tables. This didn't stray too far from my comfort zone. I did want to make it a little more interesting, however, so I decided to try to make an inlay work. Butterfly inlays are common in woodwork and often used to span a growing crack in a deteriorating piece of wood. The butterfly should keep the wood separating even further, stunting the crack propagation. In this case, however, the butterfly inlays were purely decorative.
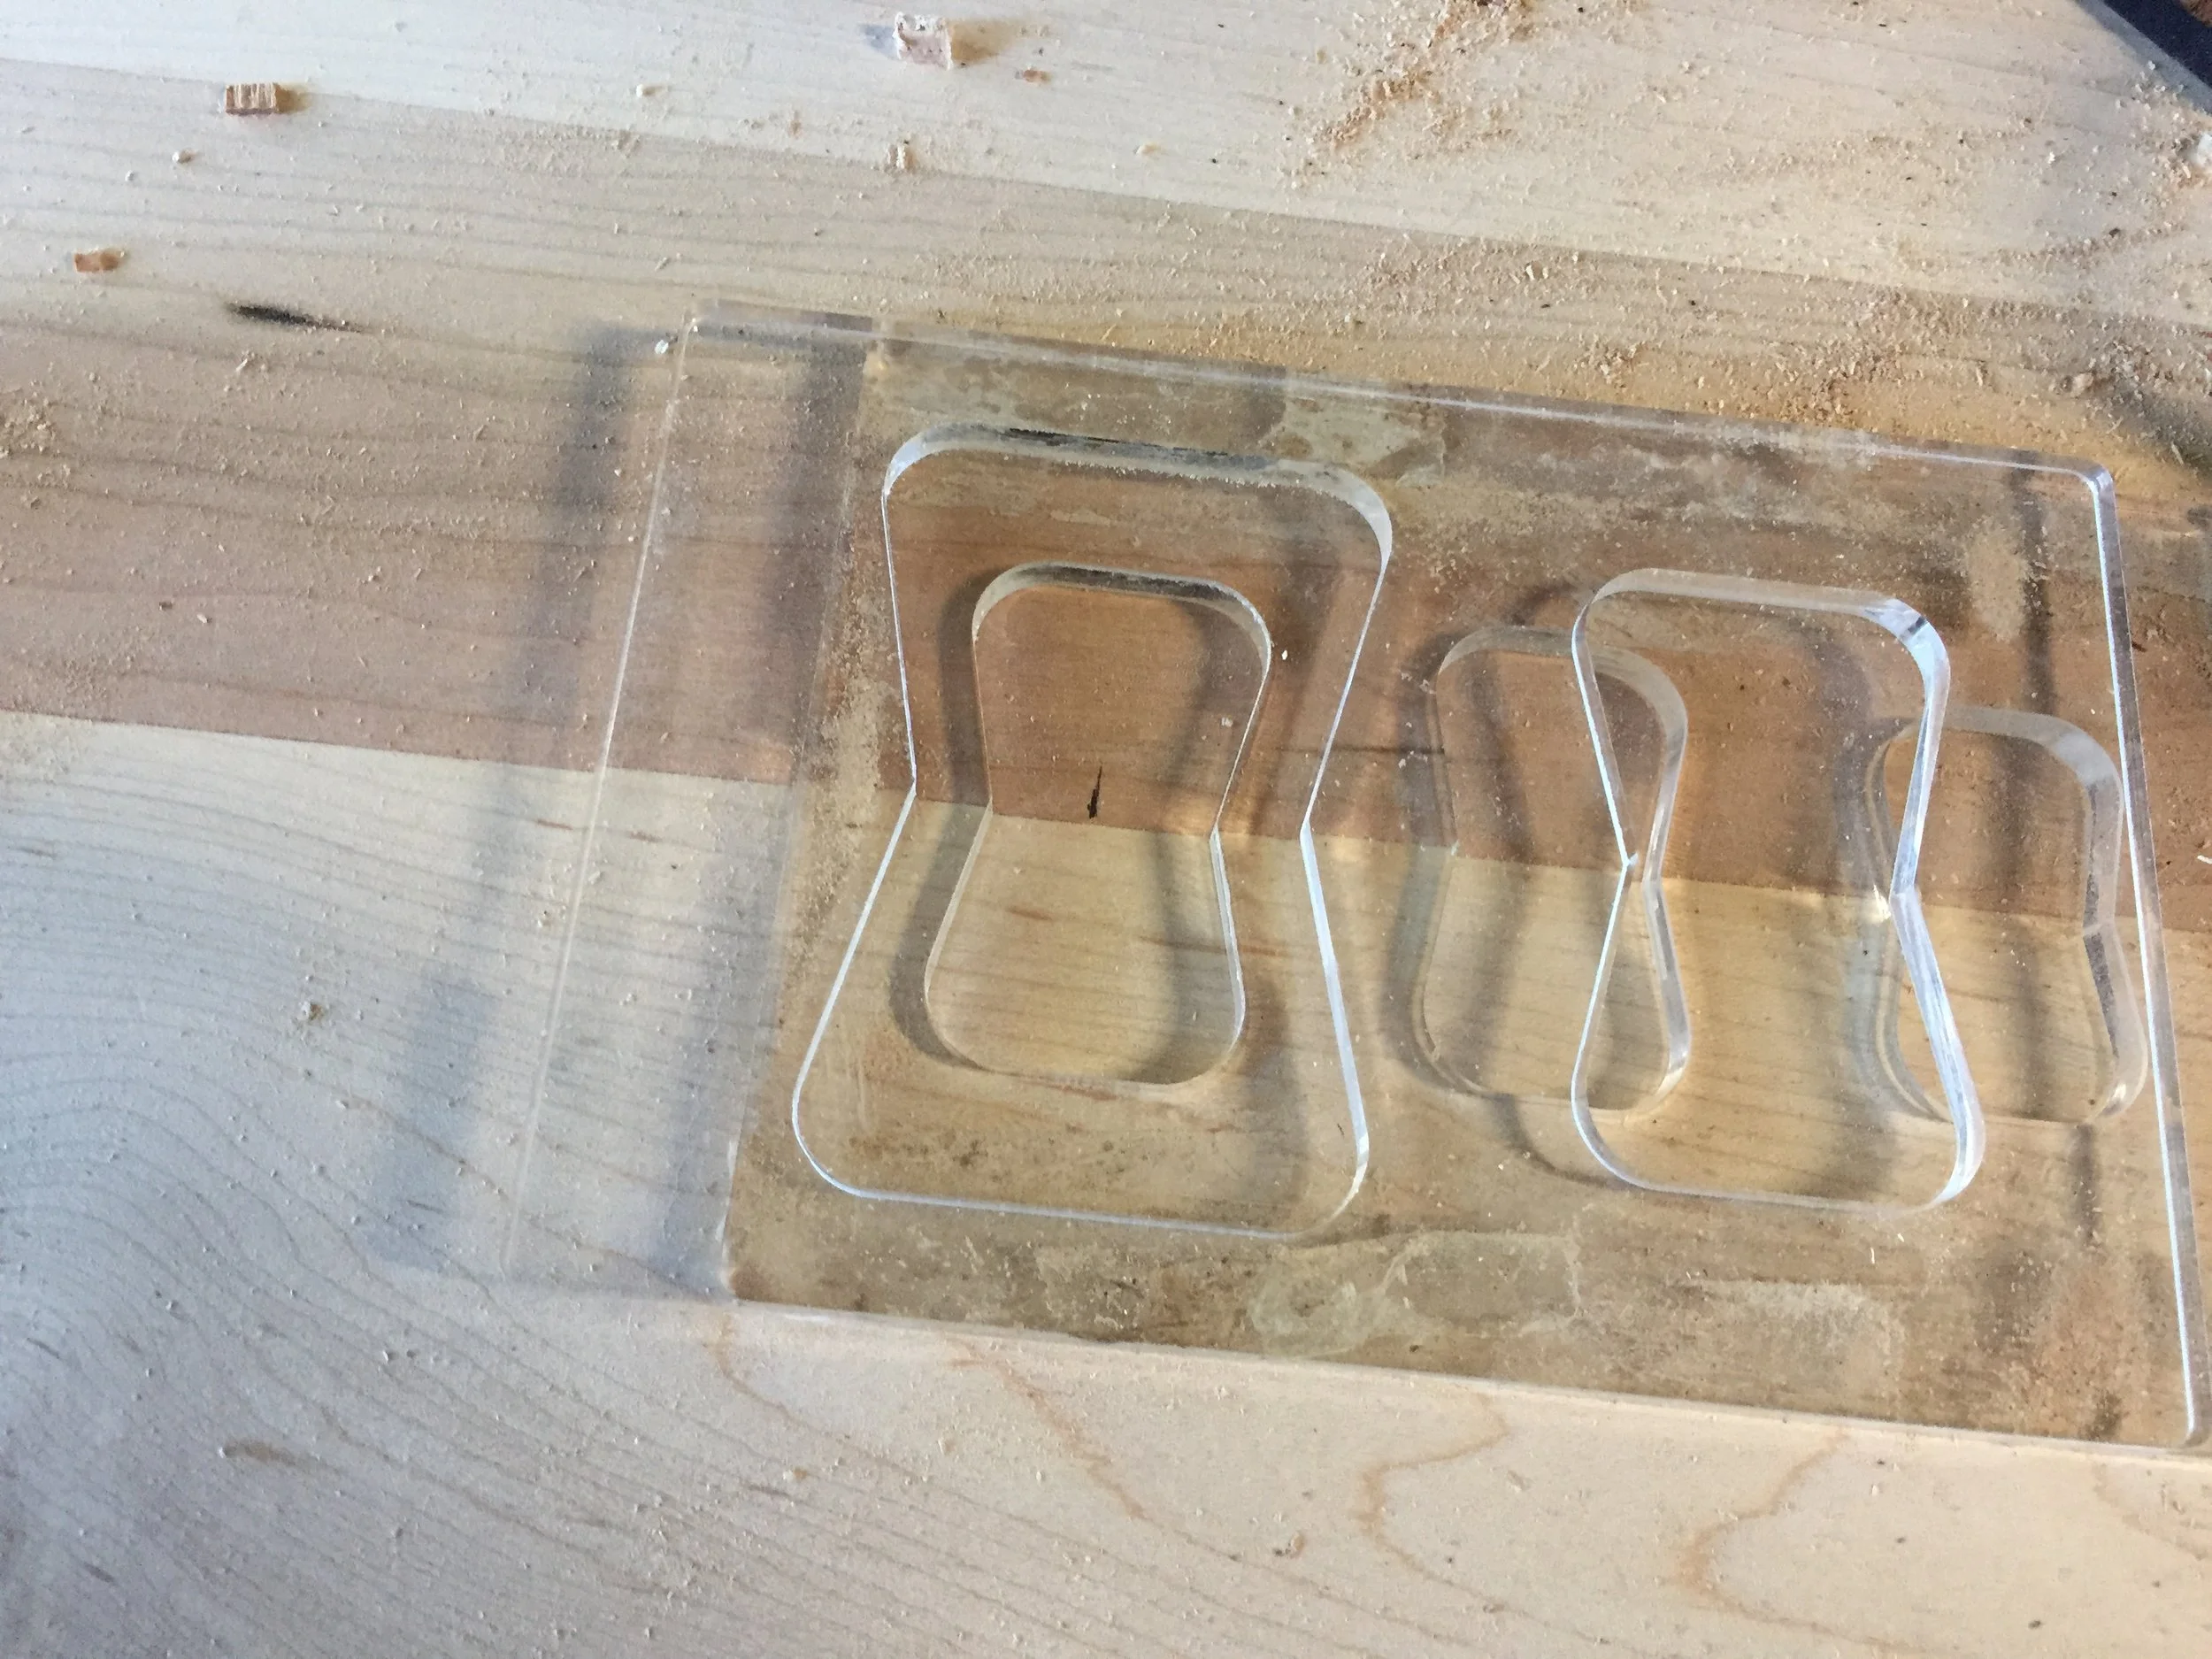
To cut the the butterfly inlay pockets, I used templates for a plunge router and a 3/8" straight bit. The collar that fit the bit I was using had a flange that was a little to long and I had to stack the inlay stencils in order to create the proper offset. I'm not sure the router bits I was using were terribly well made. After cutting several inlay pockets, the router started to chatter. After I was done cutting all the inlays I examined the cutting flutes of the bit and notices some chipping. You get what you pay for I guess.

The easiest way to make the inlay inserts was to laser cut them. I knew what size they needed to be from the template. It was quick work to sketch up the shape in SolidWorks and laser them out from a piece of 0.25" walnut I had left over from another project.

After a pass with the plunge router, the inlay pockets still had rounded corners. To fit the butterfly inserts, I hammered a sharp chisel with a rubberized mallet and carved out the sharp corners. I also used the chisel to tune up areas of the pocket that the router bit didn't cleanly hog out.
The Jointery
In addition to the butterfly joint, I also experimented with a half lap joint. I like the way it turned out, even if the glue up could have been a little cleaner.
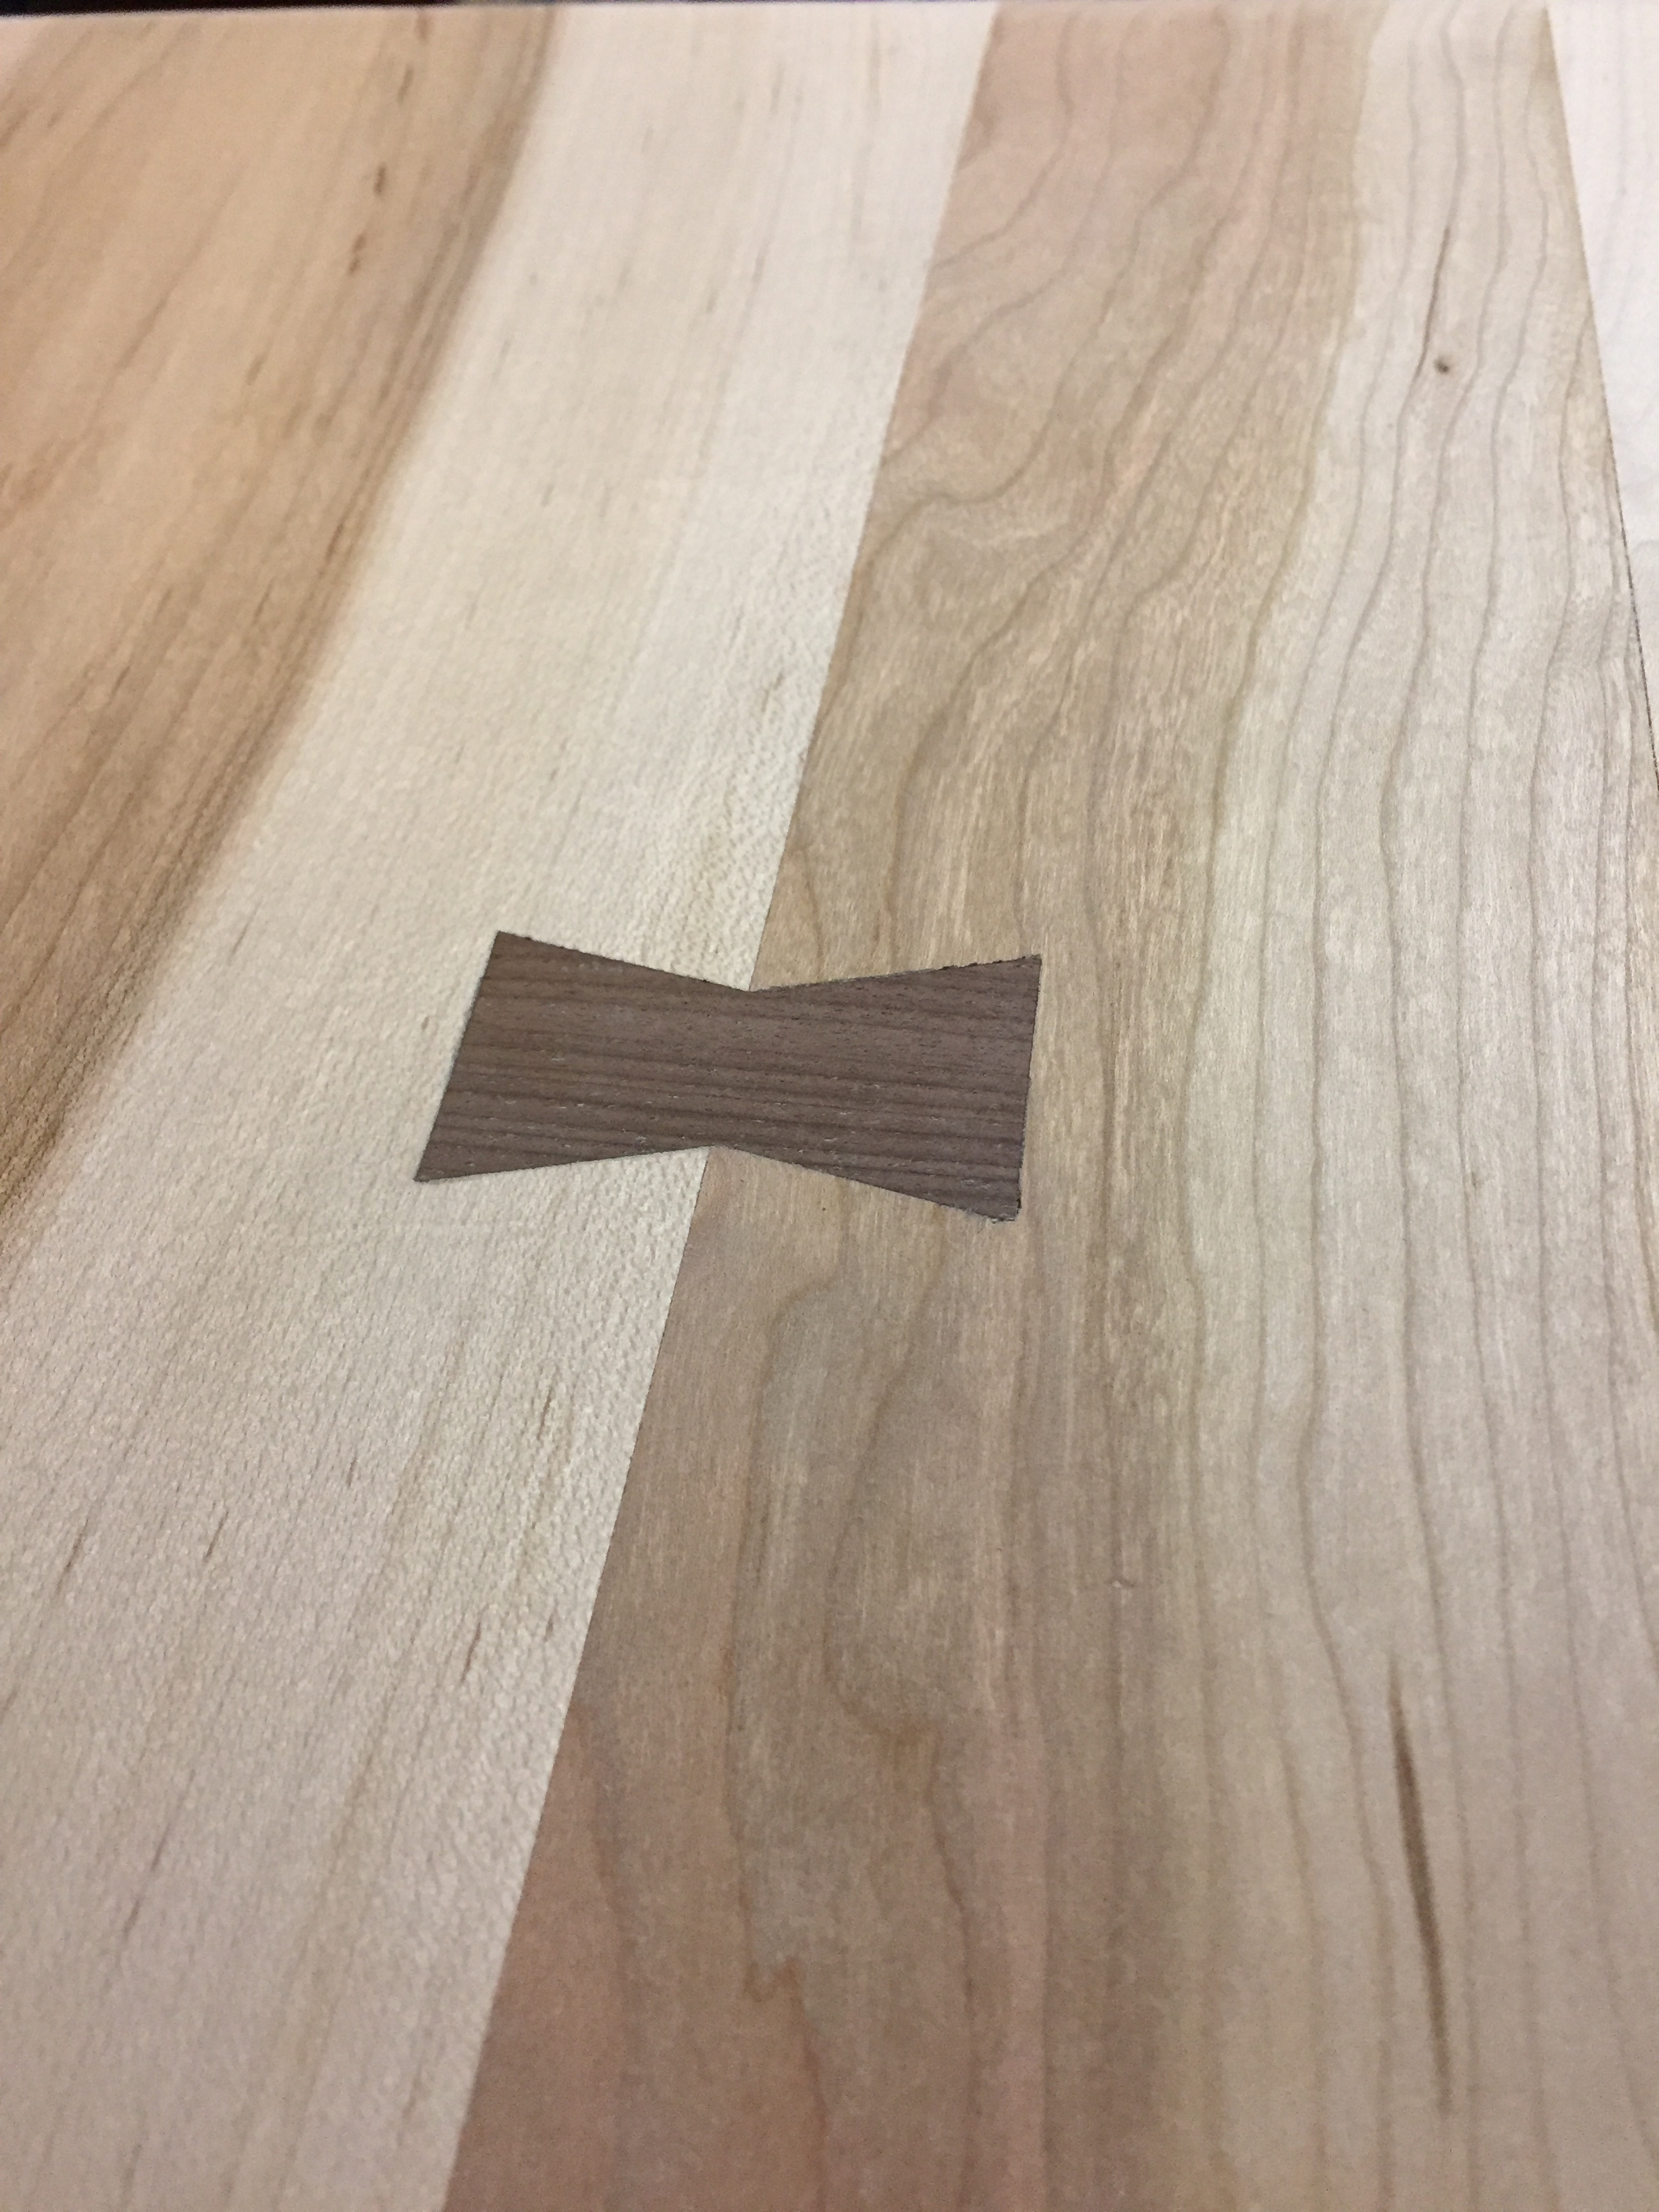
After the butterfly inlay was pounded in, I sanded it flat with a belt sander. I cleaned up and belt sander scarring with the orbital sander. I made 8 total inlays and there was a marked improvement in quality when comparing the first one I made to the last.

I went for an A-frame for the legs. Often times I buy legs for the table tops I make; however, I've come to realize that I'm merely eschewing an opportunity hone my jointery skills. On this project, I went for half lap joints that integrate the maple cross bars with the walnut table legs. I cut the interfacing slots/ cheeks by using the table saw as a dado cutter,.

The final result! If you get up close and personal, there are some larger than desirable gaps, and some excess glue stains here and there. Still, not half bad for a first attempt.
Putting it all Together

After a coat of wipe on gel polyurethane. The walnut starts to darken and the figure of the maple starts to pop. I ended up applying 3 coats of the "The Good Stuff" with a light sanding step in between each coat. This allows for a flat and smooth finish surface, vital for a table top that will be used for meal prep. You don't want a pitted or grooved surface that will trap food residue and harbor bacteria.

The A-Frame legs after a couple coats of poly. I would end up attaching the legs with some stainless steel angle brackets. Not the most elegant solution, but it means that I can take the table apart to pack flat for transport in the future.

The final product with the large cutting board on top. As the largest contiguous surface area in our kitchen, this table has been getting a ton of use. The roommates seem to appreciate the addition and Alexa has made it her go-to baking station. The one addition I'd make is a shelf to span the cross bars on the legs. We could always use some extra storage... or at the very least a platform for the toaster and microwave... which as this posting, still relegated to the floor.
Lessons Learned:
Take the Time to Set Up: When creating half lap joints on the legs, I decided that I was going to use the table saw to cut out the cheeks (pockets). Now, I had the right tool for the job, a dado blade (basically a bunch of saw blades stacked together) but it would have require 10 minutes to swap out the blades. Since I was only cutting a few of theses joints (8 to be exact) my laziness got the better of me and I decided to just use the rip saw blade already installed. The rip saw blade is 1/10" versus the 1/2" of the dado blade. This meant that I would have to take 5X as many passes. While I originally thought that this trade off would be worth it, I'll admit now, I was wrong. Not only did cutting 8 cheeks with the rip blade take an eternity, it was also quite sloppy and required extensive clean up with a chisel. Next time, I'll be sure to take time to set up the proper equipment, especially since it'll just gather dust on my shelf, otherwise.