The Kraken - Vacuum Pressed Street Deck
I had been making long boards for a while when a friend, Vince, suggested we make a board with a kick tail, a flair at the back end of a skateboard. I didn't know how to do that (yet at least, see Steam Bent Board) for a purely hardwood construction, but had wanted to try out a different board building technique that would allow you to give shape and curvature to a skate board. Laminating veneers is a long standing discipline in wood working (as well as skateboard making) and I had read enough about it to know it was a feasible weekend (a couple weekends) project. The plan was to buy maple veneers and then put together a "press kit", a seal-able plastic bag attached to a vacuum pump. With the glue wet, the stack of veneers would be set atop a form and put in the press bag, the press bag sealed and the vacuum pump turned on. The evacuated bag would suck the veneers down onto the form and as the glue set, so would the shape of the board. From here, with a curved blank, the rest of the board making process would be easy.
Required Resources: 15 hours, $150
Size: 8" x 28" x 4"
Materials: 7 Layers of 1/16" Maple Veneer
Finish: Minwax Red Mahogany Stain, Semi-gloss polyurethane aerosol
Grip: Laser Cut Jessup Standard Grip Tape
Tools: Vacuum Pump, Band Saw, Laser Cuter, Stationary Belt Sander, Orbital Sander. Cordless Drill
New techniques: Vacuum Press Skateboard
Making the form
The first step in the build was making the form that would create the shape of the board.

Vince and I spent a while going back and forth on the shape of the board. There are many considerations when it comes to the design of a skateboard. There is the "camber", which is the longitudinal curvature of a board. A positive camber gives the board more pop during carves, and a negative camber (rocker) gives the board more stability at speed. Then there is "concavity" which is the shape of the board across it's width. A U-shape gives the rider more control at the toe, but less stability on the heel. Mounting styles for the trucks/wheels include drop through (more stable), top mount , and lifted configurations. Board length determines ride performance where a longer board is more stable at speed and a short board is more agile. There's board profile shape, bevel style, flex and 101 other design decisions that go into a board's design. I could go on for a while. Anyways, after days of mulling it over, Vince and I settled on a design. Since Vince was leaning towards a street deck (traditional skateboard) while I was leaning towards a drop down long board. We ended up on a design for a drop down long board that if you cut the ends off of, would have the same geometry of a standard street deck. This way we could vacuum press 2 boards with the same mold and each get the deck we were looking for.

The next step was to make the form. People often carve a form out of a block of foam, but we wanted to try something different. First we used a free program from AutoDesk called 123DMake. After importing the board geometry and setting the slice width, 123DMake created vector files that when laser cut out of cardboard and stacked would create the shape of the board we were going for, We used some cardboard we had laying around the shop.

We designed holes for alignment pins in the mold, but because the pins we were using were too small, relative to the holes, we ended up stacking the cardboard layers with a slight skew. The skew created an asymmetry to the board that was just noticeable. Not enough to scrap the mold, but enough to lament not being more careful. Anyways, we let the glue dry overnight and in the morning it was ready for pressing.
Vacuum Pressing
With the form complete, it was time to turn the veneers into a board blank with curvature.

Standard construction fro a street deck is 7 layers of 1/16" maple veneers. The layers alternate in grain direction (along the length of the board, then across the width) so there is isotopic strength and stiffness. Glue is rolled out on a face sheet (its a little thicker and has very few visual defects) and the next layer is laid out on top. Glue is spread on that veneer and a layer is placed on top of that, and so on and so forth. Before the gluing, Vince laser welded a 4" long polyethylene bag with a hose port and an end that could be sealed with Butyl rubber sealing tape. The mold was placed in the bag, with the seven layer glued wood construction on top. A breather mesh ( a plastic mesh that stops the bag from sealing off areas that haven't been fully evactuated) was placed in the bag as well. Finally, the press bag was sealed.

The vacuum pump was turned on and once we verified that the pressure had stabilized near -12 psig, we unhooked the pump and let the board set over night.
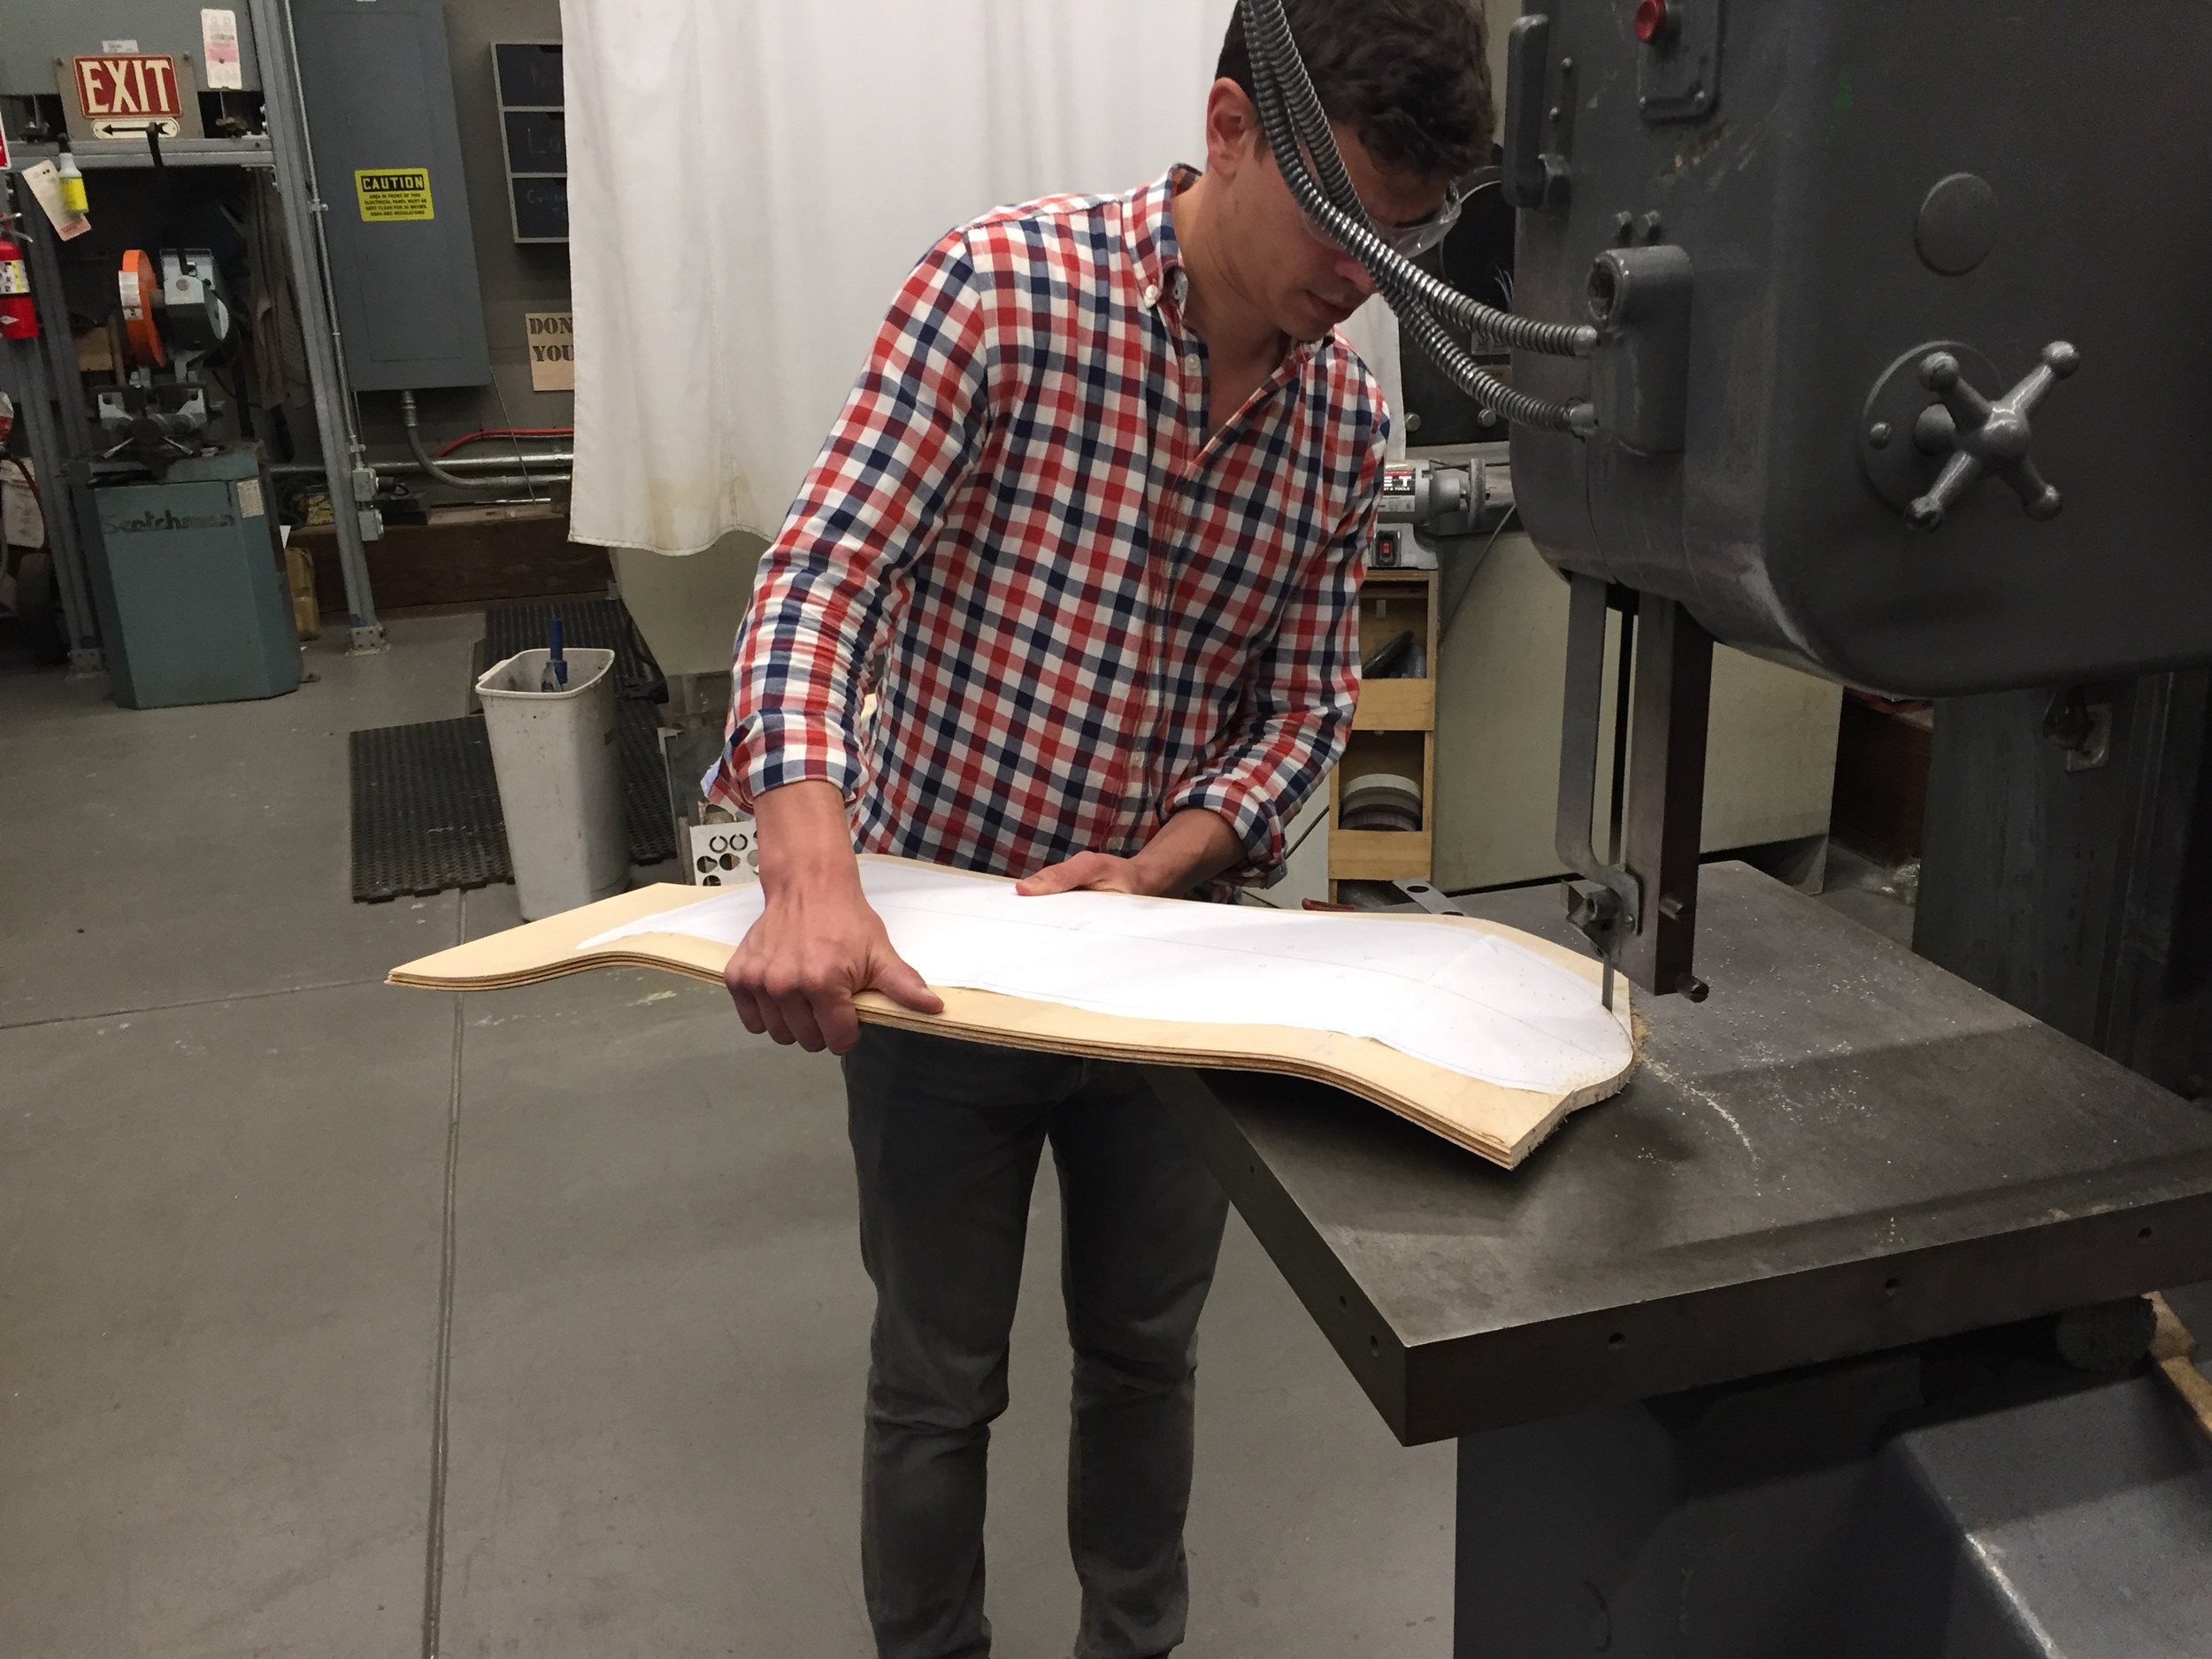
In the morning, we realized that bag had leaked to some degree and we no longer had a strong press. Regardless, the blank seemed to have set in close to the right shape. We printed out a profile of a street deck and attached it to the blank with some spray adhesive. We drilled out the mounting holes and countersunk the top face. Then we changed the blade on the band saw at work to a wood cutting tooth set and went to town. Finally, we used the standing belt sander to bring the edge up to the profile line and lock in the shape of the board.
Finishing the Board
Adding the finishing touches and getting ready to ride.

I spent an additional hour at home with the orbital sander, smoothing out the raised grain and rounding out the profile bevel. I have to say, it looked pretty professional when it was all said and done.

With some design help from Alexa, we laser cut a custom grip at work.

Again, Alexa provided the art for the laser etching on the bottom of the board to cement the sea monster theme. I stained the board purple to evoke the ocean depths (also because its the color I had laying around). A couple coats of poly and the board was complete!
Glamour Shots

We slapped some street trucks and wheels on the board and it was ready to ride.

Although I like to make skateboards, I'm not very good at riding them; particularly street decks. I spent many hours on this board trying to perfect an ollie, and then a kick flip. If you zoom in you can see how beat up the nose and tail are. Still haven't quite gotten there.

My favorite part of the whole piece might be the grip tape.
Lessons Learned:
A Proper Vacuum Bag is a Must: During the vacuum press step, it is essential to have a hermetic seal in your bag. Otherwise, air will creep in, then pressure with rise and the board will not set pressed to the form. We made a couple errors on this front that led to an imperfect vacuum press. First, the material we used, Polyethylene (PE), wasn't quite durable enough. PE was convenient because we had it in the lab and we had worked with it in a laser welding capacity before. But, when we got to using it, it started to break down. The weld around the port started to fail and we had to seal them up with sealing tape. Also, as we slide the bag and form around on the table, grit embedded in the soft plastic bag and made tiny holes that were impossible to track down. Finally, when it came time to unseal the piece, the Butyl sealing tape ripped the bag, rendering it useless for a second press. In professional circles, a thicker gauge vinyl bag is the material of choice for laminate pressing. They are typically custom built for specific applications and can be pretty pricey ($60-$100 for the size we'd need), but probably worth it as glue/Butyl tape/epoxy doesn't permanently bond to it and you should be able to get 100 presses or more out of each one.